Condensed Milk Cardamom Cake

Cakes

Dear Joe,

Once there was a cat called Shelf.

He led a good life. He had a place to sleep, a roof over his head and on Tuesdays, an empty tuna can for him to dip his paw into. But poor Shelf, bless his little cat heart, he just longed to be stroked.

It didn’t get off to a good start for Shelf you see. He was a black cat with one white dot on the tip of his tale and a single mottled yellow square on his back. This patch resembled a frozen potato waffle. His owners had purchased a Tortoiseshell cat on gum tree 6 years ago. The advert, and the cat breeders who made the advert, were convinced that more than one single frozen potato waffle mark would grow on the cat’s back. It did not. The new owners of the cat were disappointed. They thought, ‘we wanted a Tortoiseshell cat. Our cat just has a frozen potato waffle mark on his back.’. They thought, ‘we will give him a shit name’. With these thoughts, they dubbed their new cat ‘Shelf’.

Shelf lived in a nice house. Tall like a pencil. With a yellow front door and a golden mail flap. Not that Shelf ever looked at the golden mail flap on the yellow front door. Shelf was too busy looking at where the mail landed.

‘Oh, what a life it must be to live as a doormat’, Shelf thought. It is true, as household objects go, a doormat gets a lot of human contact in a day. And this doormat certainly recived more attention than Shelf. How nice it must feel to be touched by firm feet, by dropped keys, by mail that would flutter over the doormat’s ruffled corners – ‘Delightful!’, thought Shelf.

Shelf so desperately wanted to be a doormat. He would regularly watch the door, revelling in the attention the mat received. Maybe, if he thought very hard, it could be him getting walked all over. What a thought! He would stare so intently at his owners as they walked in and out of the door. Each time. Over the doormat. His whiskers would twitch and tickle his wide eyes, his little cat mouth pursing at the wonder of the firm touch of a foot, sometimes even a hand as his owners would sweep up the letters lying about the mat.

Shelf had tried everything to become a doormat. He would charge repeatedly at the front door in the hopes that such a force would compact his cat shape into a more doormat shape. The sight of Shelf charging at the front door with a determined ‘Meow! – I will be a doormat!’ – concerned his owners mildly. Once, Shelf had stared so intently at his bowl of milk, which he thought to resemble something of an oracle, to find the solution to his doormat transformation, that the high frequency of his small cat brainwaves reduced the contents of his bowl into condensed milk.

‘Nothing for it’, Shelf thought, ‘I will just have to live as a doormat as best I can.’ His owners had just left for work and Shelf jumped at the opportunity. Every inch of his little cat body was touching the doormat: his front legs, paws, tiny chin, belly, back legs, tail. On the hour, every hour, Shelf would turn his head so one ear could be touching the doormat at all times. It took quite some positioning.

Nine and a half hours had passed and Shelf’s ceiling-facing ear pricked with the sound of keys fitting into the front door keyhole. ‘What now!? What to do now!? I’m a cat, not a doormat! Feet will hurt my soft fluffy cat body!’, Shelf simply had no time to act. He froze in his doormat position as his owner’s foot came advancing through the front door. ‘MEEEEEOOOOOWWWWW’. Shelf had never meowed so loudly in his whole cat life. And his owners, ‘OH GOOD GOD!’ and ‘What have I done!’ and ‘Shelf, I’m so sorry!’. It was then that quite miraculously, for the second time in Shelf’s whole life, from head to tip-of-the-tail, one firm, smooth, comforting, tingle giving stroke was planted on Shelf’s little body. Bliss.

From that day on, Shelf lived as a doormat. He lay, confident in the knowledge that this scheme to get stroked only worked because he was in fact a cat. Shelf was a fluffy, squashy, soft cat in the place of a doormat. And triumphantly he went on, spending his days laying on the doormat, waiting for his owners to come through the front door, plant their foot down, and guiltily stroke Shelf until he was purring all over.

The End.


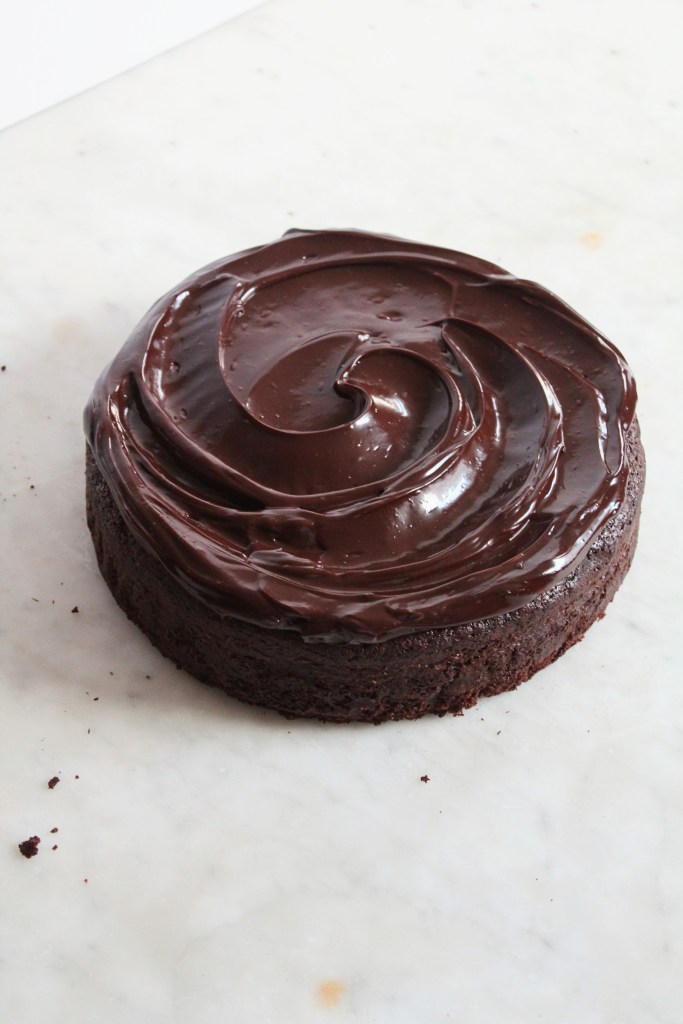
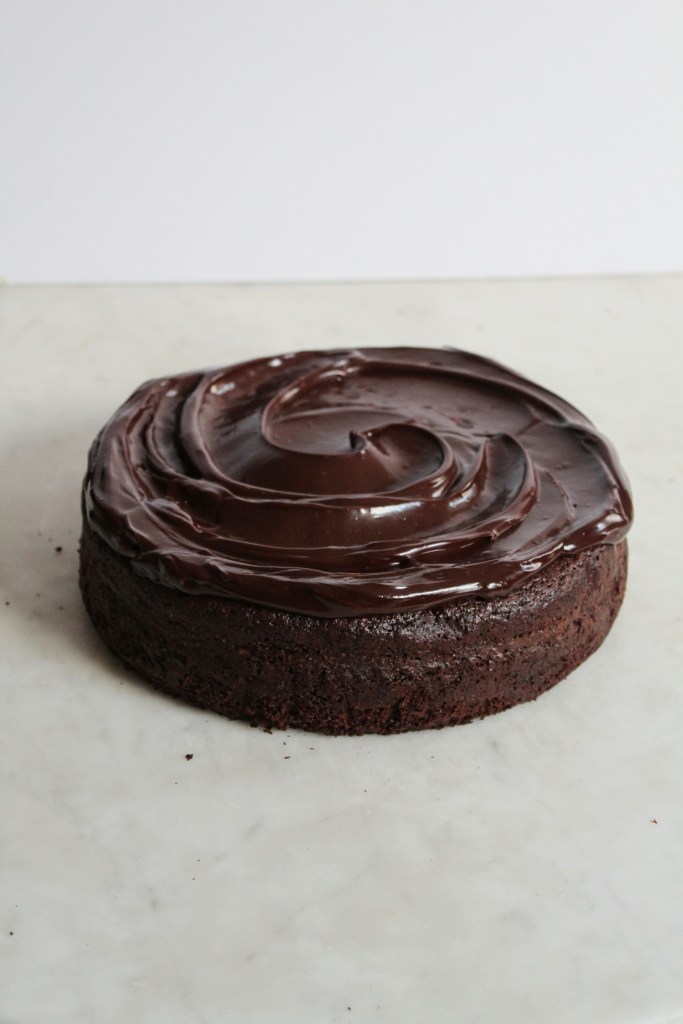
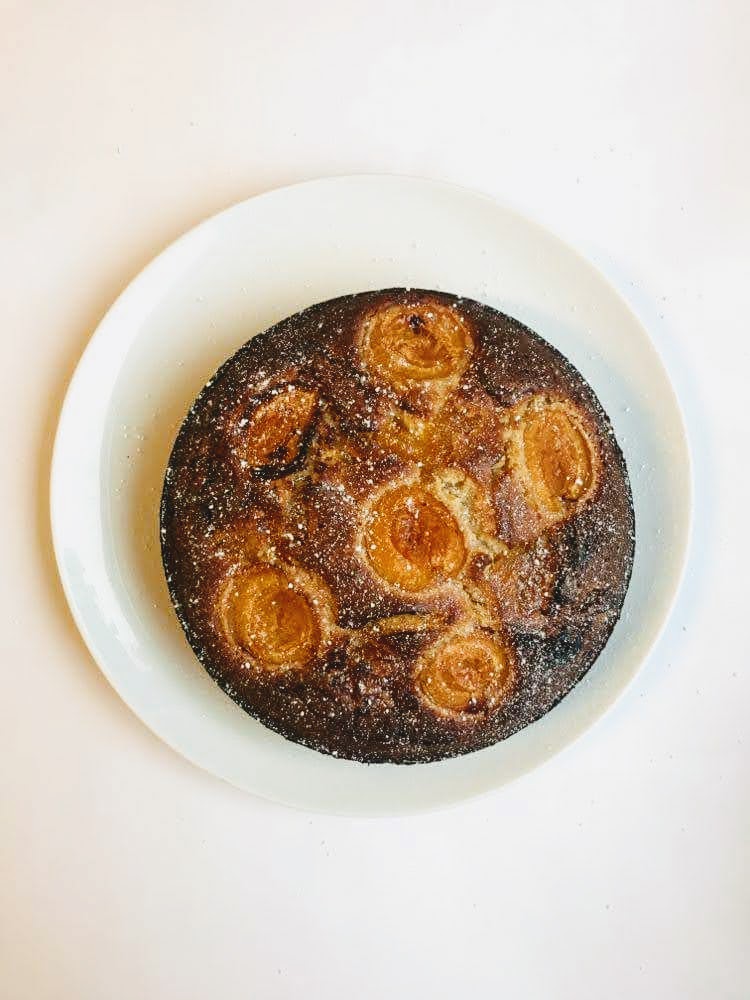
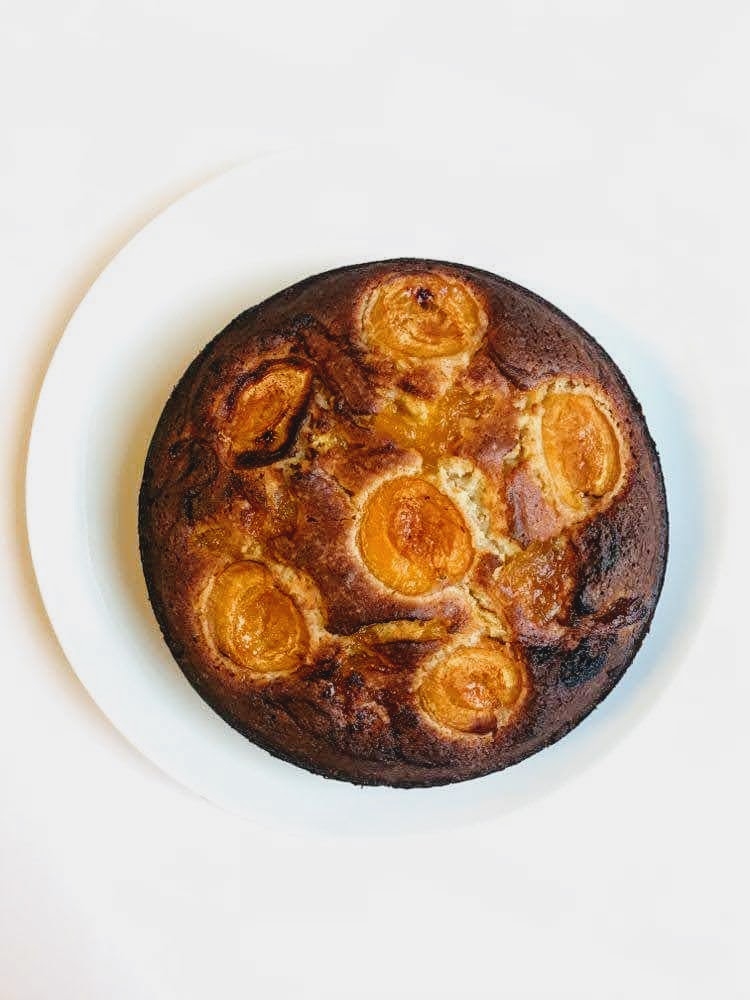
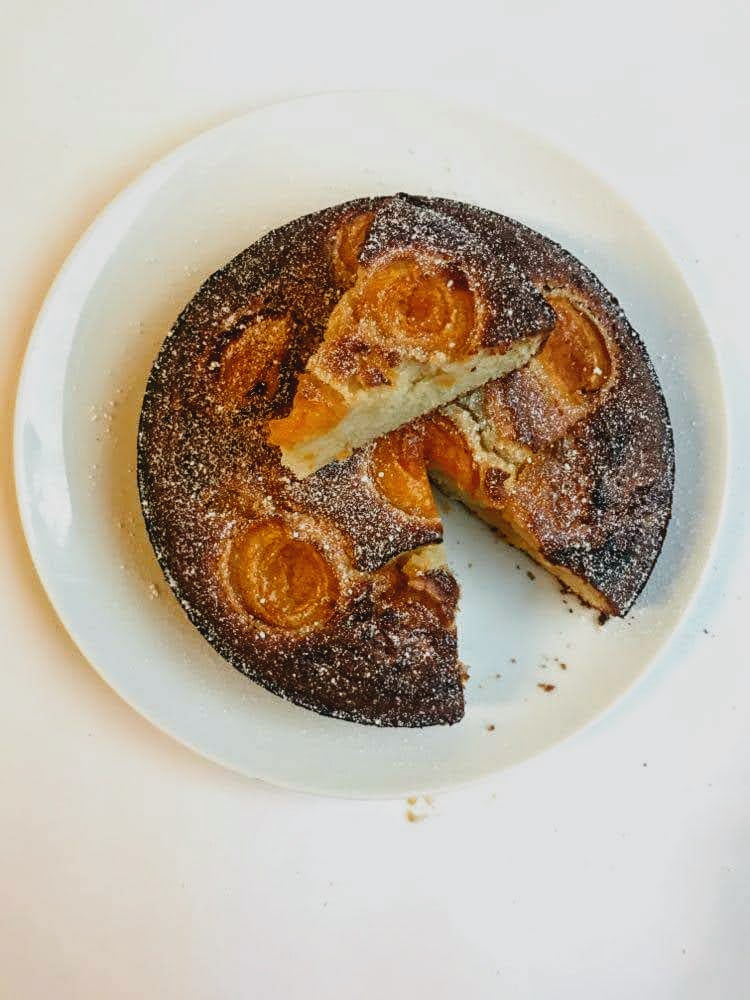
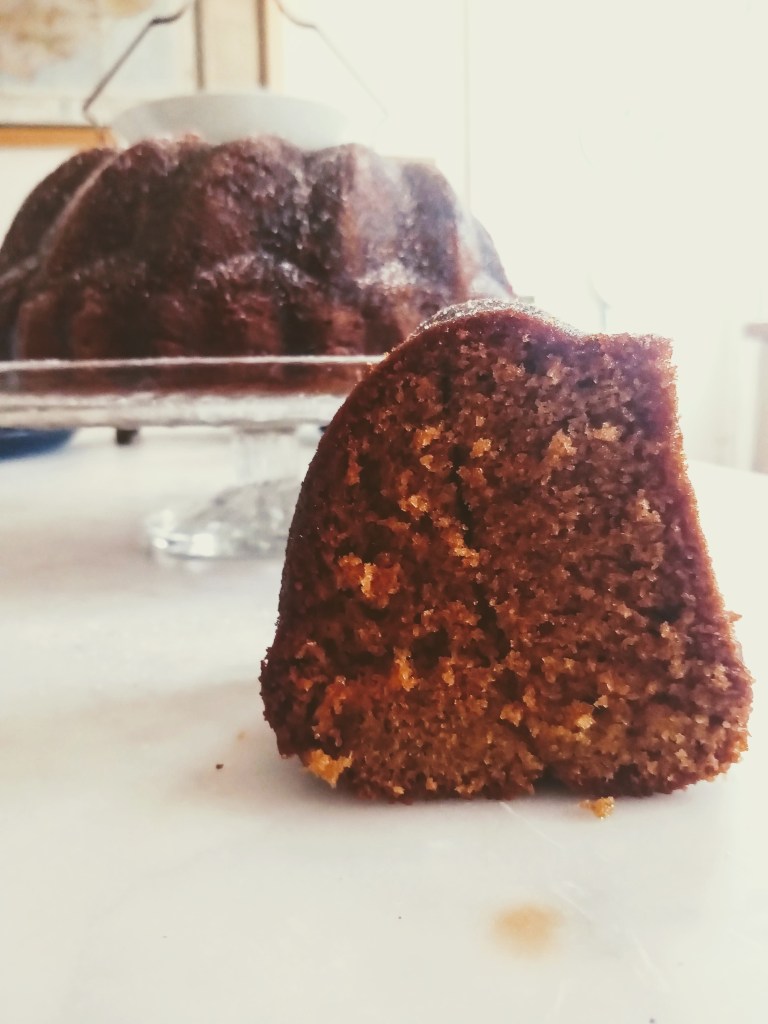
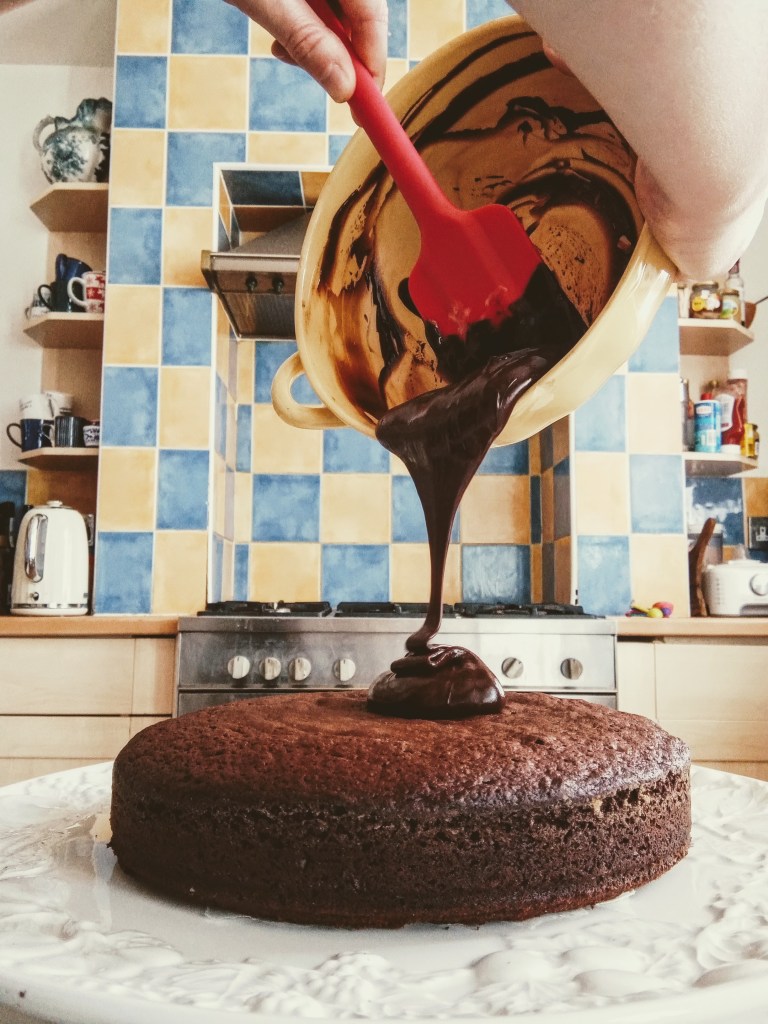
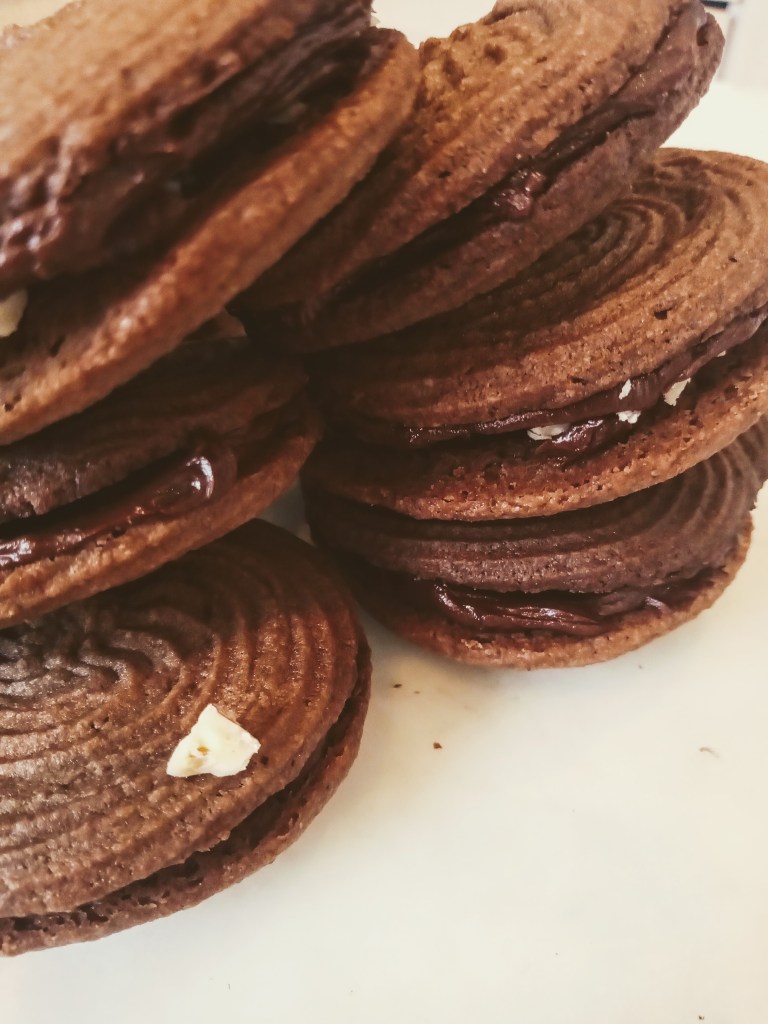
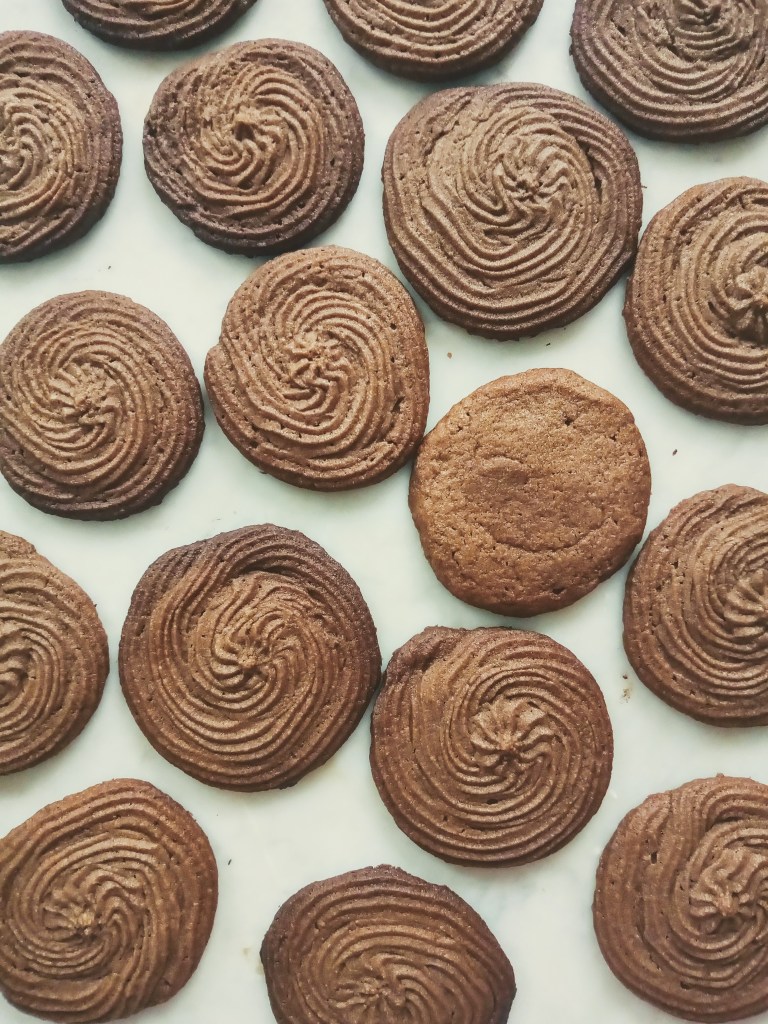
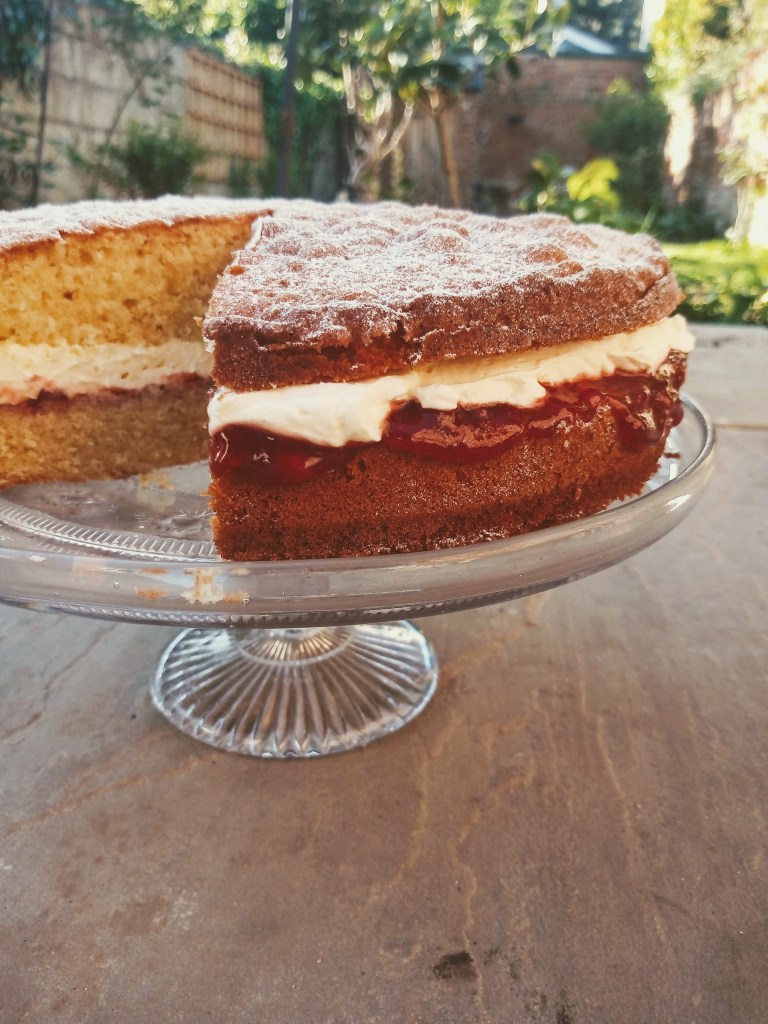
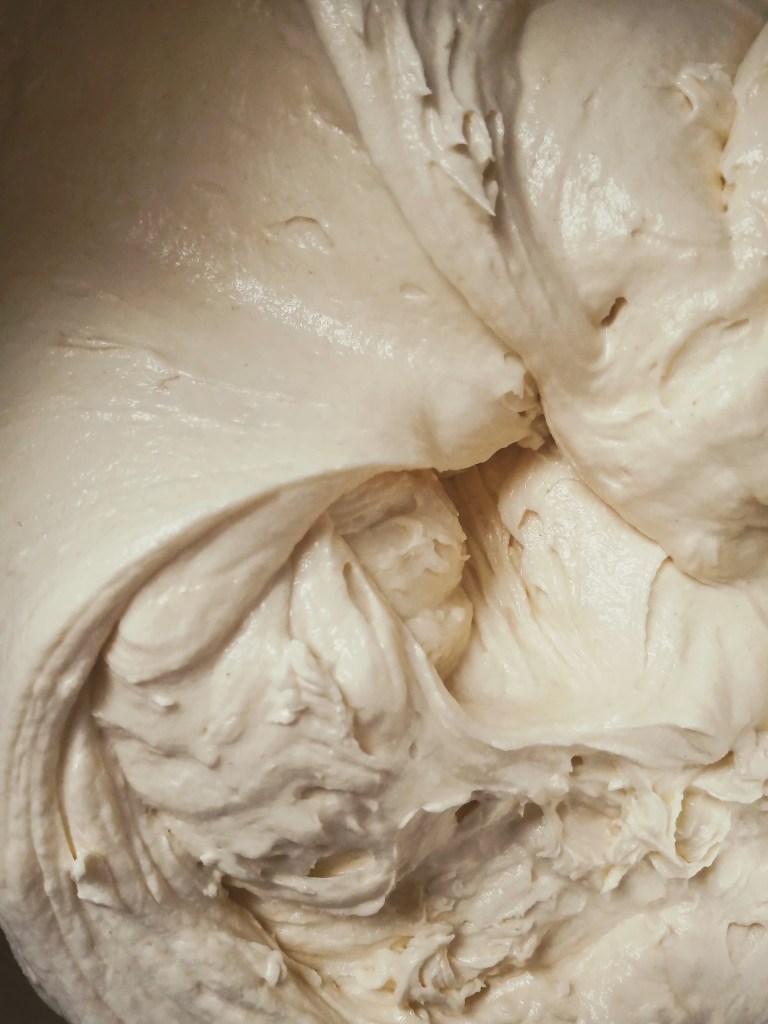
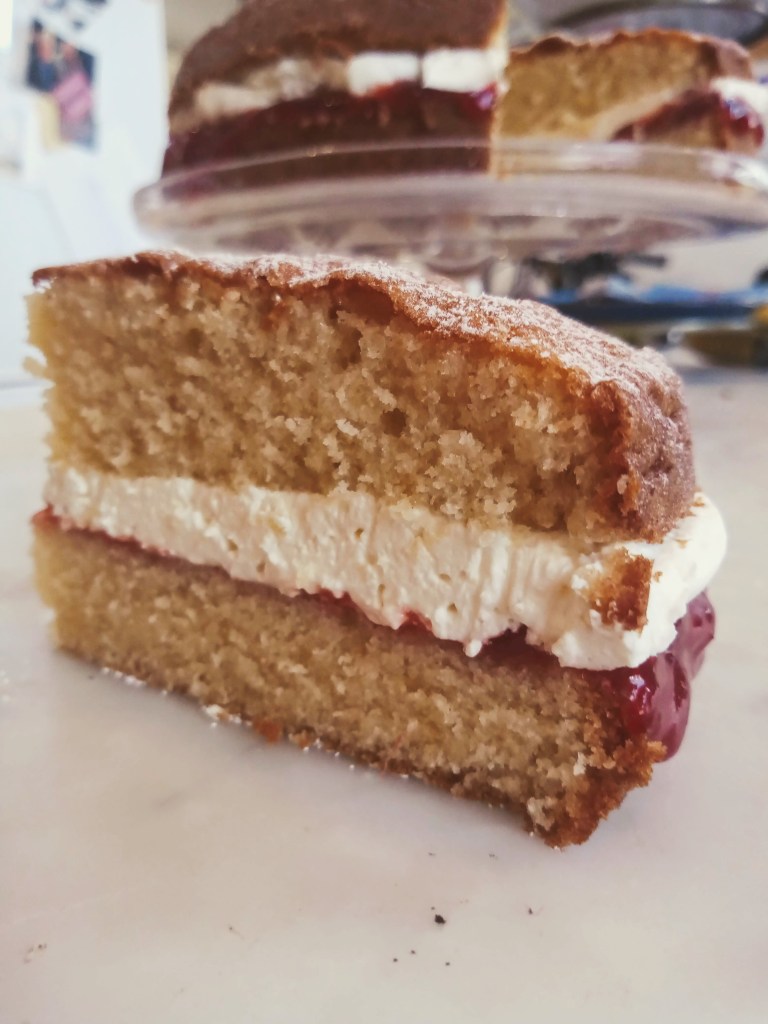
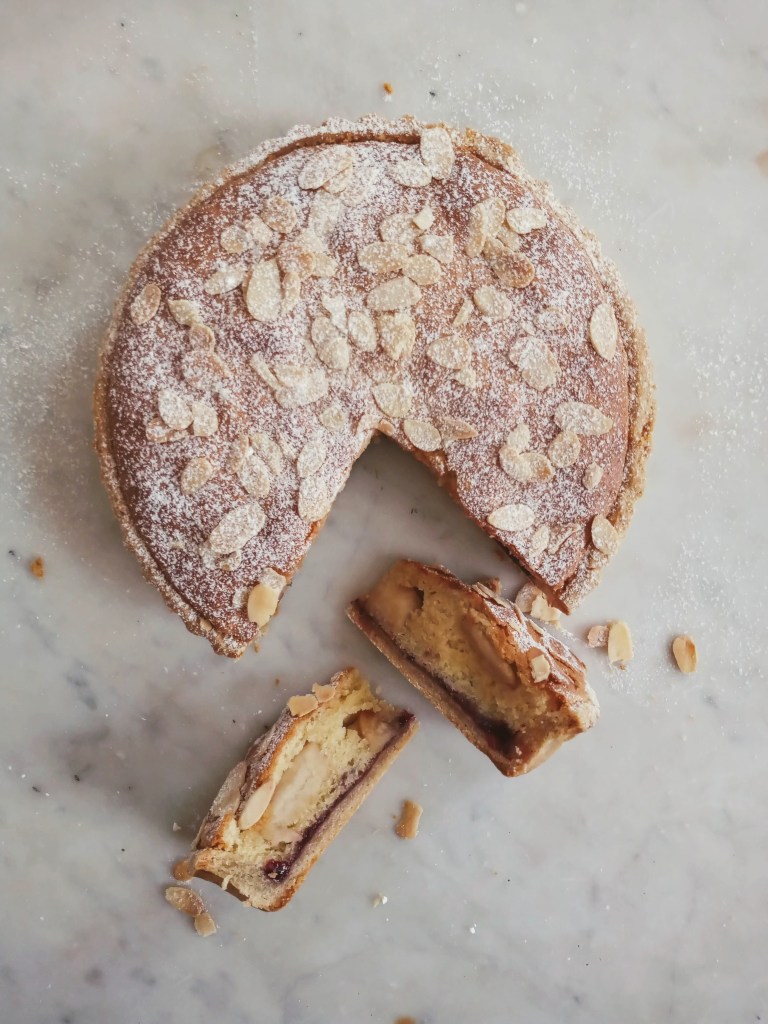
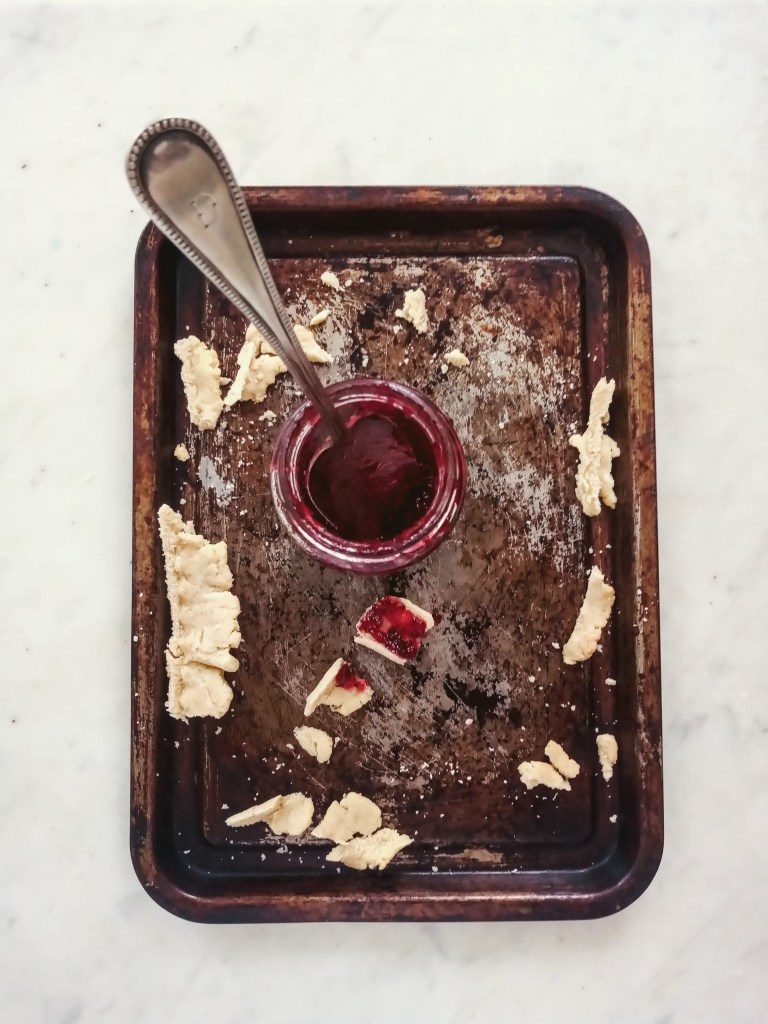
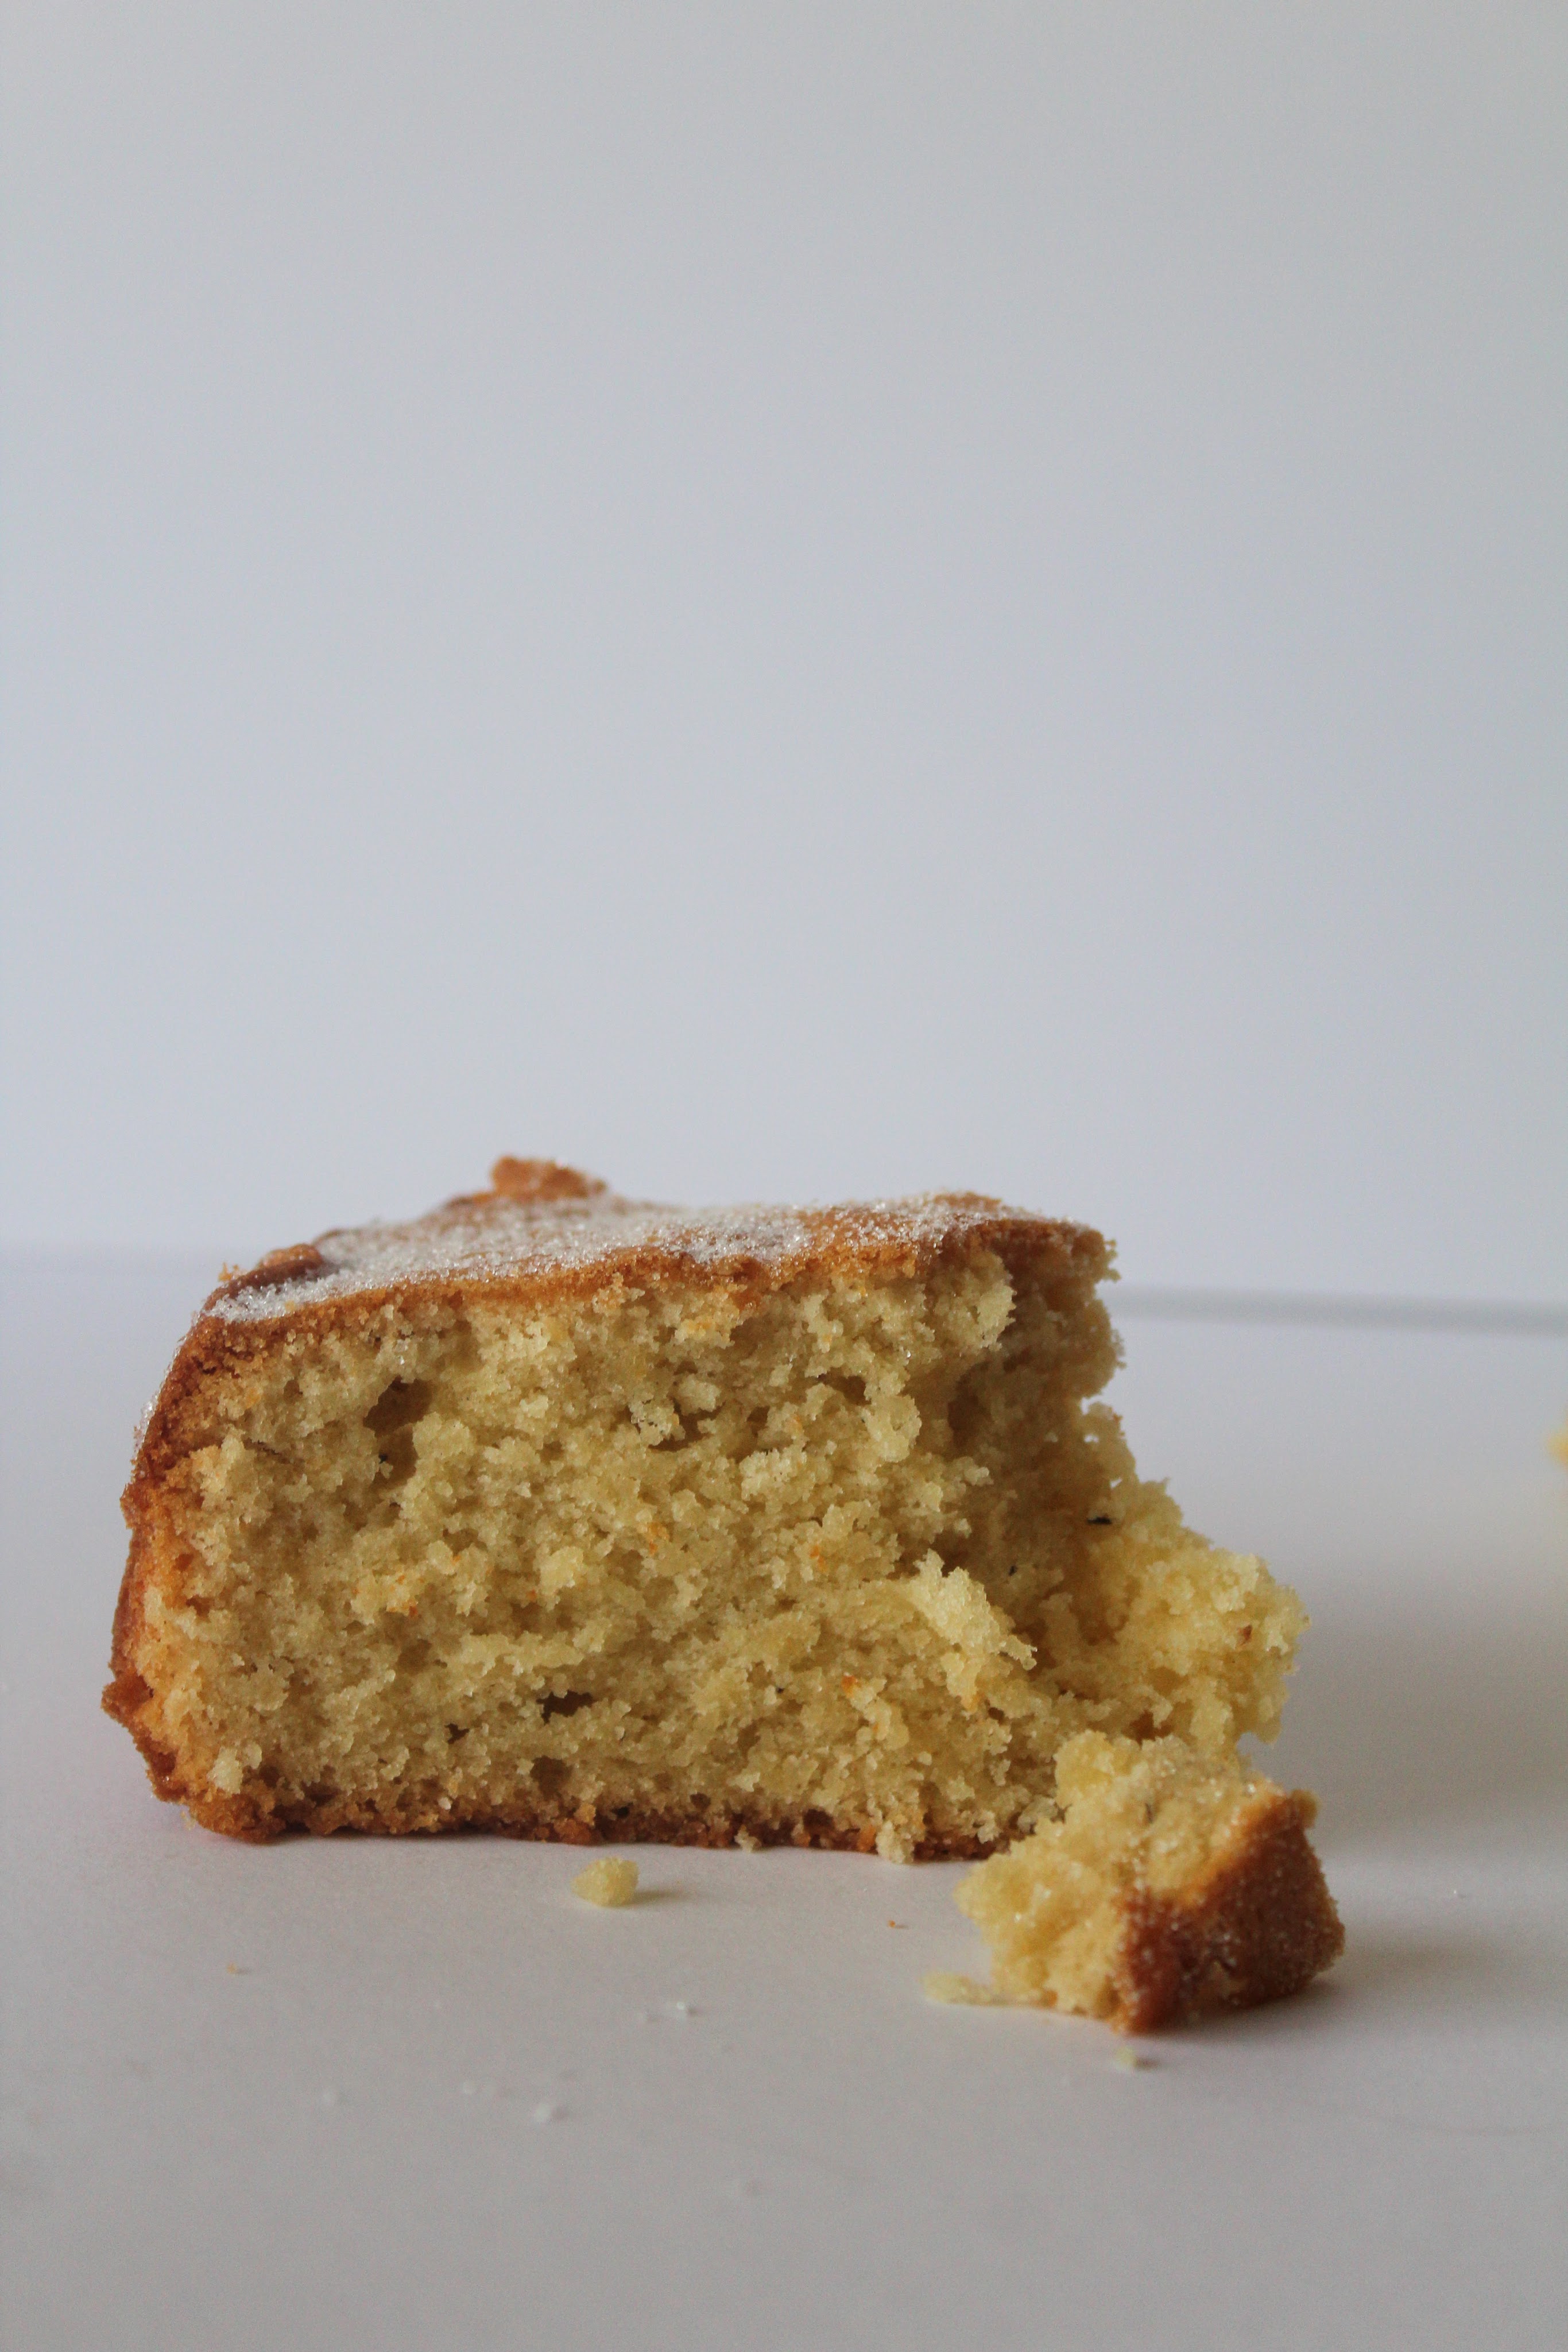
Cake Note – If you’ve never made a cake from this blog before, please may it be this one. Not the most exciting looking, but just trust me. It is a beautifully simple cake but uniquely textured, almost doughnut like with a sugared crust and fluffy dough interior. Don’t be put off by the dried rosemary, it couples with the cardamom to give an addictive spicy yet floral quality. On that, it works well with other comfort spices like cinnamon or nutmeg.

Ingredients

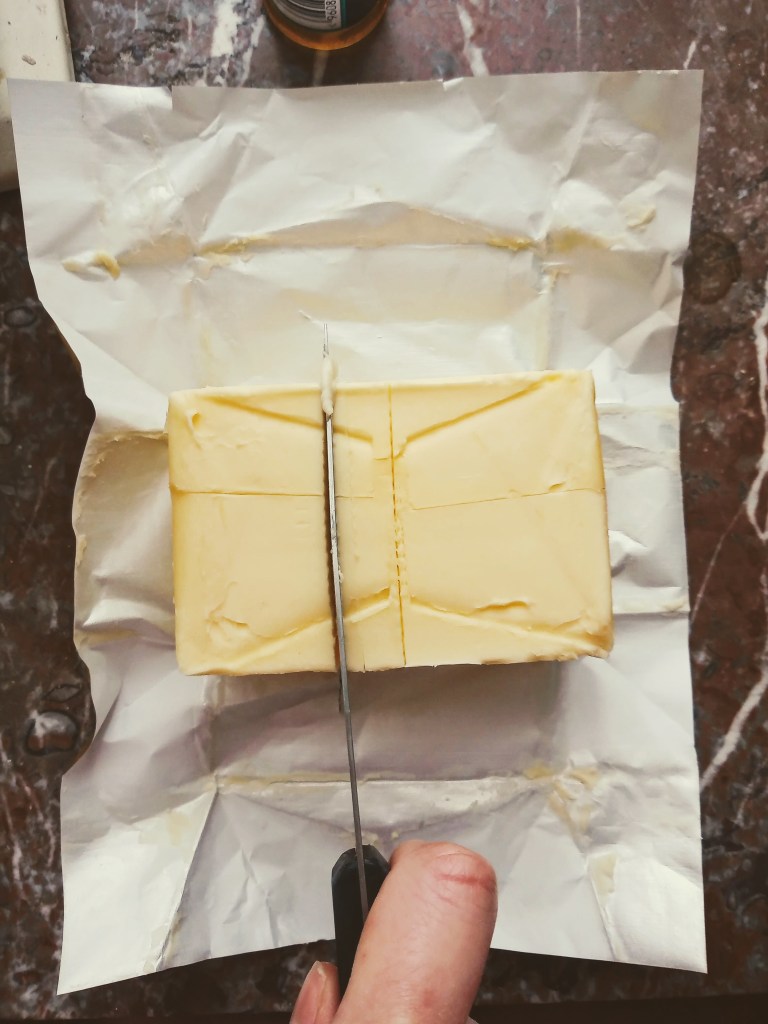
    • 200g unsalted butter, softened

    • 50g caster sugar

    • 3 medium eggs, cold from the fridge

    • 370g (1 can) condensed milk

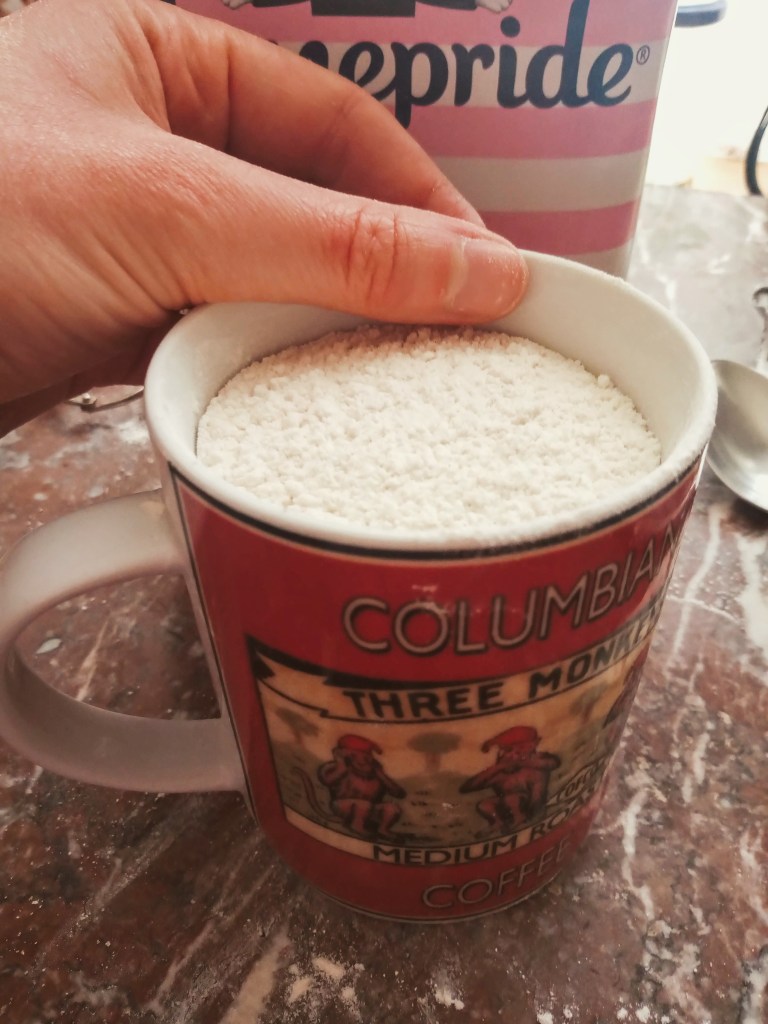
    • 225g self raising flour

    • 55g ground almonds

    • Scant 1/2 teaspoon salt

    • 1/2 tsp ground cardamom

    • 1/2 dried rosemary

    • Sugar to top the cake, optional

Method

Pre heat the oven to 180 / 160 fan. Grease and line an 8 inch round cake tin.

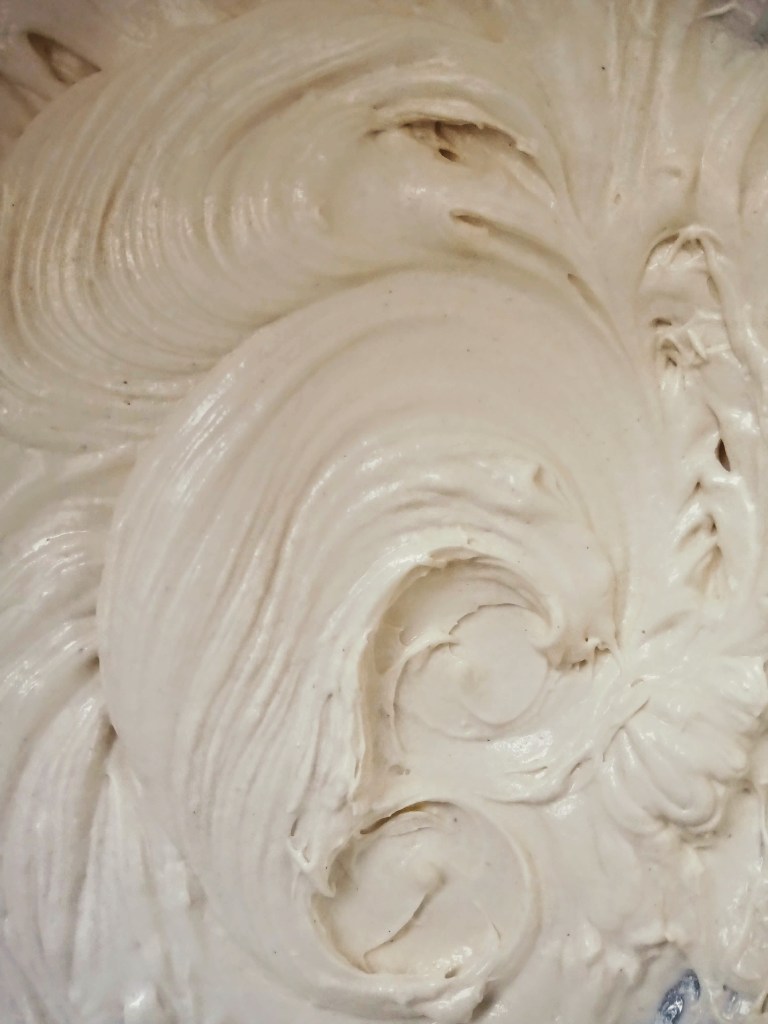
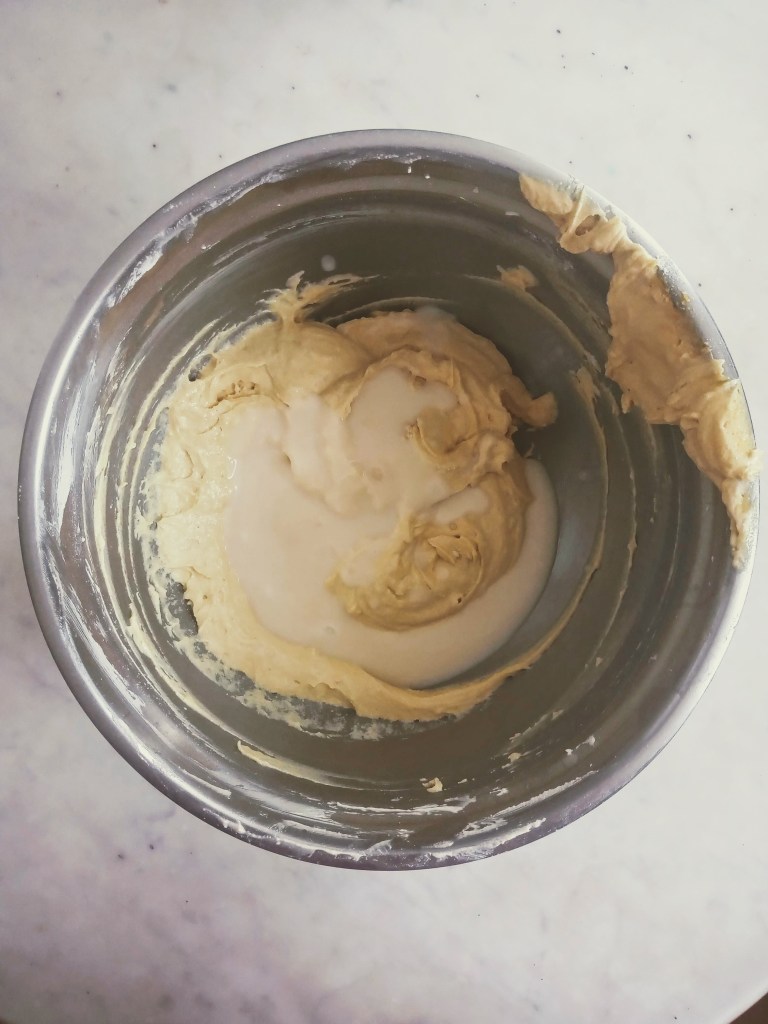
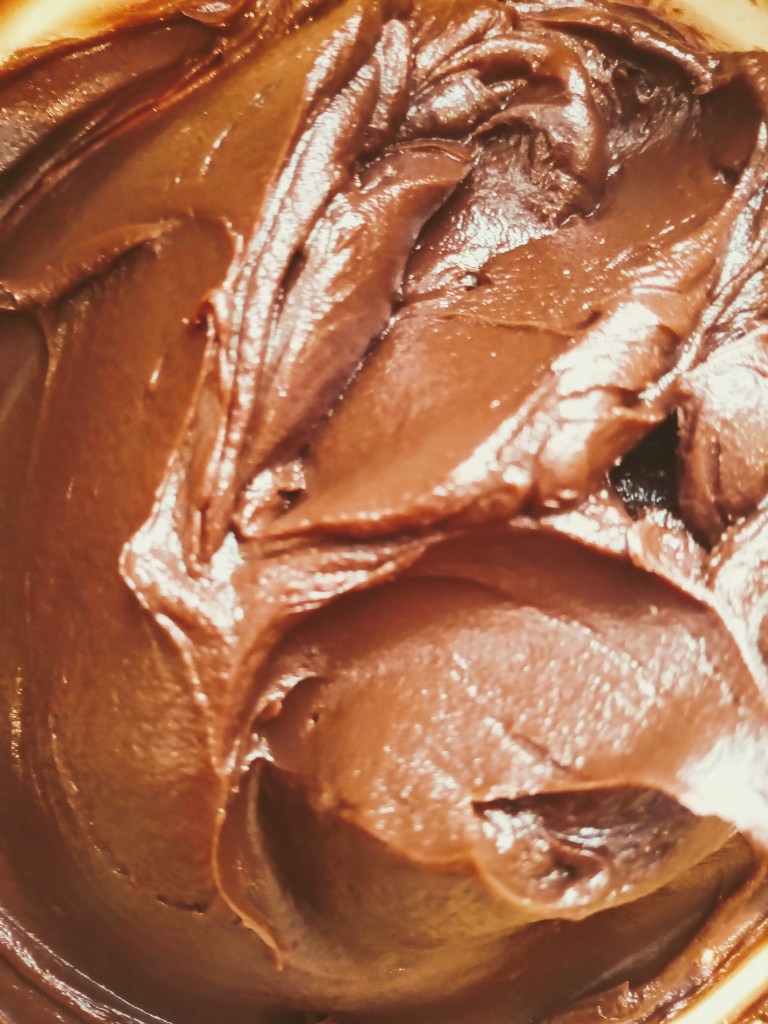
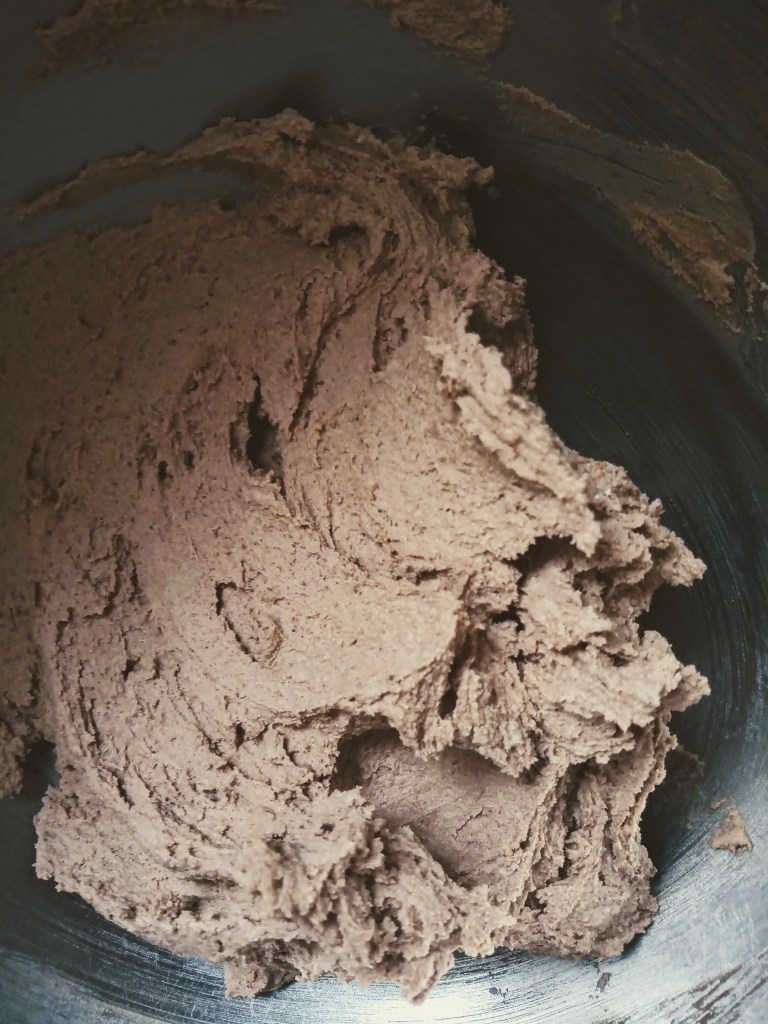
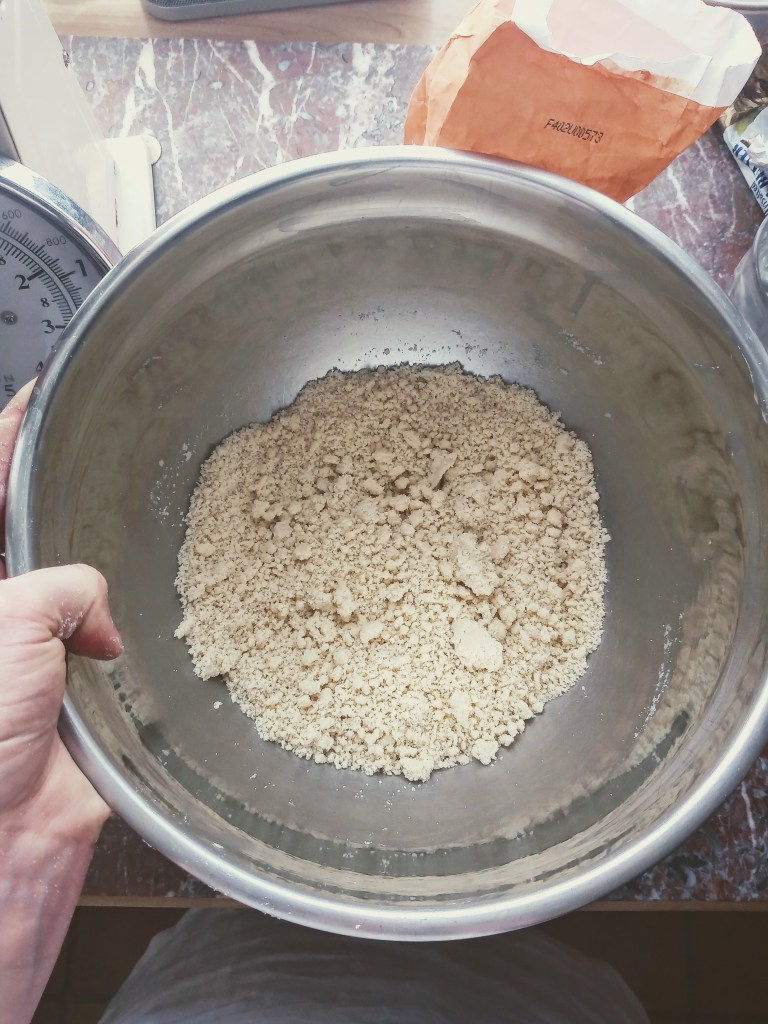
Cream together the butter and sugar until the mixture has fluffed up around the sides of the bowl. Add in the eggs one at a time, beating until combined between each addition, the cold temperature of the eggs helps the mixture not curdle.

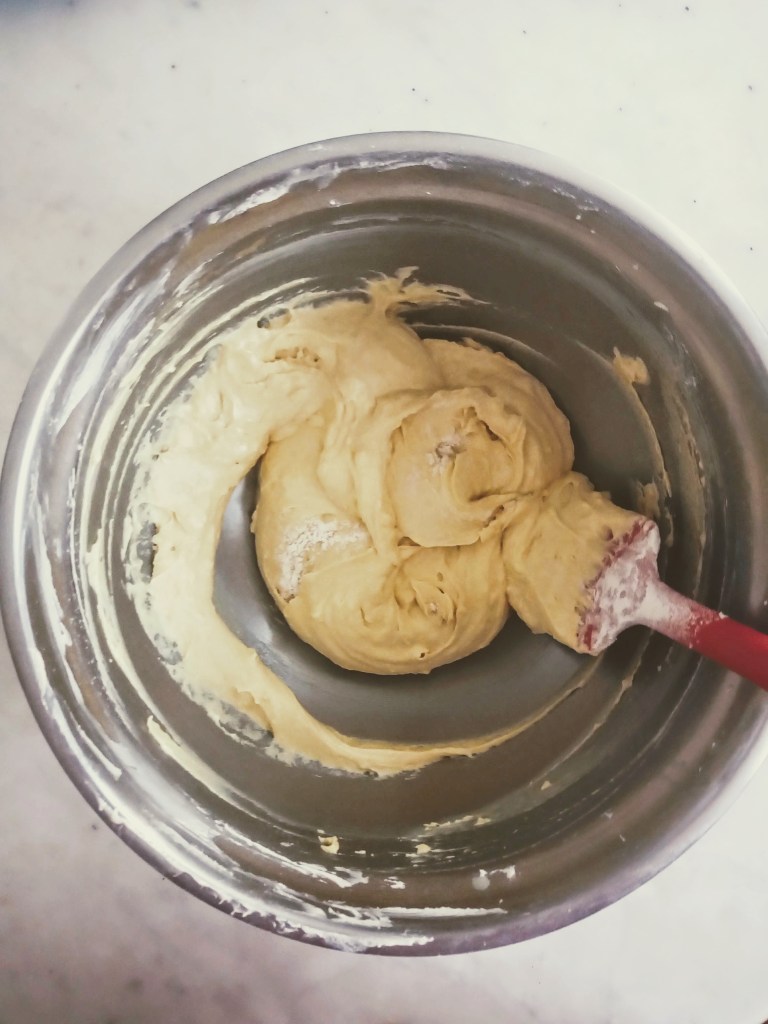
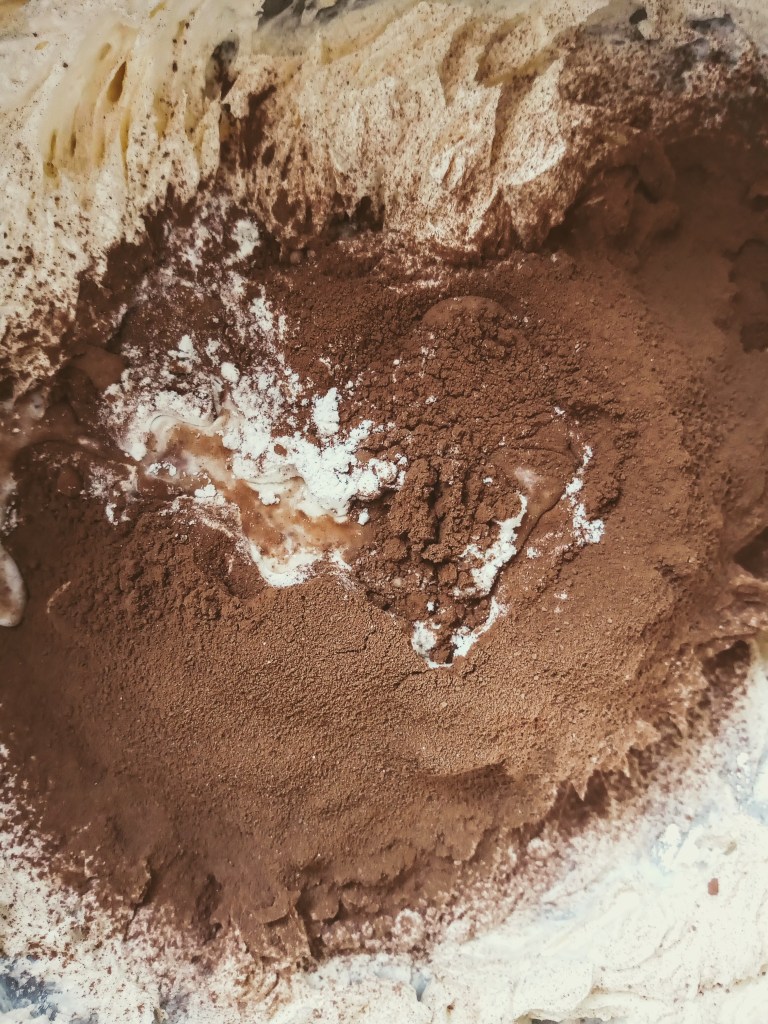
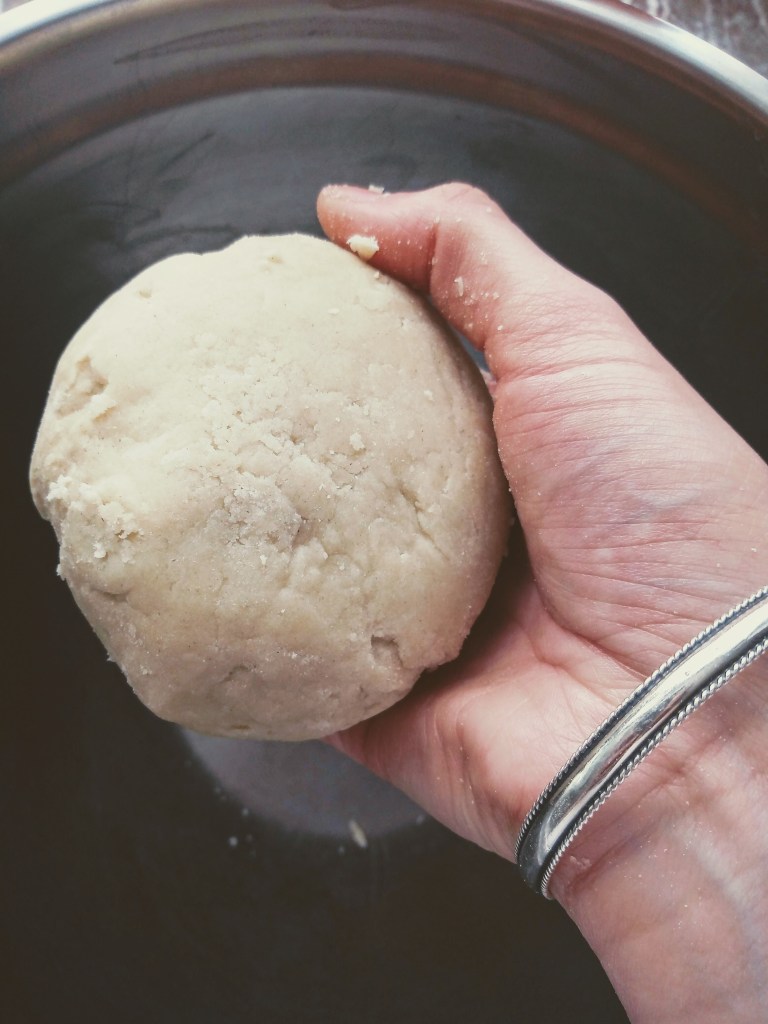
Now add the condensed milk and beat until just combined. Fold through the flour, ground almonds, salt and spices. Pour the batter into the prepeared tin and bake for 55-60 minuets or until a knife inserted into the cake comes out with only a few moist crumbs attached.

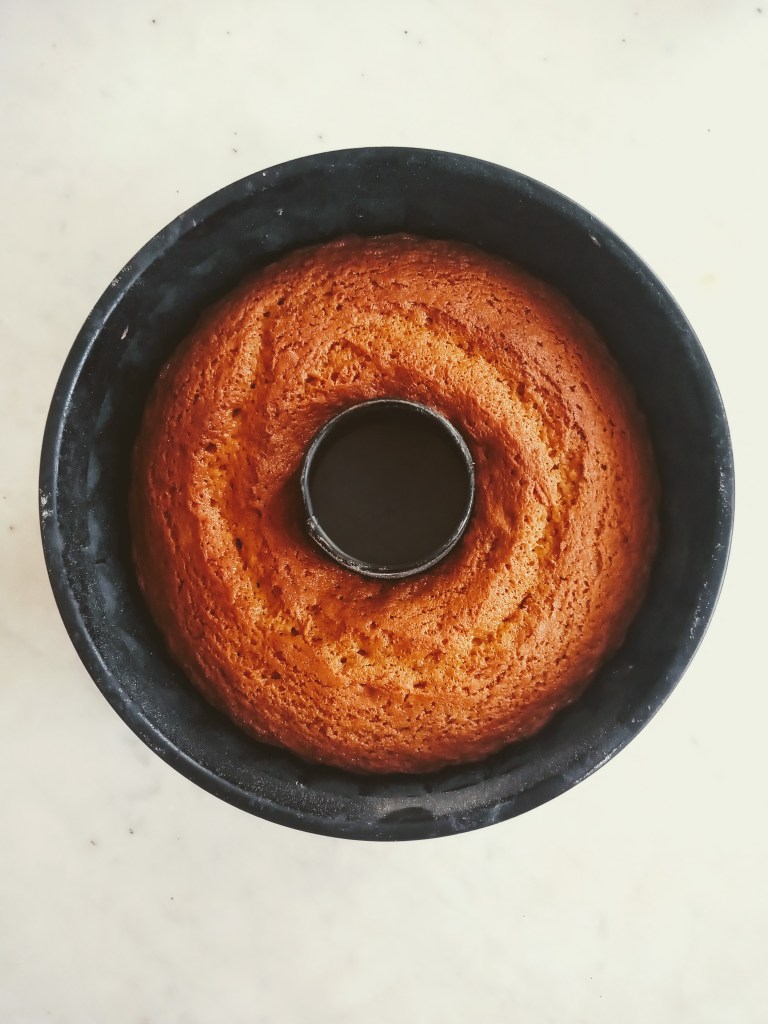
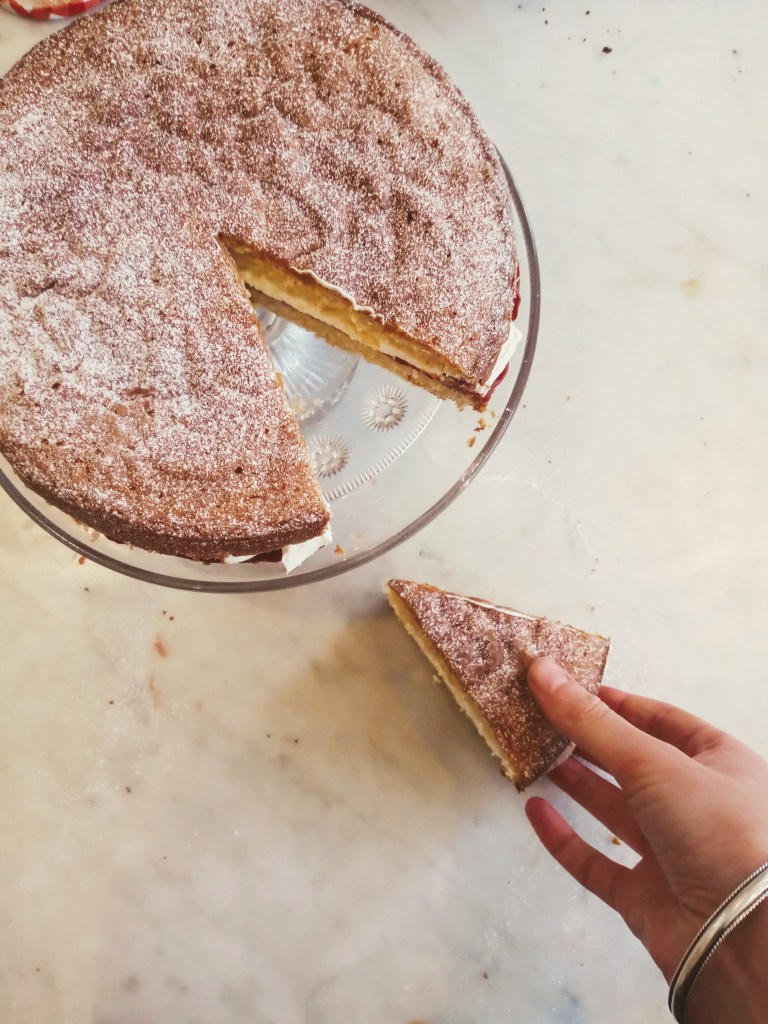
Scatter the warm cake with some sugar. Leave for about 10 minuets before removing the cake from the tin.

(lol, I just signed off my name as ‘Cake x’. I was destracted, watching tiger sat next to me laugh at whatever she has on netflix) Speak later, Cake x

Dark Chocolate Cake

Cakes

Dear Joe

It’s 21.43pm on the 9th of July as I write this. Our flight to Italy leaves in 8 hours but I’m sat in our garden writing this, becuase it’s a cake that needs writing about. My plan is that you will read this in about a week’s time when I’m with Coco in Zurich (Coco has kindly changed his name from ‘Constantin’ to ‘Coco’ to fit thematically with this post).

I’m looking at the sage bush and the roses. The evening has washed everything with watercolour grey. It’s beautiful. Don’t really have time to write poetic prose for this one, as I said, we have a flight in 8 hours and I do need sleep. Instead, I’ll let the poem you have tattoed on your chest do the talking.

It says – you become strong doing the things you need to be strong for – Audrey Lorde

I read this on you 20 mins ago when you were lying on the floor because Matt made you do too many dead lifts at the gym hahaha. The words resonated with me.

I’m becoming strong in our garden at – now – 21.52pm, because I really need to write down this chocolate cake recipe for you.

So, I’ve got the golden ticket – I’ve found my go-to chocolate cake. It’s dark, damp and bitter, with the kind of sweetness that only a rich chocolate cake can bring. It’s rich and dense enough to eat with a spoon, but delecate in a way too, it collapses on itself, melting on your touge. It happens to be dairy free too, and can eaisly be made gluten free by replacing the plain flour with ground almonds or gluten free flour.

Cake Note – this is a versatile cake. Bake it in a 23cm square tin for 35mins and slice in squares dusted with cocoa powder. Slice the cake horizontally in half, and stack thin layers of the cake between chocolate cream. Or bake it in a round 9inch tin for 35 mins for a thinner, quicker cake. Or, bake as I have written here and get a picture-perfect, single layer chocolate cake with a thick melting ganache.

Ingredients

For the Cake

  • 100g finly chopped dark chocolate
  • 50g cocao powder
  • 100g boiling water
  • 2 eggs
  • 150g olive oil
  • 200g sugar
  • 2 teaspoons vanilla extract
  • 1/2 teaspoon salt
  • 75g ground almons
  • 75g plain flour
  • 1/2 teaspoon bicarbonate of soda
  • 100g plain yoghurt

For the Ganache – Optional

  • 100g finely chopped dark chocolate
  • 120g double cream
  • 15g golden syrup

Method

Pre heat the oven to 170/150 fan. Grease and line with baking parchment an 8 inch round cake tin.

Put the chocolate and cocao powder in a bowl. Pour over the boiling water and immediately cover the bowl with a plate. Set aside.

Beat the eggs, oil, sugar, vanilla and salt until lighter in colour and frothy – about 3 minutes with an electric whisk. Mix the chocolate boiling water mixture into a thick paste with a spatula. Scoop the lot, in one go, into the whisked egg mixture and beat to combine.

Add the ground almonds, flour, bicarb and yoghurt. Beat until just incorporated. Pour the batter into the tin and bake for about 40 – 45 mins, or until a knife inserted into the cake comes out with a few moist crumbs. Allow the cake to cool completley.

For the ganache, put the chocolate in a large bowl. Heat the cream and golden syrup until it is just about to boil. Pour the cream over the chocolate and let it sit for a min or 2. Stir it all together until smooth, glossy and beautiful. Spread over the cake straight away. Eat.

Caitlin x

Apricot Olive Oil Cake

Uncategorized

Hey Joe,

Here is the first cake I made in Glasgow. I was working on this recipe a couple of months ago and wanted to test it out again – can confirm, it worked.

Apricots and olive oil might sound like a strange pair but the flavours work really well together. There’s no butter in this cake, the olive oil is used as the fat. But, you want the olive oil for its flavour rather than to make the cake dairy free. Tiger (my flatmates name is tiger. She’s not a real tiger) can’t eat dairy so this is a cake that she can have! Woo! I think she liked it. I presented it to her on a plate, she growled a bit, picked the cake up with her mouth, dropped it on the floor and started eating it. I have never seen someone eat a cake so well – that’s my Tiger!

Ingredients

For the Apricot Compote

  • 250g pitted apricots
  • 50ml water
  • 75g apricot jam

For the Cake Mix

  • 100ml olive oil
  • 100ml milk
  • 1/2 teaspoon vanilla extract
  • 2 eggs
  • 100g ground almonds
  • 125g plain flour
  • 1/2 teaspoon baking powder
  • pinch of salt
  • 180g sugar

If you can’t get hold of apricot jam, which is quite expensive, substitute it with 1 tablespoon of honey and 1 tablespoon of sugar. If your apricots are very ripe, add less sugar and honey.

LOL. I have a confession. I’ve just realised that there’s milk in this recipe. In case you didn’t know, milk is a form of DAIRY. I’m pretty pleased with my lil story about tiger, My dairy free friend, so I’m not editing the introduction to this post. Tiger, I am sorry that I made you eat dairy without you knowing it and I hope this dairy didn’t give you the shits.

Method

Pre heat your over to 180. Butter a round cake tin (mine is 20cm) with the most dairyist butter you can find.

In a small saucepan, heat your water, pitted apricots and jam (or sugar and honey) over a medium heat. Let it cook for about 5 mins, stirring occasionally, until the water has evaporated and the mixture is a loose consistency. Turn off the heat and set aside. If you want some whole apricot pieces topping your cake, like in the picture above, set some apricot halves aside for you to place on top of the cake before it goes in the oven!

Lightly whisk together the olive oil, milk, vanilla extract and eggs.

In a separate bowl mix the rest of the ingredients together – ground almonds, flour, baking powder, salt and sugar.

Combine the wet mix with the dry mix, stirring until you have your cake batter.

Pour the batter into the prepared cake tin. Spoon the apricot compote over the batter in blobs. Using a skewer or knife draw a couple of figure of 8 patterns in the cake batter. What your doing here is marbling the compote into the batter. The less figure of 8s you do in the batter the clearer the marble pattern will be in the final cake.

Bake for about 35-40 mins or until a knife inserted into the cake comes out with not wet batter.

Have a good bake and a good cake,

Caitlin xxx

Honey Turmeric Cake

Uncategorized

Yo Joe,

Wow. This is a peng cake. Really good. It’s also yellow when you cut it open. Peng and yellow.

Look at this lil dude. He’s so cute and yellow.

This is one of my recipes. Think we spoke about the idea for it on the phone a couple weeks back. I’ve been thinking about honey and turmeric ever since. Honey and turmeric in cake form. Been doing quite a lot of reading about different honey cakes and yogurt cakes actually (haha oh dear). I wanted to put some kind of live culture dairy in the cake batter, something like yogurt. The acid in these kinds of dairy products makes the cake really light and soft because it breaks down the gluten in the flour. Pretty cool. I used sour cream in this cake (its cream that is thick and a bit sour, mmm).The taste is stunning and the texture is even better. Like the best sponge cake texture. Cool! 1 min of your life reading that you will not get back!

Because of the texture, flavours and colour, this is my version of a self-care cake. I quite like that.

Thought we should give our readers and followers some reviews of this cake – ‘Wow.’ (Dad), ‘A really good sponge.’ (Anna). Great, and that concludes the review section!

Ingredients

  • 200g plain flour
  • 100g softened butter
  • 100g caster sugar
  • 2 eggs
  • 1 teaspoon baking powder
  • 1/2 teaspoon bicarbonate of soda
  • 1 and 1/2 teaspoon turmeric (the powder. Not fresh, this isn’t a curry)
  • 100ml sour cream
  • 100ml honey
  • 1 teaspoon vanilla extract

For The Glaze

  • 60g icing sugar, sifted (add more if you want a thick icing)
  • 1 tablespoon boiling water
  • 1 heaped teaspoon honey

Method

Preheat the oven to 180. Grease a round cake tin with butter and dust over with some flour. Tip out the excess. A 20 cm round tin will work, I used a 20 cm bunt tin.

Start by measuring out the flour, you will need a bit of it when you add the eggs. Set the flour aside for now.

In a large bowl cream the butter and sugar with a wooden spoon or electric mixer until light and fluffy.

Visual Art No.2

Add both your eggs and a heaped table spoon of the flour. This will stop the eggs from curdling. Beat your eggs in for about 1 min.

In a separate jug or bowl whisk together the sour cream, honey and vanilla extract with a fork until there are no more large lumps of honey.

Add your baking powder, bicarbonate of soda, turmeric and salt to the flour you set aside earlier.

Visual Art No.3

Alternating between flour and sour cream, fold in the sifted flour mixture in three goes and the sour cream mixture in two goes, starting and ending with the flour mixture. Don’t over mix this, just until everything is combined. Once all flour and sour cream is combined the batter will be an amazing yellow and ready to pour into your cake tin.

Bake for 40-45 mins or until a skewer inserted into the cake comes out clean and the cake springs back when gently pressed with a finger. Cool the cake in the tin for 10 mins before turning out.

To make the glaze mix together the sifted icing sugar, honey and boiling water. Spoon this all over the cake while it is still warm.

Mmmm it looks like honey and turmeric in cake form!! haha!

Have a good yellow cake day!!!

Love Caitlin xxx

Chocolate Orange Cake

Uncategorized

Yo Joe,

You said on the phone the other day that you’ve discovered marmalade. A couple days before we had this convo, I’d been working on this recipe for a chocolate orange cake using marmalade. So I think what happened there is some telepathic communication from me that told you to look for a jar of marmalade in Henry’s cupboard and eat it.

Like a big old jaffa cake mmm

I made this cake 4 times in 3 days. Hmmm oh dear haha. I wanted to get it right though. It is also a very fast cake to make, you pretty much just stir everything together in a saucepan and tip it into a cake tin.

It’s based on a Nigella recipe but my version is pretty different (after the 4 attempts). It’s really really good. Like someone made a cake out off jaffa cakes. Just one thing – this cake, and any chocolate cake, can dry out quite quickly if its baked for too long. So just keep an eye on it. But if it is a bit dry, it’s still cake and will still taste really good, like a cake made out of jaffa cakes.

Ingredients

Cake

  • 125g butter
  • 100g dark chocolate
  • 100g fine cut marmalade
  • 150g caster sugar
  • 2 eggs
  • 1/2 teaspoon vanilla extract (a splash)
  • Zest of 1 orange
  • pinch of salt
  • 150g self raising flour
  • 1 tablespoon cocoa powder

Chocolate Ganache

The cake tastes good without this. Warm out the oven, I like eating it straight out of the cake tin.

  • 50g dark chocolate
  • 100ml double cream
  • 1/2 tablespoon caster sugar

Method

Preheat the oven to 180. Grease a round cake tin with butter (mine is 20cm). Shake some flour in the tin to coat the base and sides, get rid of any excess flour out over the sink.

Melt the butter and chocolate together in a heavy based saucepan over a medium heat. Stir occasionally with a wooden spoon to stop the chocolate from catching and burning. One melted remove from the heat, allow to cool slightly.

Stir in the marmalade to the melted chocolate making sure there are no big lumps.

Add the sugar, eggs, vanilla extract, orange zest and salt into the saucepan. Beat with your wooden sppon to combine everything fully.

Sift the flour and cocoa powder into the saucepan and fold in. When you can’t see any more dry flour, stop mixing and pour into your cake tin.

Bake for 50-55 mins or until a skewer inserted into the cake comes out clean. Allow to cool in the tin for 10 mins before turning it out.

If you want to make the ganache brake up the chocolate into small pieces and put in a bowl, set aside.

I’m going to start numbering my Visual Art. This one can be called ‘Visual Art No.1’

Combine the cream and sugar in a heavy based saucepan. Put on a low heat until it begins to simmer gently around the sides of the pan. You will need to swirl the pan occasionally so the cream does not catch and cook on the sides of the pan.

As soon as you see the cream simmering slightly, remove from the heat and pour over the chocolate.

Use a spoon to stir the cream and chocolate together, the chocolate will melt into the cream and you will have ganache.

Hope you enjoy the cake, send me a pic when you make it. Keep eating that marmalade.

Caitlin xoxo

Profiteroles…Profiteroles!

Uncategorized

Hey Joe,

Last week I wanted to be a French Pastry Chef – I still would like to be a French Pastry Chef – so I made Profiteroles! I’ve never been profiteroles’ number one fan, but I am now. I think I have seen profiterole light and I’m not looking back. I told Celestine that this post would be up a week ago (sorry Cel, hope you can make these as a post exam celebration pastry).

PURE joy.

Joe I’ve decided that you need to get a set of weighing scales. French Pastry Chefs don’t measure things in mugs. If you wanna make these get some scales plz because we are making PASTRY and you have to be precise with PASTRY. I found you some on Argos. They are £6. Bargain.

There are three components to a profiterole and to be honest they are all pretty easy. It just needs patience. First thing is making choux pastry. It’s the only pastry that is cooked off on the hob before it goes in the oven, pretty cool. The way it puffs up when it bakes is magic. It’s the result of steam from the water that you’ve cooked into the pastry dough when it was on the hob – very cool. The second component is chantilly cream. Lol. That is French Pastry Chef words for whipped cream and vanilla. Last bit is the chocolate ganache on the top, which you can make in under 5 mins.

oh my god look at this lil guy. Lil Buddha.

(Can’t take credit for this, it’s Paul Hollywood’s recipe, just in my words)

You will need a piping bag and a 2cm round plain round tip nozzle for this. A bit annoying, but worth it.

Ingredients

Choux Pastry

  • 65g plain flour
  • pinch of salt
  • 50g unsalted butter
  • 2 eggs

Chantilly Cream Filling

You can mess with the measurements with this. It depends how sweet you want the cream and how much cream you want in each choux bun.

  • 200ml double cream
  • 1 tablespoon caster sugar
  • 1 teaspoon vanilla extract (or the paste from one vanilla pod, that’s what I used to get the specs of vanilla in the cream. Pods are really expensive though)

Chocolate Ganache

  • 100g dark chocolate
  • 150 ml double cream
  • 1 tablespoon caster sugar

Method

Pre heat the oven to 200, line 2 baking trays with greaseproof paper. Rub a bit of butter in the corners of the trays to stick the paper down.

Sift the flour onto a sheet of greaseproof paper and set aside.

Add the cubed butter and 120ml water to a heavy based saucepan. Melt the butter gently over a medium heat – don’t let the mixture come to a boil and start evaporating. Once the butter is completely melted, increase the heat to full and bring quickly to the boil. Once boiling, tip all the flour into the saucepan in one go. Remove from the heat and beat rapidly (RAPID, like, go for it) with a wooden spoon. The mixture will begin to ball together and come away from the sides of the saucepan.

Put the pan back on the hob, with a low heat. You want to keep beating the dough (not as rapidly, you can calm down now) for about 2-3 minutes. You are trying to cook the dough off a bit. You will see a sort of brownish skin start to form over the bottom of the pan – that’s good, you’re cooking off some of the moisture. After 2-3 mins of beating, tip the dough out into a clean bowl and leave to cool until tepid (not boiling hot).

Once the dough is cooled a bit, beat the eggs in a separate bowl until combined. Gradually add the beaten egg to the dough, bit by bit, beating well after each addition (use a wooden spoon or electric whizers). You might not need all the egg, because too much egg will spoil the dough and they wont puff…v sad. The dough has had enough egg when it is shiny, paste-like and falls from a spoon when shaken gently. You can use this test to see if you have added enough egg:

Get a bit of dough between two fingers…
…pull apart slowly…
…you want the lil peak of dough on your bottom finger to fall to a hook when your fingers are separated. If the lil peak stands upright it needs a bit more egg.

Spoon the pastry dough into a piping bag, fitted with a plain round tip that is about 2cm wide. Pipe disks about 4 cm apart on your baking trays. You can do this by keeping your piping bag in a fixed place for each choux bun, and just squeezing until you have the width you want. I made mine quite big, about 5cm wide. Keep in mind the smaller they are the less time they need in the oven.

Using a damp finger, gently flatten the little spike of dough from the piping bag on each disk of dough. Sprinkle a bit of water with your fingers on the tray – not the dough – and put in the oven for 15 mins. After 15 mins, without opening the oven door, reduce the temperature to 170 and bake for a further 10 mins, or until golden-brown and crisp.

Take out the oven and carefully make a steam hole in the side of each choux bun with a skewer. This will allow them to dry out inside. Return to the oven for another 5 mins or until the pastry is completely crisp. Remove from the oven and allow to cool.

Once the pastry is cool make the filling and topping. For the Chantilly cream, whip the cream, sugar and vanilla (paste or essence) until just stiff.

Visual Art of the day.

For the ganache, break up the chocolate into small pieces and put in a bowl, set aside. Heat the cream and sugar in a heavy based saucepan until it begins to simmer, you can swirl it every now and then so it doesn’t catch on the sides too much. As soon as it reaches a simmer, remove the cream from the heat and pour over the chocolate. Whisk the cream and chocolate together, you will see the chocolate melt into the cream and a smooth ganache magically appear!

Cut the top of each choux bun. If there are bits of soft dough inside the bun when you cut the top off just remove them. Use a piping bag or a spoon to fill the hollow choux buns with cream. Put the lil choux tops on and spoon a generous amount of chocolate ganache on top.

Now…..eat!!!!!!! And see the choux light.

hahah

Enjoy the profiteroles. Love Caitlin xxx

Chocolate and Hazelnut Viennese Whirls

Uncategorized

Hey Joe

Last time we spoke on the phone, you said you wanted something ‘chocolatey, shortbreadey, ganachey’. I won’t lie to you, I don’t think ‘ganachey’ is a word. But I came up with a recipe that is all three of those things, including ‘ganachey’. This is my take on a Viennese Whirl. It’s two chocolate, shortbread like biscuits, sandwiched together with a chocolate ganache… they are SO peng. I’ve given you your mug measurements again, they’re in brackets next to the normal people measurements.

I’ll give you a couple of reviews so you know how good they are, ‘my second favourite bake, after the apple and blackcurrant bakewell tart‘ (Kanhai), ‘the business’ (dad), mum didn’t say anything. She just ate them, so I have no review from her. I’ll make one up from her – ‘very good’ (mum).

Aww the lil odd guy out

Ingredients

Chocolate Viennese Biscuits

  • 160g unsalted butter, very soft (just over half a pack of butter)
  • 65g icing sugar, sifted (half a mug of unsifted icing sugar, or just under half a mug if sifted)
  • 1/2 teaspoon vanilla extract optional
  • 170g plain flour (just under a full mug)
  • 1 tablespoon cocoa powder
  • A splash of milk

Chocolate Ganache

You will have a bit of left over ganache with this recipe

  • 100g dark chocolate
  • 150ml double cream
  • 1 tablespoon caster sugar (golden or white)
  • A handful of chopped hazelnuts optional
This is the mug I used for you measurements. The mug of choice. It’s 10cm tall, 8cm wide. Try and find one roughly this size…..or GET A SET OF SCALES you mug.

Method

Start by making your ganache. Break the chocolate into small chunks. Set the chocolate aside in a mixing bowl. To make ganache, you heat cream and sugar until it boils and then pour over chocolate, I’ll explain it properly below.

Add the cream and the sugar into a heavy base saucepan. Heat this on a medium heat bringing the cream to a simmer, stirring continuously. Once the mixture is simmering and all the sugar has dissolved completely, bring the mixture to a boil. Once boiling remove from the heat and straight away, pour over the chocolate, whisking as you pour.

Hahah I mean it now when I say Visual Art

Cover the ganache with cling film, making sure the cling film is touching the ganache in the bowl and set it aside to cool.

Next make the biscuits. Pre heat your oven to 170 and line two baking trays with greaseproof paper.

Please ignore these pics…
…If you are…
…not Joe

Beat together the butter and sifted icing sugar until light and fluffy (this will take about 2 mins). Beat in the vanilla extract now, if you are using it, and a small pinch of salt.

Mix in your sifted flour, cocoa powder and generous splash of milk. Try not to over mix this, just until you can’t see any more dry flour.

Get the dough into biscuit shapes on your tray. There are two ways you can do this. A traditional Viennese Whirl is made by piping the dough into circles or rosettes with a piping bag fitted with a large star nozzle. This is the way I used. You can also use a teaspoon. Scoop a heaped teaspoon of dough, roughly roll it into a ball with your fingers and place it on the tray. Use the tips of your fingers to flatten it slightly.

Whatever way you do it, they should be roughly 6cm in diameter – a bit smaller than a digestive biscuit – and spaced well apart on the trays. You should get about 16-18 biscuits. Bake for 15 mins or until firm to touch. It’s hard to tell if it’s done because of the chocolate colour – but have faith, they’ll taste good either way.

Once out the oven leave the biscuits to cool completely. When they are cool, pair up the biscuits. Give the ganache a stir and spread it generously on one biscuit per pair and sandwich the other biscuit on top.

You can sprinkle some chopped hazelnuts on top of the ganache to make a kind of baci kiss biscuit. You’ll need to spread a bit of ganache on the biscuit that you sandwich on top if you do this, so it sticks to the hazelnuts.

Have a good Chocolatey, shortbready, ganachey biscuit. Love Caitlin xxx

Victoria Sponge

Uncategorized

Hey Joe

Got a bit of an issue… you don’t have any weighing scales. Hahah. Hmmmm we managed to get a month into a baking blog without either of us seeing that this is an issue. You must have found ‘ingredients’ a thrilling read. I’ve put mug measurements for this recipe so you can make it without guessing. Use a regular size mug as the measuring cup. There’s also the proper measurements for our readers (mum, dad – that’s you).

There’s a lot to celebrate this week. It was Dad’s birthday, Sue’s birthday AND you announced the publication of your second poetry collection (!!!!!). All things to celebrate with cake. So I made a Victoria Sponge. I was going to write something really profound about the victoria sponge, about how it’s a classic and an absolute banger and how putting all the ingredients for this cake in a bowl and whizzing it up doesn’t do the cake justice, but I’m not going to lie, I’m not feeling the writing thing today. I’ll let the pics do the talking.

Ingredients – Joe’s Fav Part

The Sponge

  • 175g unsalted butter, softened (use the measurements on the packet)
  • 160g caster sugar (1/3 of a mug)
  • 175g plain flour (1 level mug)
  • Pinch of salt
  • 1 1/2 teaspoons baking powder
  • 3 eggs
  • 1 teaspoon vanilla extract
  • 50ml milk (2 tablespoons)

The Filling

  • 180ml double cream (use as much as you want)
  • 1 tablespoon icing sugar
  • 2 tablespoons strawberry jam

Variations: you can sandwich the two layers with vanilla buttercream instead of whipped cream. Use 100g softened butter, 160g icing sugar, 1 teaspoon of vanilla extract and a pinch of salt. Beat together until light and fluffy.

Variations: you can bake the sponge in two halves, divide the mixture between two tins and bake for 20-25 mins at 180.

Method

Pre-heat the oven to 180. Line your tin with greaseproof paper or butter and a light dusting of flour.

Cream together the butter and sugar until the mixture becomes lighter in colour and fluffy. An electric mixer/hand mixer is easier but you can use a wooden spoon. Add your vanilla extract and salt and cream for a further minute. The more you cream the butter at this stage, the better.

This is what creamed butter and sugar looks like

Measure out your flour and set aside. One by one add your eggs and a tablespoon of flour to stop the mixture curdling, which stops the cake rising. Beat in the egg really well between each addition – it will give you a lighter texture of cake. You want the mixture to look smooth and glossy.

Add in the rest of the flour, baking powder and milk. Use a spatula or metal spoon to fold the mixture together until everything is incorporated. The less mixing you do here the better, you don’t want to knock out all the air you put into the cake batter so far.

Visual At ‘Before You Fold’. Very poetic.
Visual Art ‘After You Fold’. Very poetic again!

Pour the cake batter into your tin and bake for 45 mins or until light golden and a skewer inserted into the cake comes out clean. The top of the cake won’t spring back if you press it when out the oven, this is just because it’s an airy batter and because of the addition of milk – it’s a good sign!

(You don’t have to bake the cake in two tins)

Leave the cake to cool completely. Whip up the cream and icing sugar until it can be scooped onto a spoon and hold its shape. Cut the cake in two, spread jam and cream all over one half, bringing it right to the edges of the cake. Place the top on the cake and then eat it!

Vanilla buttercream
Whipped cream
Vanilla buttercream ft. my finger
Whipped cream

Hope you enjoy looking at the peng cake pics. Love Caitlin x

Cinnamon Banana Pancakes

Uncategorized

Yo Joe,

I think you’ll like this one. Kanhai found this recipe last week and has had them for breakfast 5 times already. He found them on this Olympic climbers YouTube channel. I think he thinks that if he eats enough of them, he will become an Olympic climber. Sound logic if you ask me. I made them the other day and have perfected the recipe (if you can call this a recipe)… not that the Olympic climbers recipe wasn’t great already, I think I made it a bit more great. If you make theses, you have to listen to the song, ‘Banana Pancakes’ by Jack Johnson. Original, I know. Every time Kanhai makes these he has to play this song, feel like you should get the full experience. Plus the pancakes stick without it.

My lil stack

Because there’s no flour in these pancakes, its best to put in some linseed or chia seeds into the batter to help it bind together. Both these seeds swell and act a bit like glue when they come into contact with liquid. If you can’t get either that’s all good, they work just fine without.

Ingredients

For one person, a stack of 4 pancakes

  • 1 ripe banana
  • 2 eggs
  • 2 and a half tablespoons muesli
  • half a teaspoon cinnamon
  • 2 teaspoons linseed or chia seeds (only put this in if your muesli doesn’t have either of theses in it)
  • Butter to fry the pancakes

Measurements: you can be pretty relaxed with the measurements on this one. As long as you have a loose batter that can be spooned onto a frying pan your all good.

Variations: You can use plain oats or muesli. I like using muesli cus of the raisins in muesli. You can also mess around with the spices in the batter; ginger, turmeric, cardamom and nutmeg would all work.

I call this one ‘Three Bananas and Three Eggs’

Method

Mash your banana in a bowl and whisk in the 2 eggs. Mix in the muesli, cinnamon and linseed.

Whisk, I learnt how to spell this 5 mins ago. Great!
Whisk…
…Whisk…great word.

Let a nob of butter melt in a frying pan on a low heat. Once the pan is hot, drop about a 1 and 1/2 tablespoons of batter into the pan for each pancake depending on how big you want them.

And now I will tell you how to fry a pancake…. what has become of me. Lol.

Turn the heat to medium and fry the pancakes for about 3 mins before flipping them over or until the outer edge of the pancake looks firm and little holes form in the pancakes.

Once flipped the pancakes need about 2 mins on the other side.

If you’re doing lots of batches top up the butter every other frying batch. While you’re frying, keep an eye on the pan, you don’t want the pan to get too hot. If it does, the butter will burn which will make slightly bitter pancakes (end of the world). If you smell burning butter just take the pan off the heat for a couple seconds and lower the heat of the pan.

A frying action shot

Top the pancakes however you want!!! Peanut butter and honey. Together. Is peng.

Have a good pancake Caitlin xxxx

Apple and Blackcurrent Bakewell Tart

Uncategorized

Hey Joe,

It’s been a little while hasn’t it, sorry about that. But I’ve created my own take on a Bakewell tart and it’s really good. The flavor combination is inspired by Mum. We have one jar left of the blackcurrant jam she made a while ago – and it is beautiful. Sweet and sour. But not like the sweet and sour chicken Grandad gets in every buffet he has ever been to… it’s fruity, sharp and sweet. Tastes really peng with the sweet almost frangipane. Funny word, I know, frangipane. Pretty much, frangipane is a sweet almond cake paste that you bake into tarts, it comes out of the oven really soft. The apple element in the tart comes from the draw in the freezer that mum has filled with apples. Mum is an apple hoarder. A hoarder of apples. Not from Sainsbury’s though. From apples that have fallen off apple trees. I don’t think she actually likes apples that much. I think she just gets excited at the idea of free food or she feels sad that no one is eating all theses apples. So. She takes them all.

This recipe took me two tries, mainly because of my relationship with pastry. In some sweet pastry you can bind the flour, butter and sugar with an egg. It makes a more glossy, firmer pastry case. I’m not a fan. The pastry case that I like is light, flaky and barely there. This is the kind of pastry that goes so well with the soft, chewy frangipane. (WOW food column in the Guardian – come get me).

For this recipe you will need pastry and an apple. Great! Put the apple in a pastry case and bake!….I am JOKING.

Variations: you can fill this tart with any kind of jam and any kind of fruit. Raspberries and raspberry jam, apricots and damson jam, rhubarb and marmalade…? The tart is your oyster.

This recipe can be used for a 18 – 20cm tart dish, flan tin or removable base round cake tin.

Ingredients

Sweet Shortcrust Pastry

  • 90g unsalted butter, cold and cubed
  • 175g plain flour
  • 1 tablespoon caster sugar
  • Pinch of salt
  • 1 tablespoon cold water plus one teaspoon

Frangipane and Filling

  • 100g unsalted butter, softened
  • 100g caster sugar
  • 2 eggs
  • 50g plain flour
  • 80g ground almonds
  • 1 teaspoon vanilla extract
  • 100g apples, pealed, cored and sliced
  • 1 heaped tablespoon blackcurrant jam
  • 2 tablespoons of flaked almonds

Method

Mix the flour, sugar and salt in a bowl. Add the butter. Using your finger tips, rub into the flour and sugar mix. You want to create a bread crumb consistency.

Once the flour, sugar, salt and butter have been crumbed add in the tablespoon of cold water. Use a knife (the kind you use to eat your dinner with) to ‘cut’ into the mixture. Literally use cutting, crossing motions with the knife pointing down, to allow the mixture to start clumping together. Don’t worry if it looks like nothing is changing, it is, just subtly. If it looks like there is still some dry flour in the bowl, add the teaspoon of water (and no more!)

Once the water has been added and I have used a knife to cut through the mixture

Once the water is incorporated and some clumps have formed bring the mixture together with your hands. Handle the dough as little as possible here. Once you have a ball of dough, wrap it in cling film and leave to chill in the fridge for 30 mins.

look at this lil g

While the pastry is chilling lightly butter your tin and sprinkle with some flour. Shake and pat the tin over the sink, covering it with a very light dusting of flour.

Remove the pastry from the fridge and roll it out on a lightly flour surface, your aiming for no thicker than 5mm. Please don’t measure it. This is sad. Just roll it out until you feel and then roll it a bit more. Then it will be ready. Line your tin with the pastry, making sure there is about an inch of pastry hanging over the edge of the tin (pastry shrinks when you bake it). This is how I do it:

Roll…
…roll…
…roll…
…lift!…Unroll…
…unroll…
…gently fold in…
…gently fold in…
…gently fold out…
…make some Visual Art…
…Used a ball of pastry to gently push into the corners and sides of the case…Done!

Chill the pastry case in the fridge for another 30 mins and pre-heat your oven to 180.

Once the pastry is chilled you need to ‘blind’ bake the pastry case before you add the filling. This just means your partly cooking the pastry. Cover the chilled pastry case with a sheet of greaseproof paper. Weigh the greaseproof paper down with uncooked lentils or rice (I’m using dried mung beans, Anna gave me them a year ago and they’ve been used as baking beans ever since). Bake this for 12-15 mins until the pastry appears dry, under the greaseproof paper. Remove the greaseproof paper and lentils/rice and let the case bake for another 5 minuets, until lightly golden.

Once the pastry case is out of the oven and cooled slightly, use a knife to trim the excess pastry hanging over the edge of the tin.

Leaving your oven on, make the frangipane filling. Beat together the butter, sugar and vanilla extract until light and fluffy.

Before adding your eggs, measure out your flour and ground almonds. Beat in your eggs one at a time to the butter mixture, adding a tablespoon of the flour and ground almonds with each egg addition to stop the mixture curdling.

Fold in the remaining flour and ground almonds.

Now assemble the tart. Layer jam, then half the frangipane, then the apples, the the rest of the frangipane.

Bake for 10 mins then sprinkle over the flaked almonds. Return the tart to the oven for another 15 – 20 mins or until golden brown. This doesn’t behave the same way as a cooked cake, so don’t press it to see if it springs back! You will have a finger print tart….mmm delicious.

Enjoy the bakewell! Caitlin xxx

I started eating the off cuts of the pastry with jam while the tart was cooking… would recommend