Yo Joe,
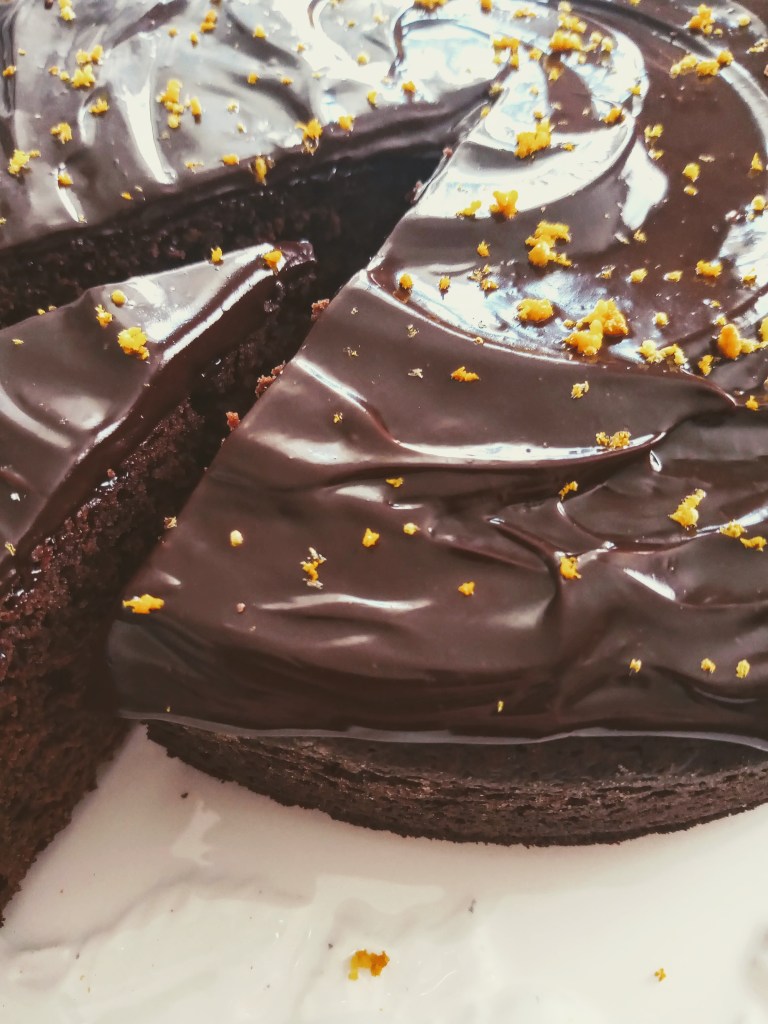
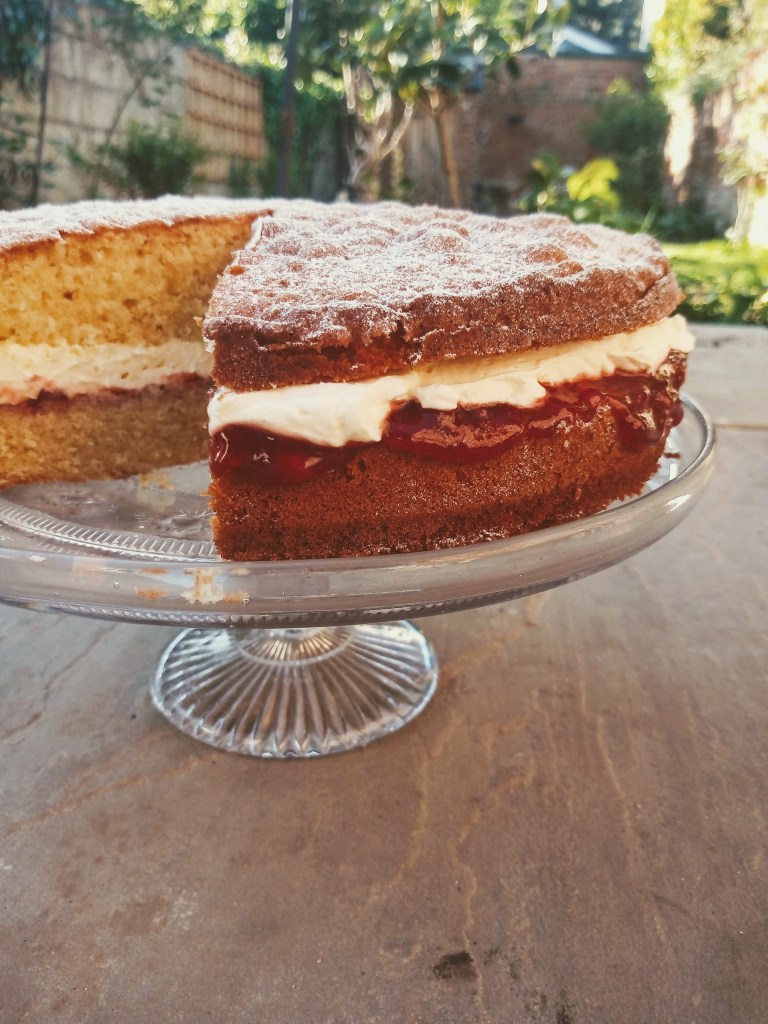
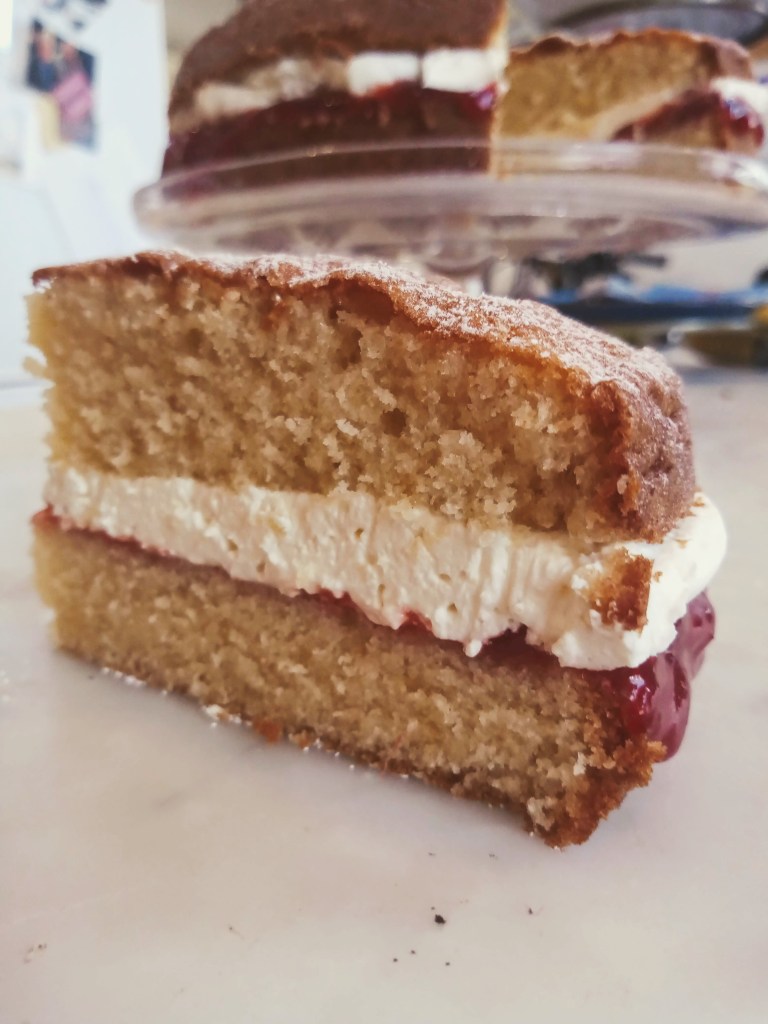
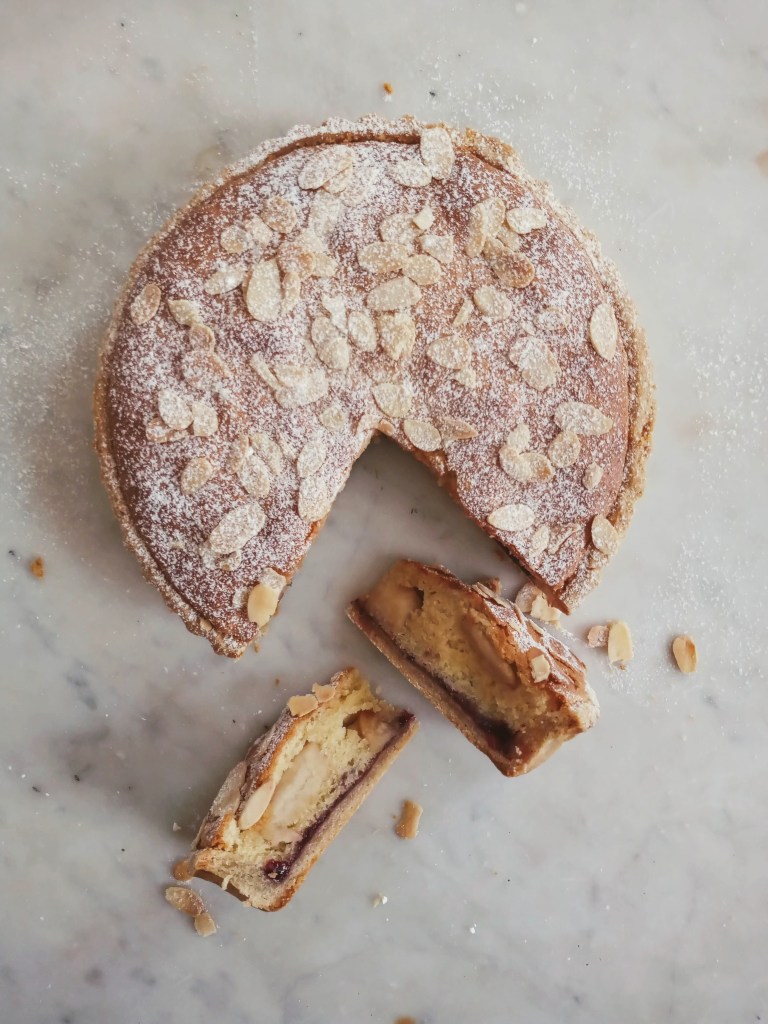
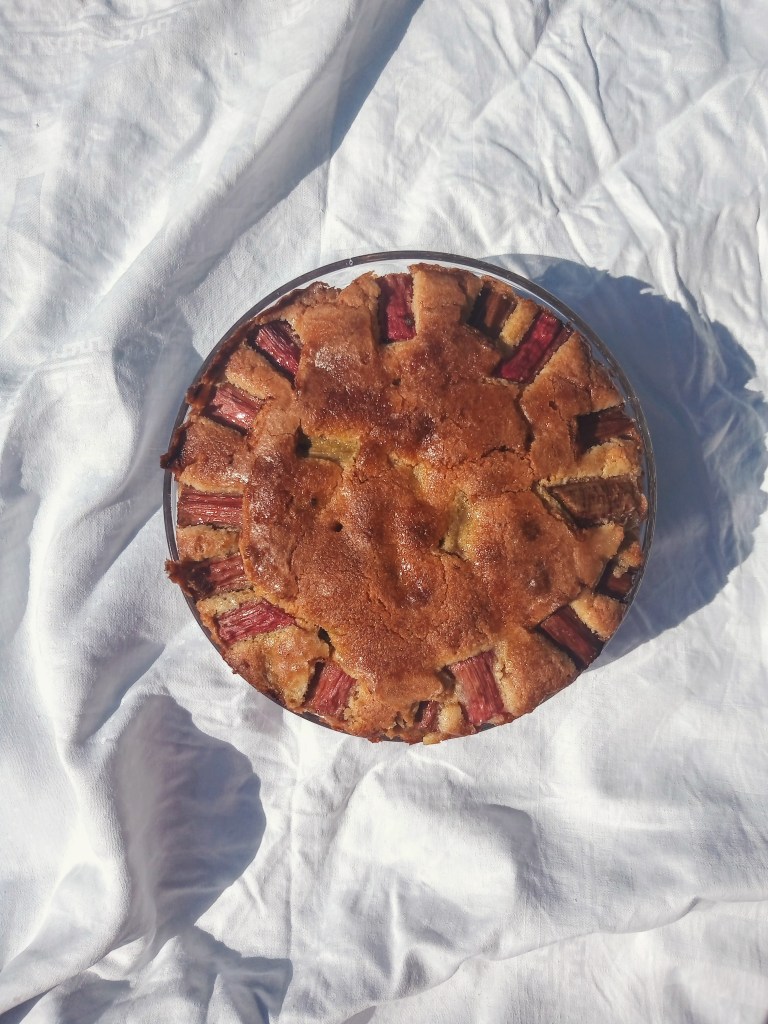
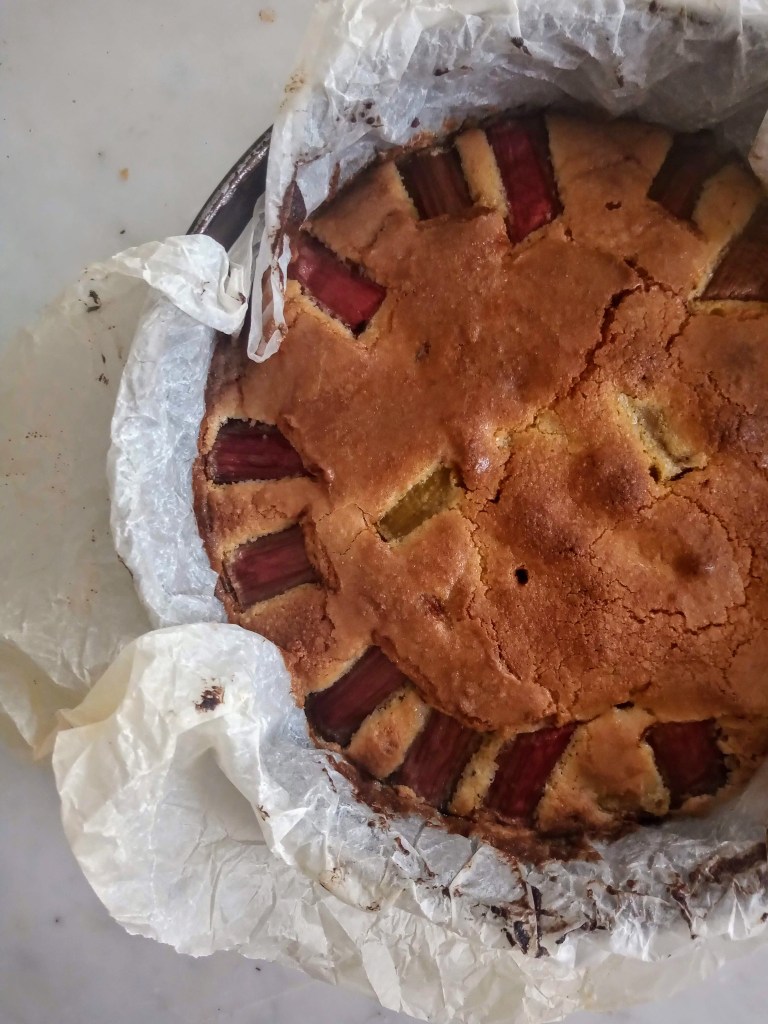
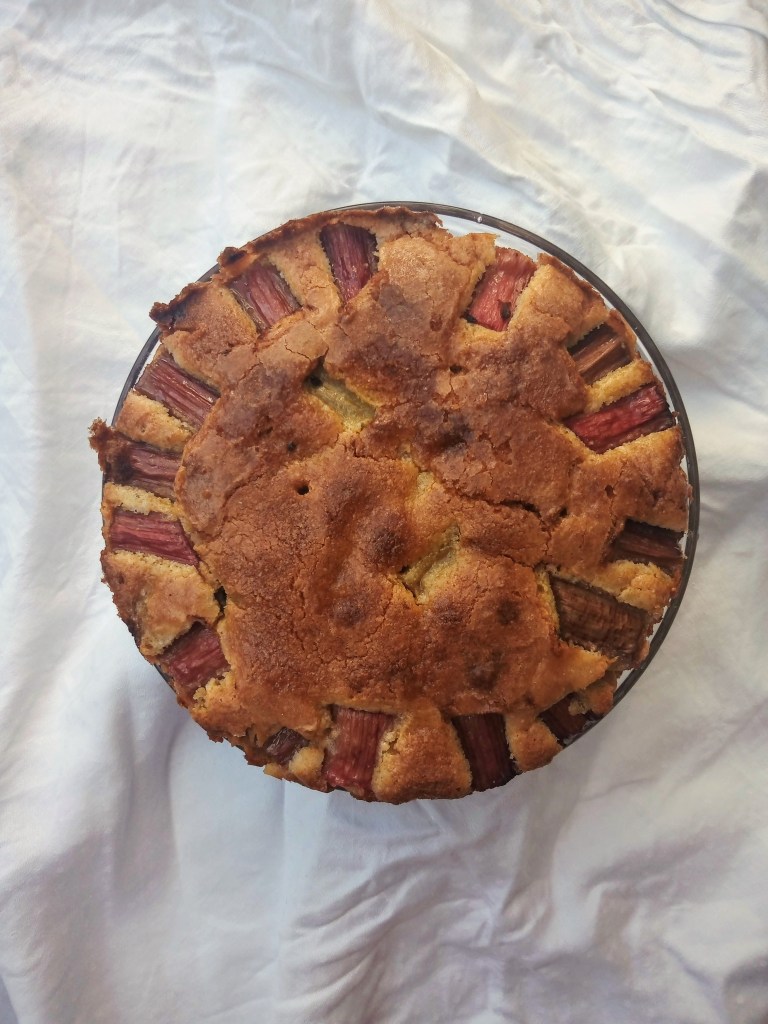
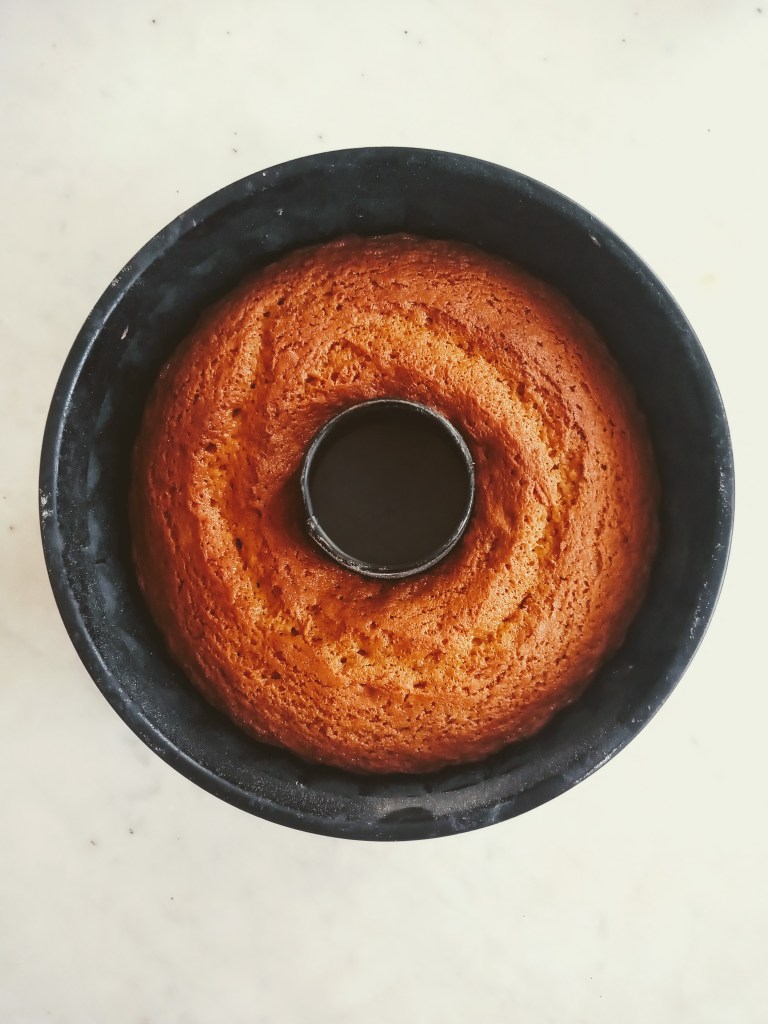
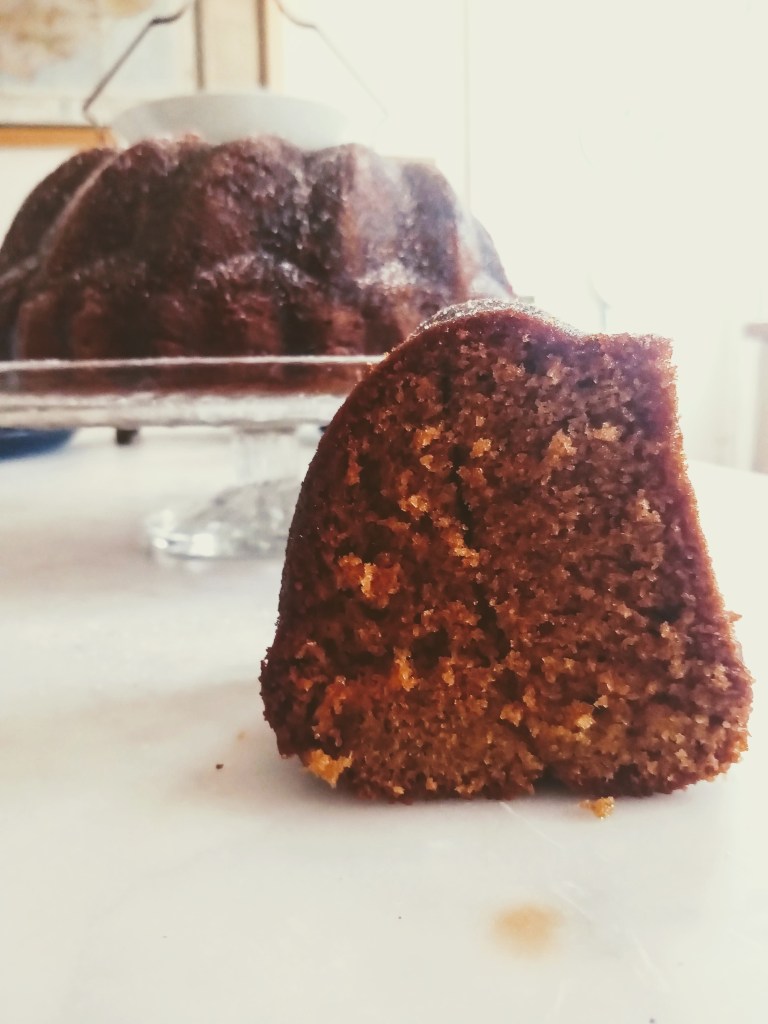
Wow. This is a peng cake. Really good. It’s also yellow when you cut it open. Peng and yellow.

This is one of my recipes. Think we spoke about the idea for it on the phone a couple weeks back. I’ve been thinking about honey and turmeric ever since. Honey and turmeric in cake form. Been doing quite a lot of reading about different honey cakes and yogurt cakes actually (haha oh dear). I wanted to put some kind of live culture dairy in the cake batter, something like yogurt. The acid in these kinds of dairy products makes the cake really light and soft because it breaks down the gluten in the flour. Pretty cool. I used sour cream in this cake (its cream that is thick and a bit sour, mmm).The taste is stunning and the texture is even better. Like the best sponge cake texture. Cool! 1 min of your life reading that you will not get back!
Because of the texture, flavours and colour, this is my version of a self-care cake. I quite like that.
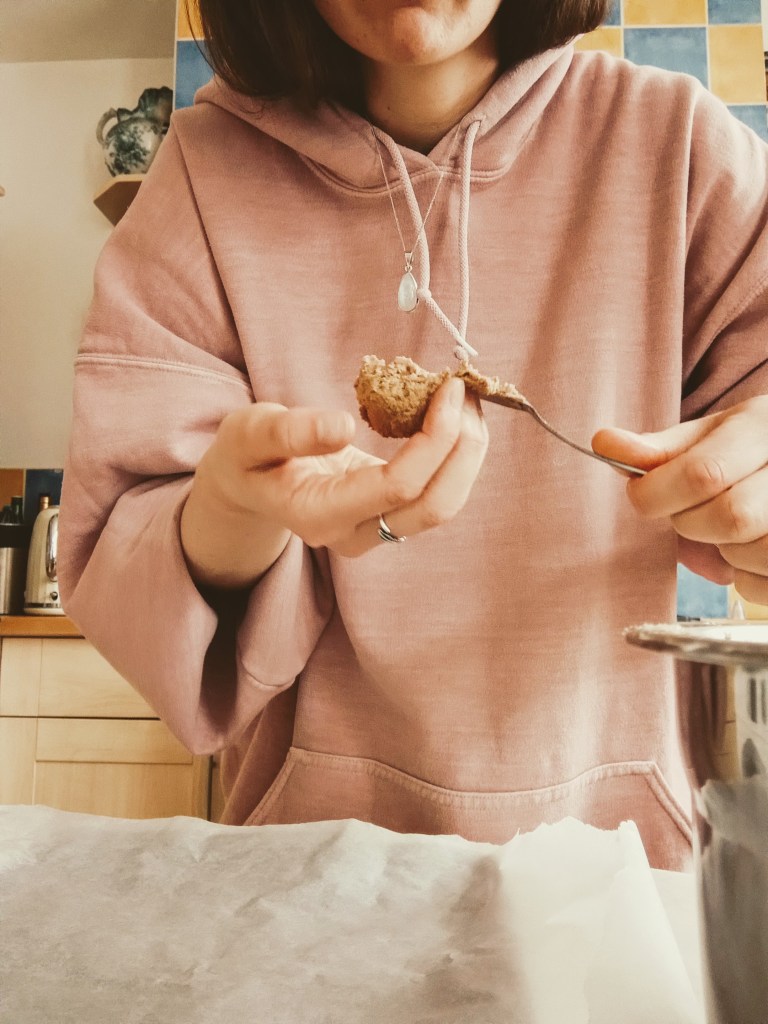
Thought we should give our readers and followers some reviews of this cake – ‘Wow.’ (Dad), ‘A really good sponge.’ (Anna). Great, and that concludes the review section!
Ingredients
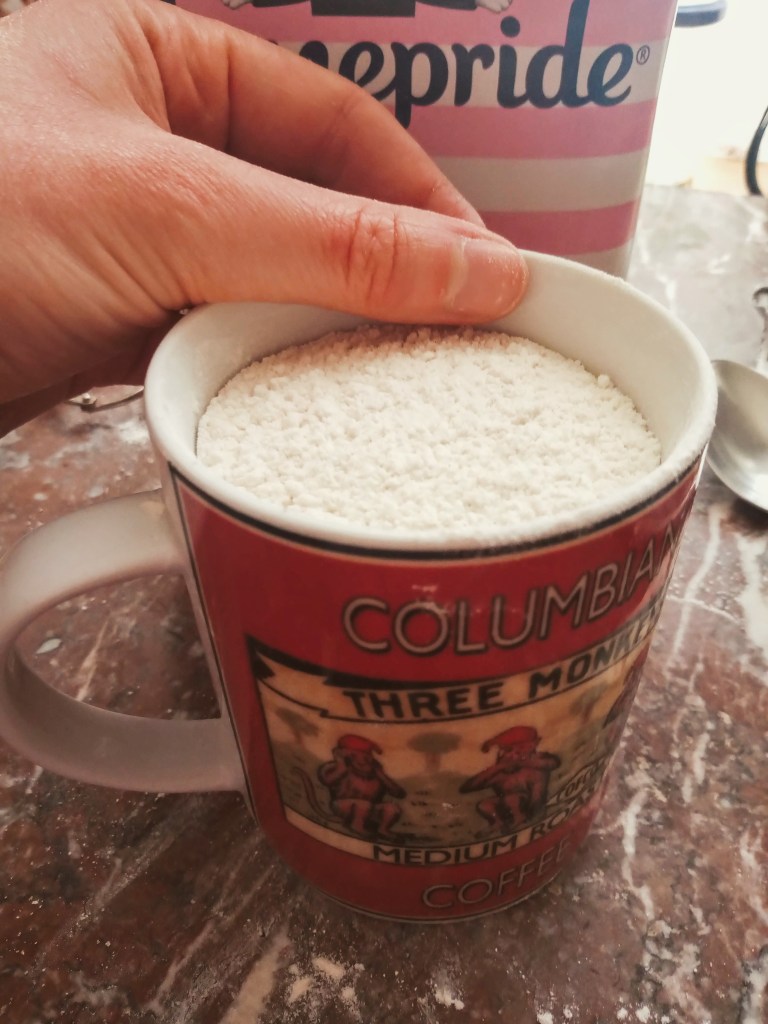
- 200g plain flour
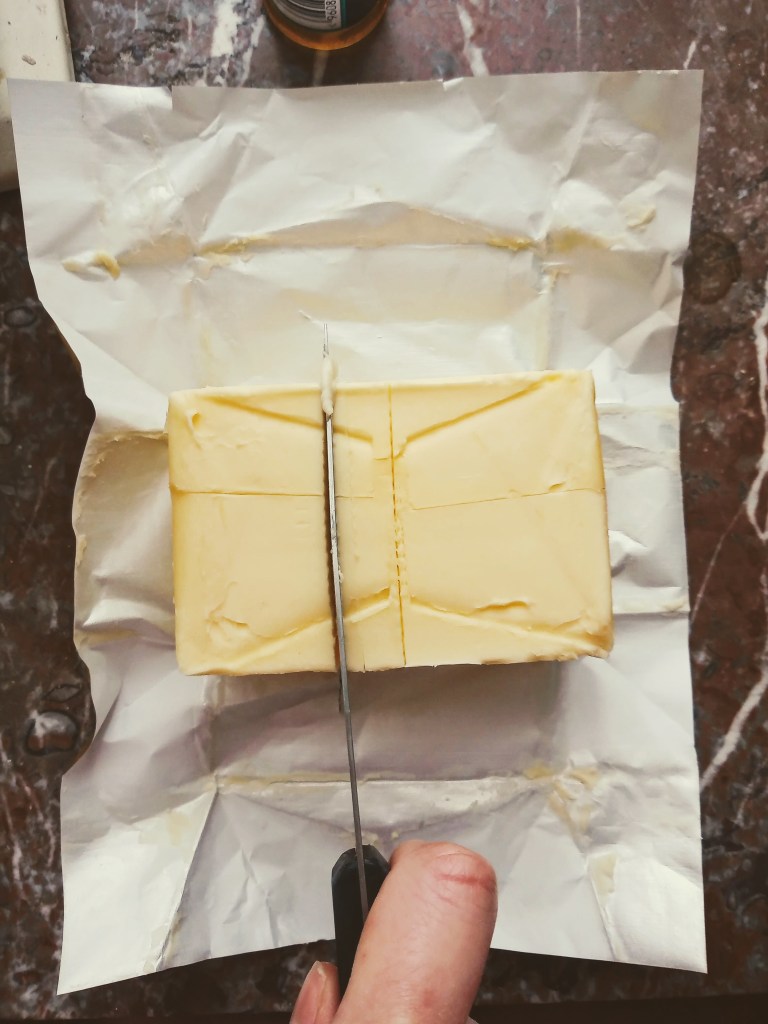
- 100g softened butter
- 100g caster sugar
- 2 eggs
- 1 teaspoon baking powder
- 1/2 teaspoon bicarbonate of soda
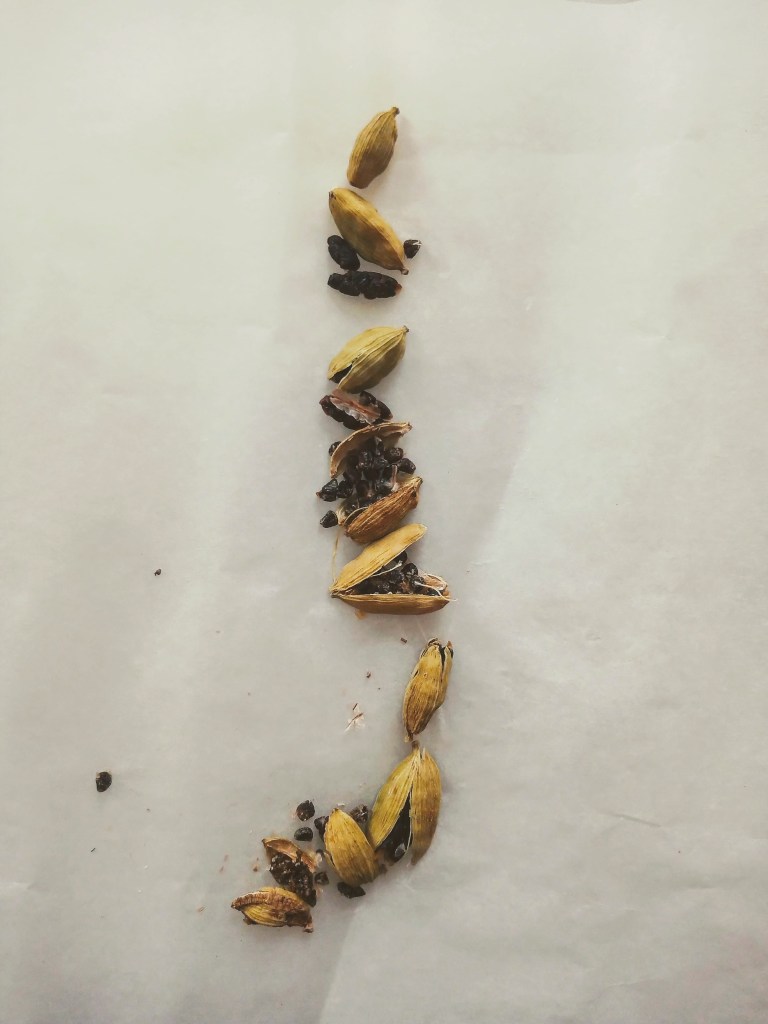
- 1 and 1/2 teaspoon turmeric (the powder. Not fresh, this isn’t a curry)
- 100ml sour cream
- 100ml honey
- 1 teaspoon vanilla extract
For The Glaze
- 60g icing sugar, sifted (add more if you want a thick icing)
- 1 tablespoon boiling water
- 1 heaped teaspoon honey
Method
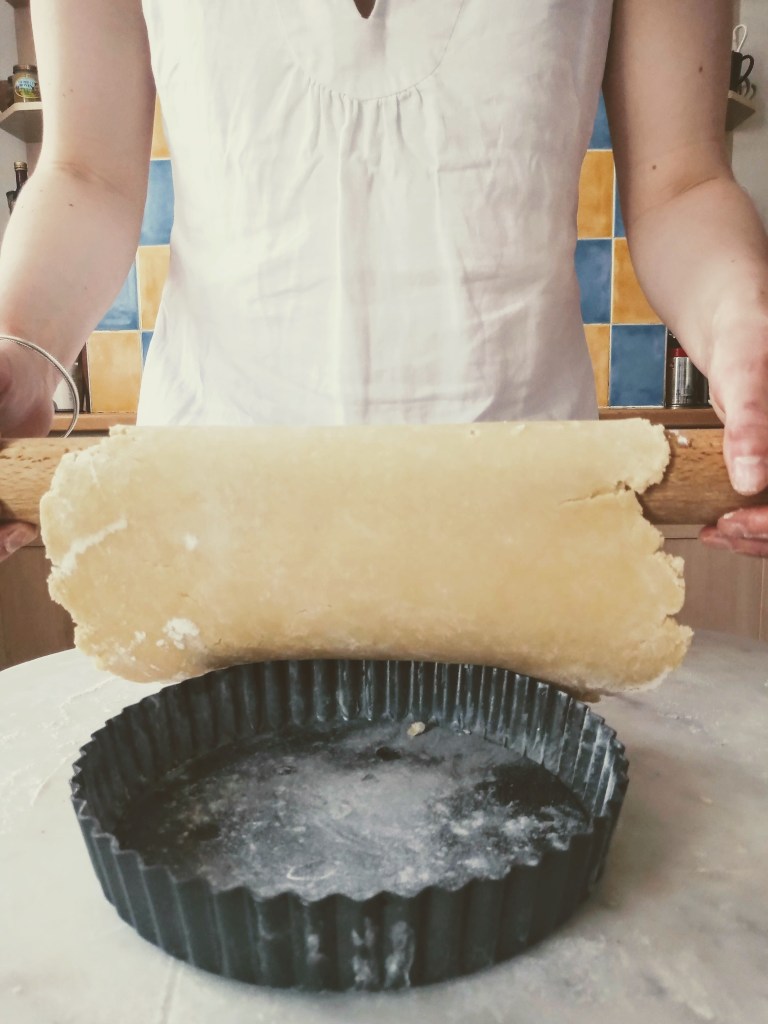
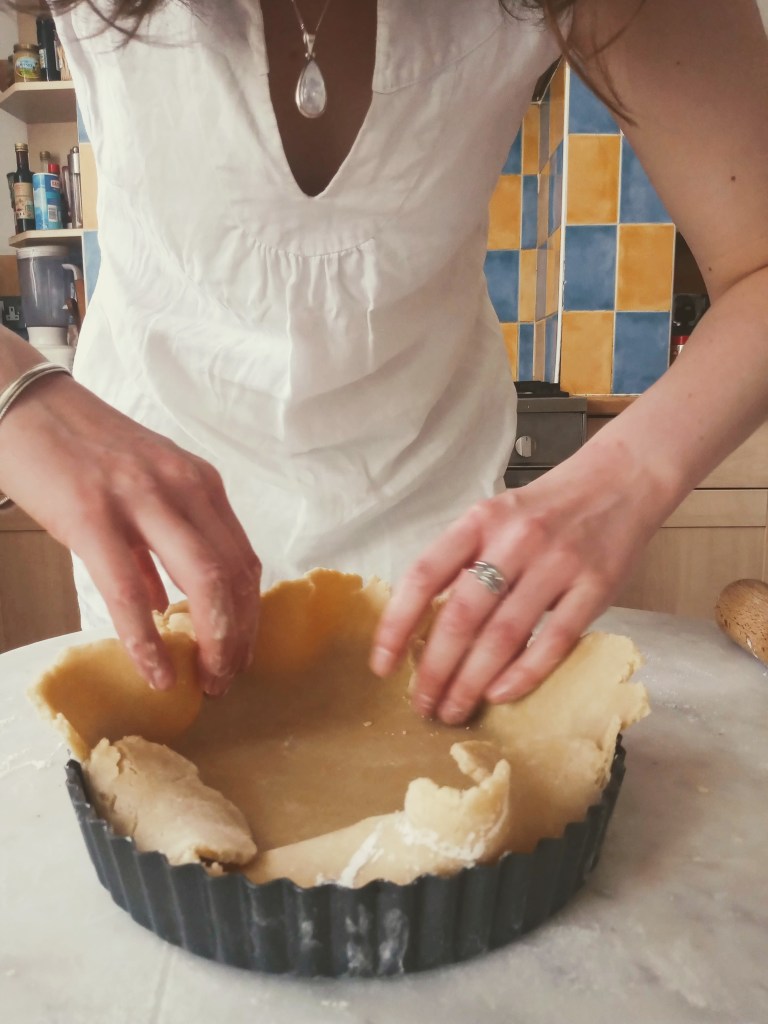
Preheat the oven to 180. Grease a round cake tin with butter and dust over with some flour. Tip out the excess. A 20 cm round tin will work, I used a 20 cm bunt tin.
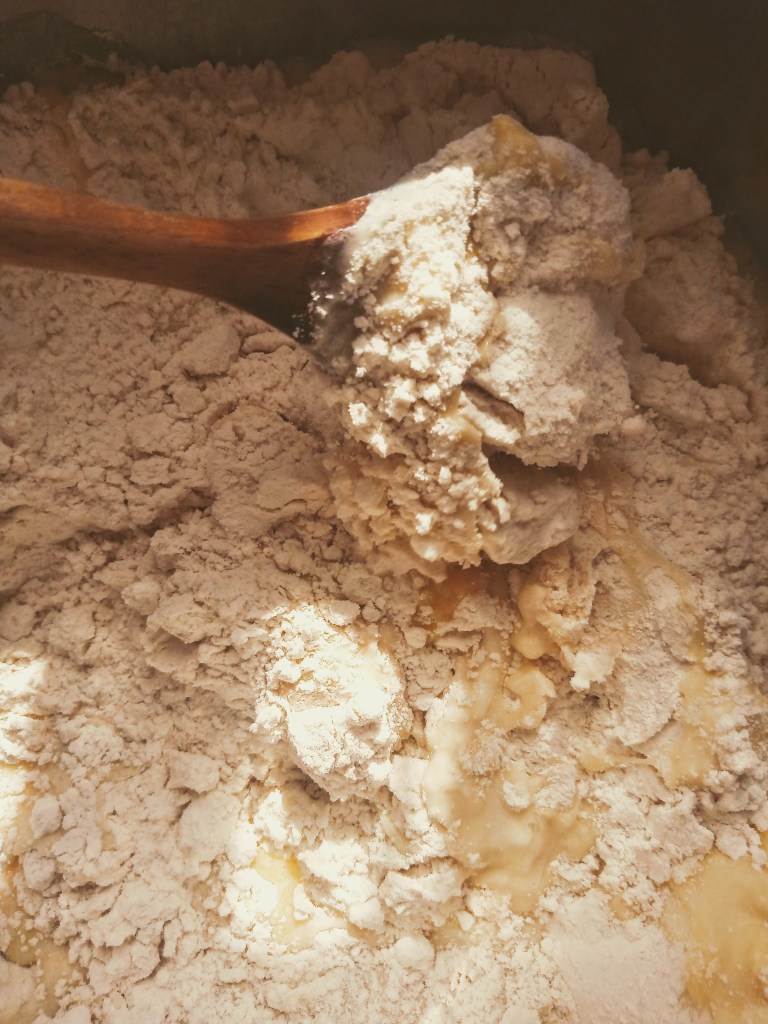
Start by measuring out the flour, you will need a bit of it when you add the eggs. Set the flour aside for now.
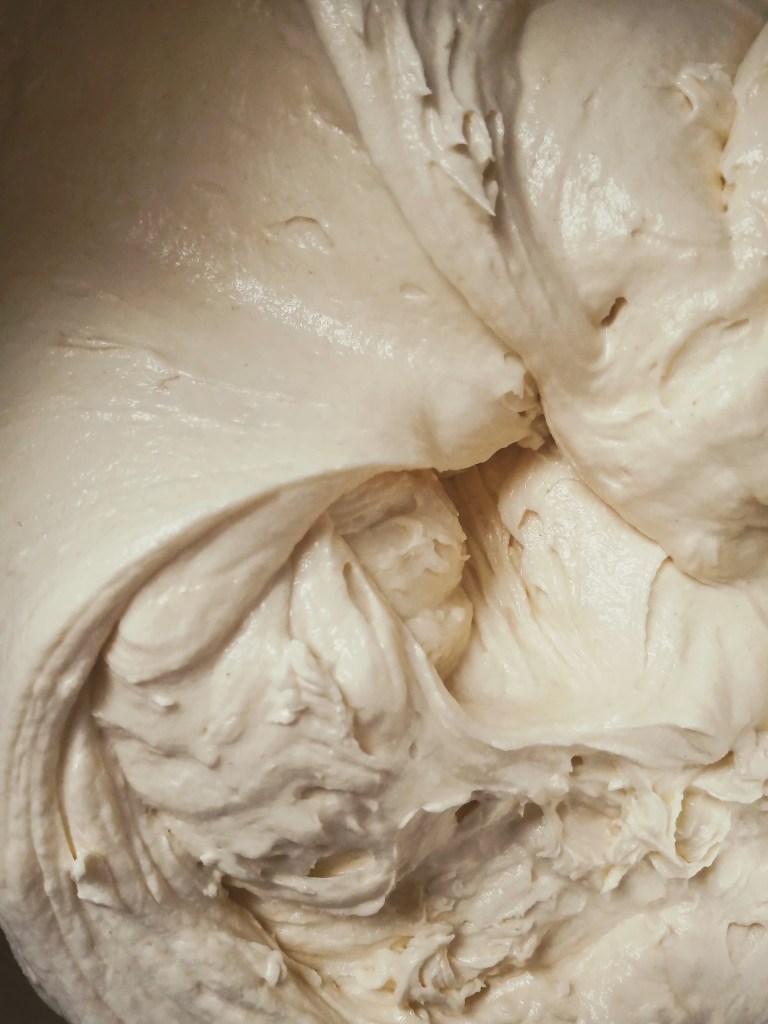
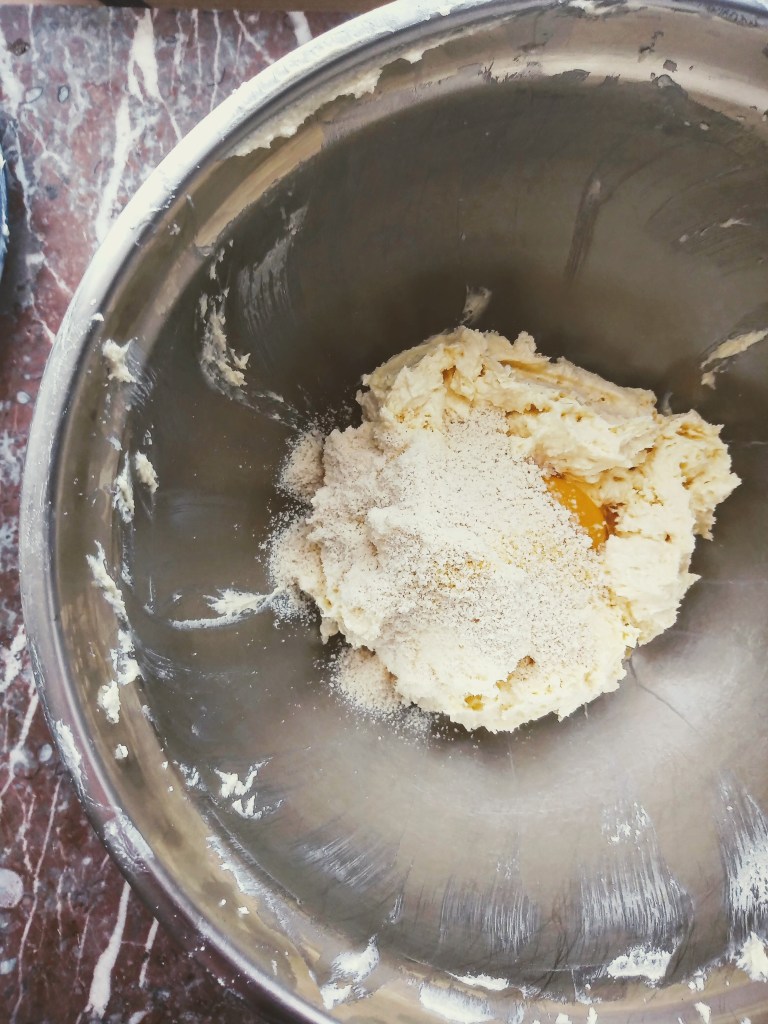
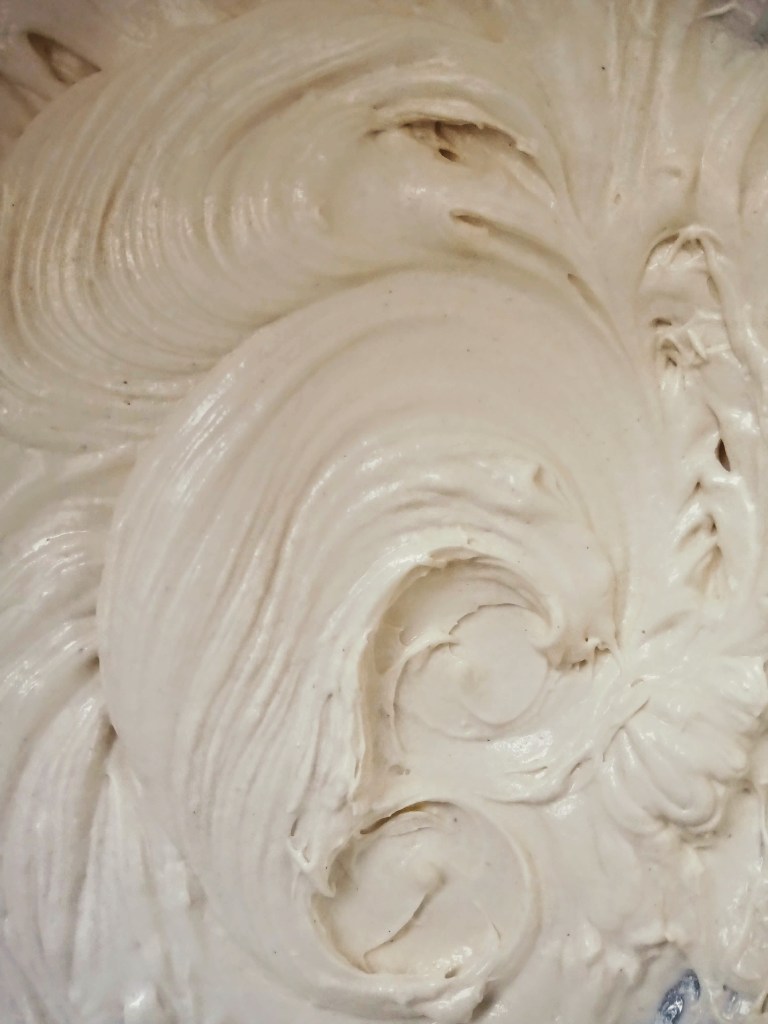
In a large bowl cream the butter and sugar with a wooden spoon or electric mixer until light and fluffy.
Add both your eggs and a heaped table spoon of the flour. This will stop the eggs from curdling. Beat your eggs in for about 1 min.
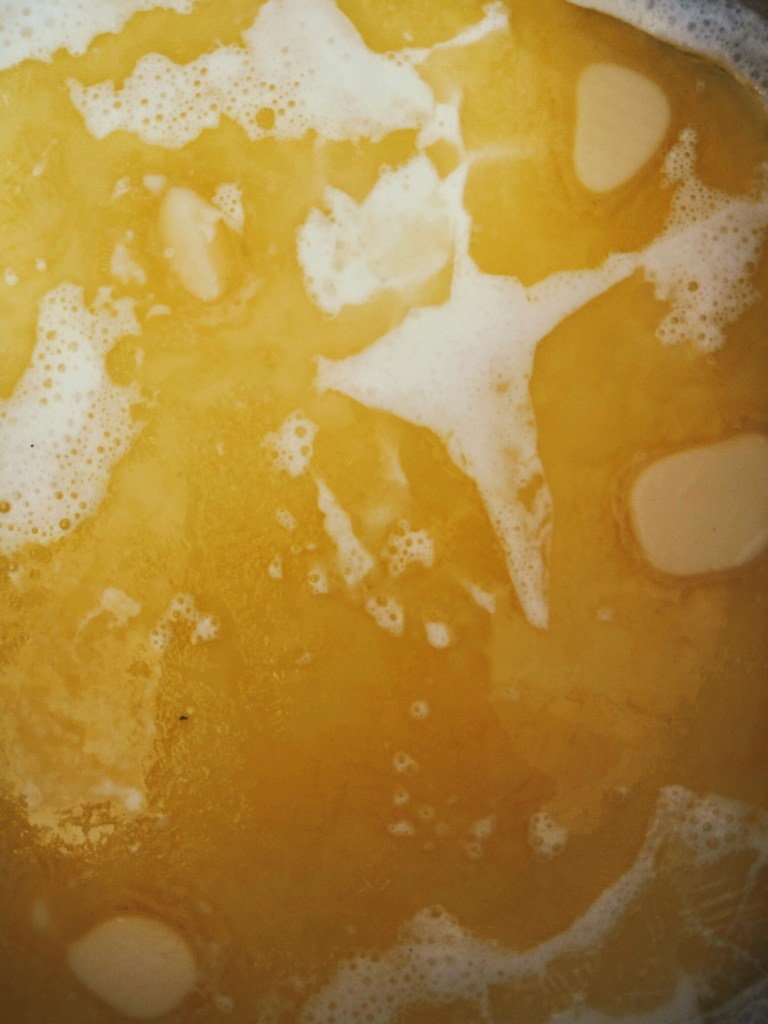
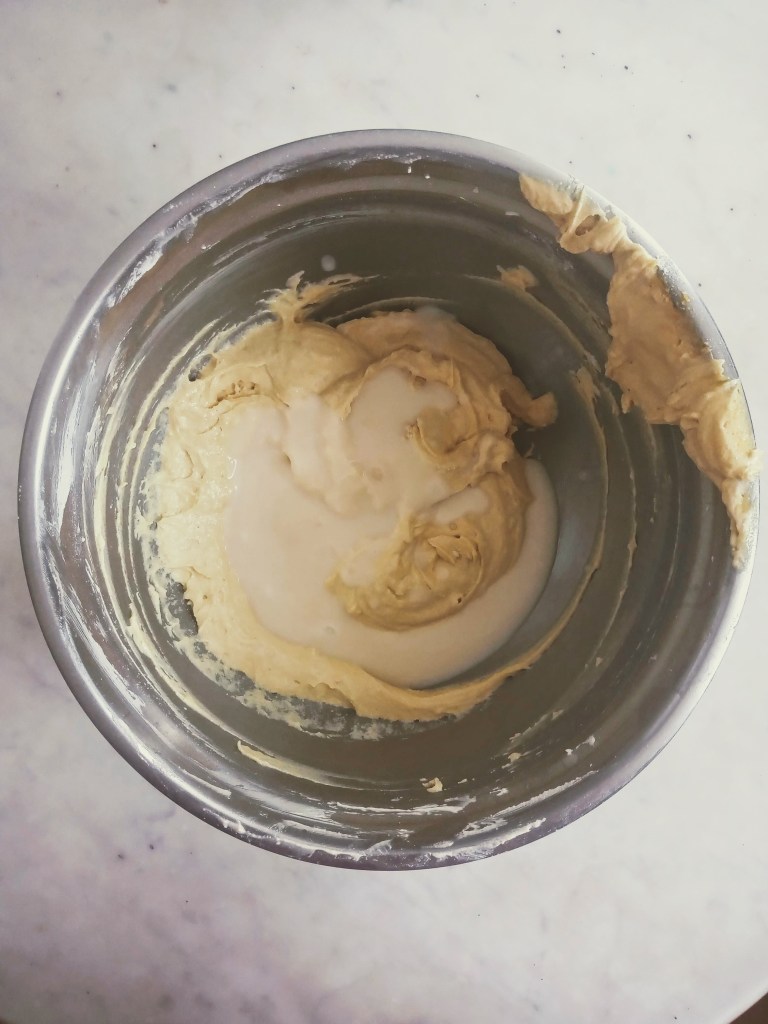
In a separate jug or bowl whisk together the sour cream, honey and vanilla extract with a fork until there are no more large lumps of honey.
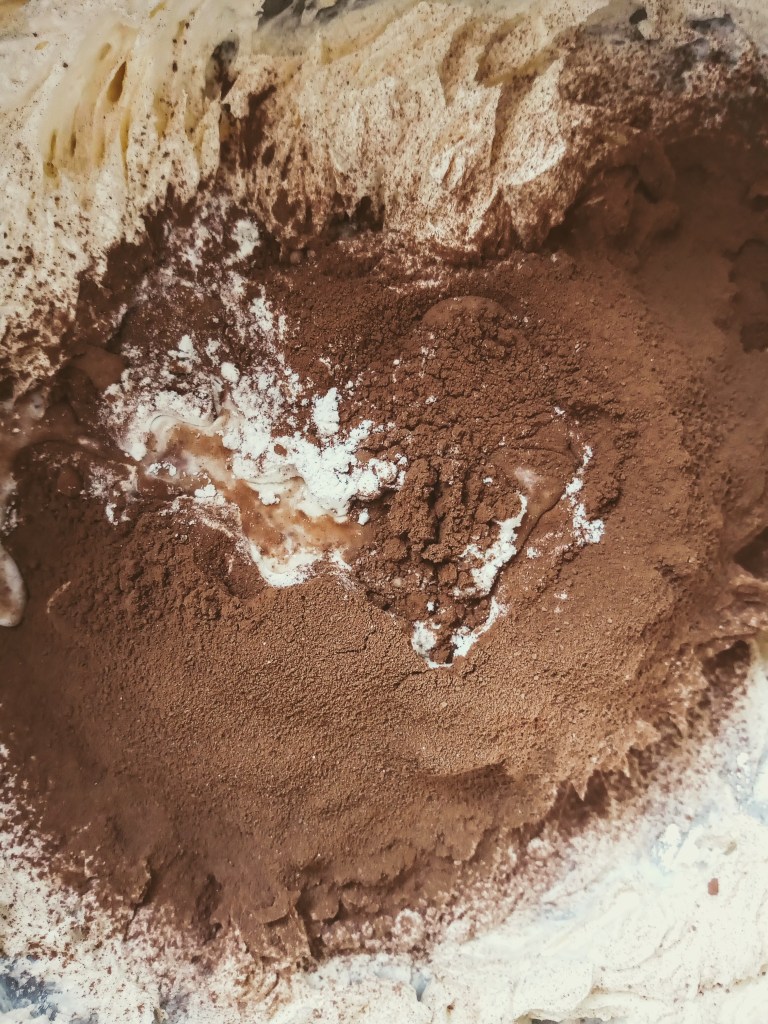
Add your baking powder, bicarbonate of soda, turmeric and salt to the flour you set aside earlier.

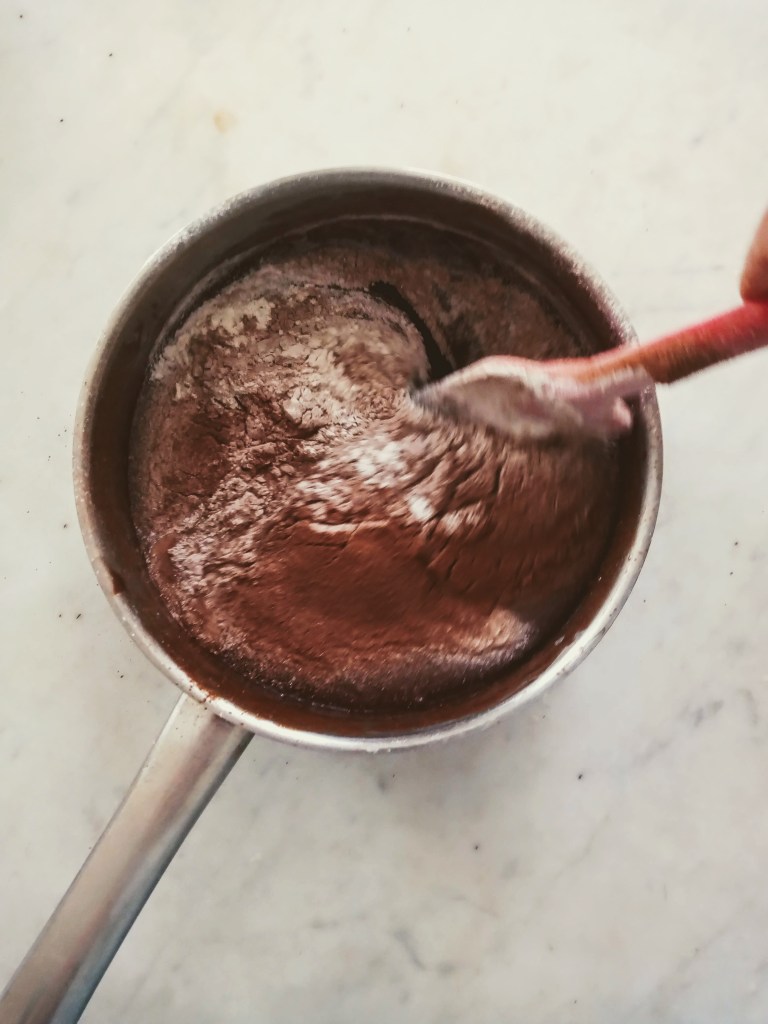
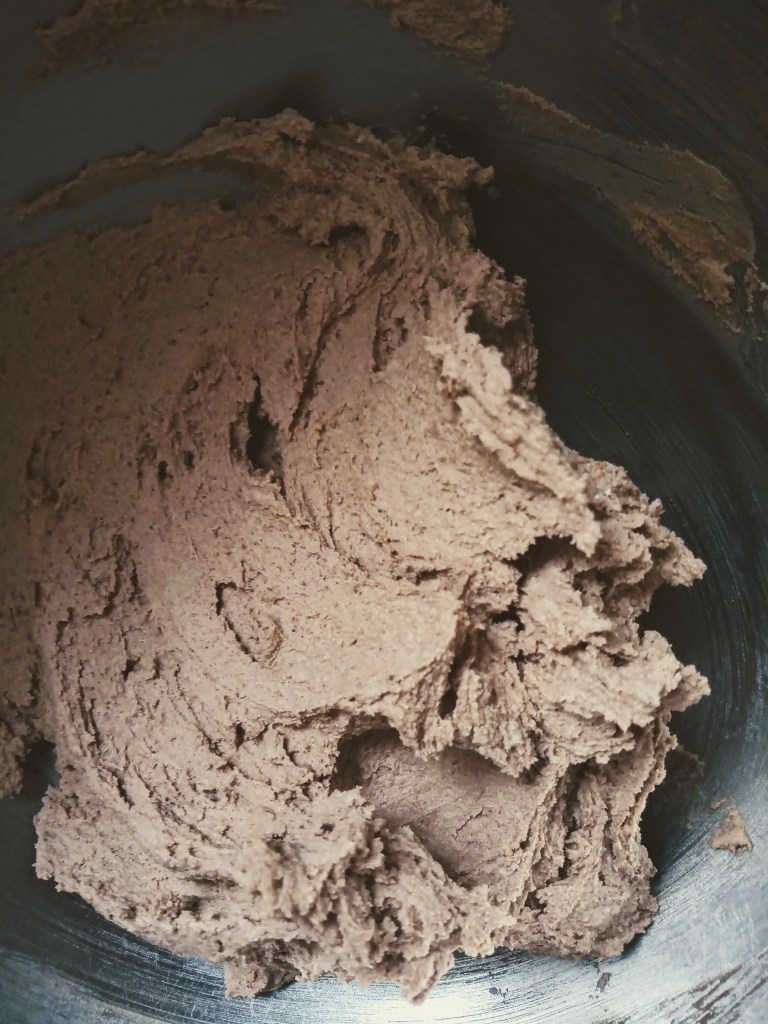
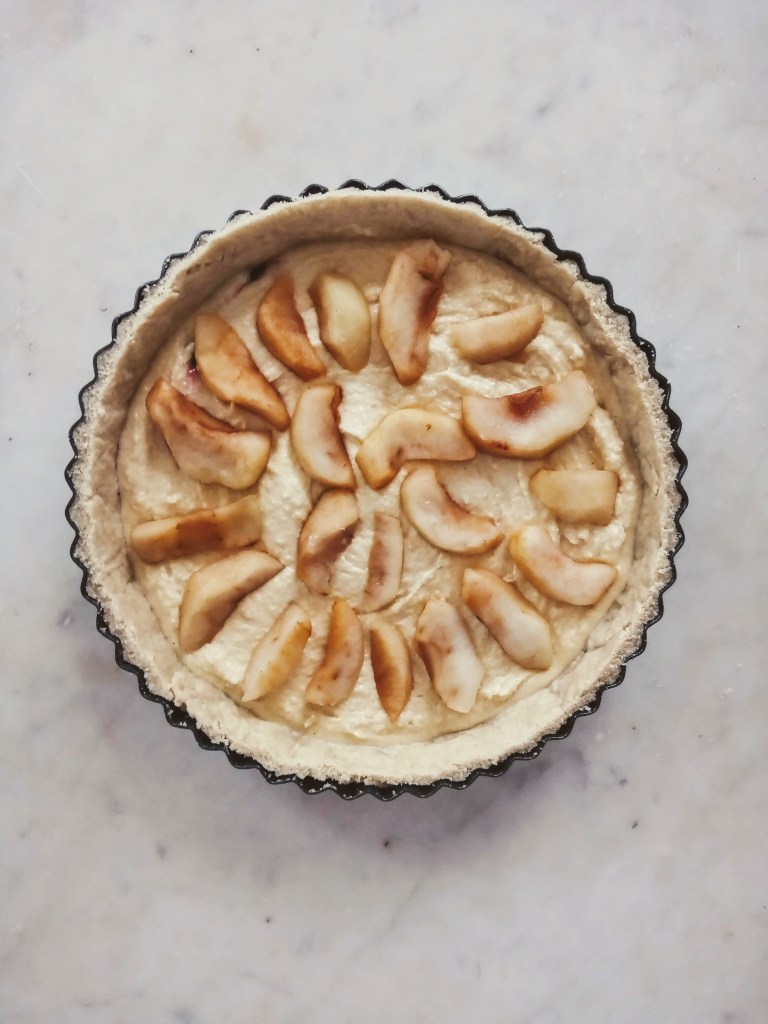
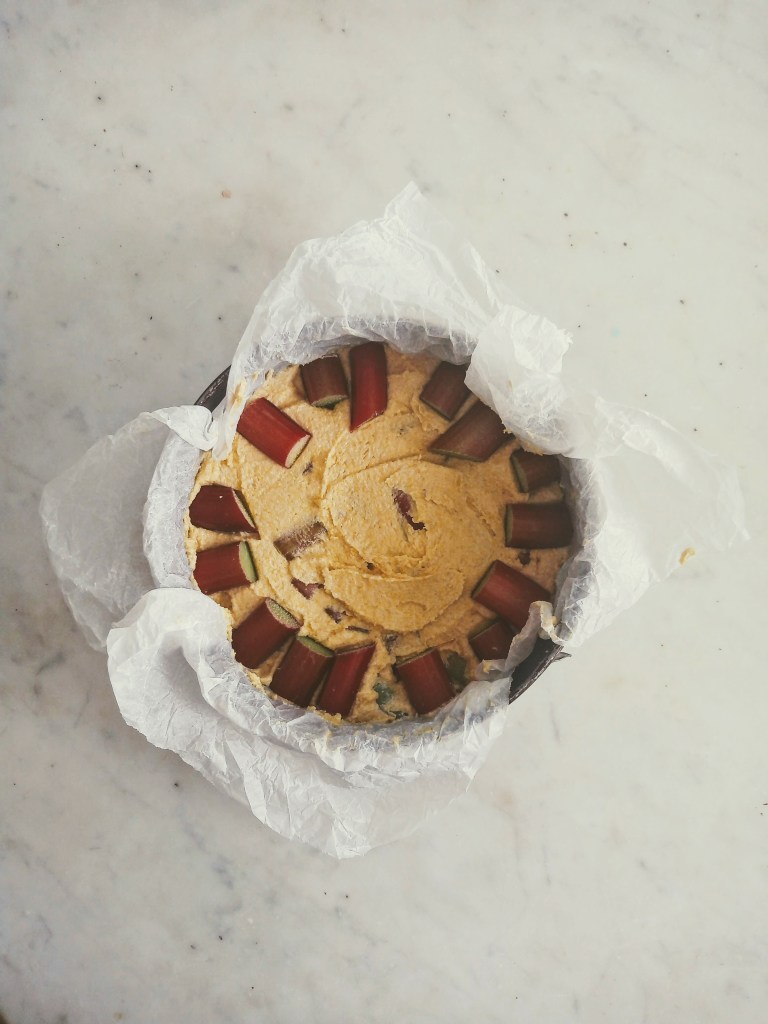
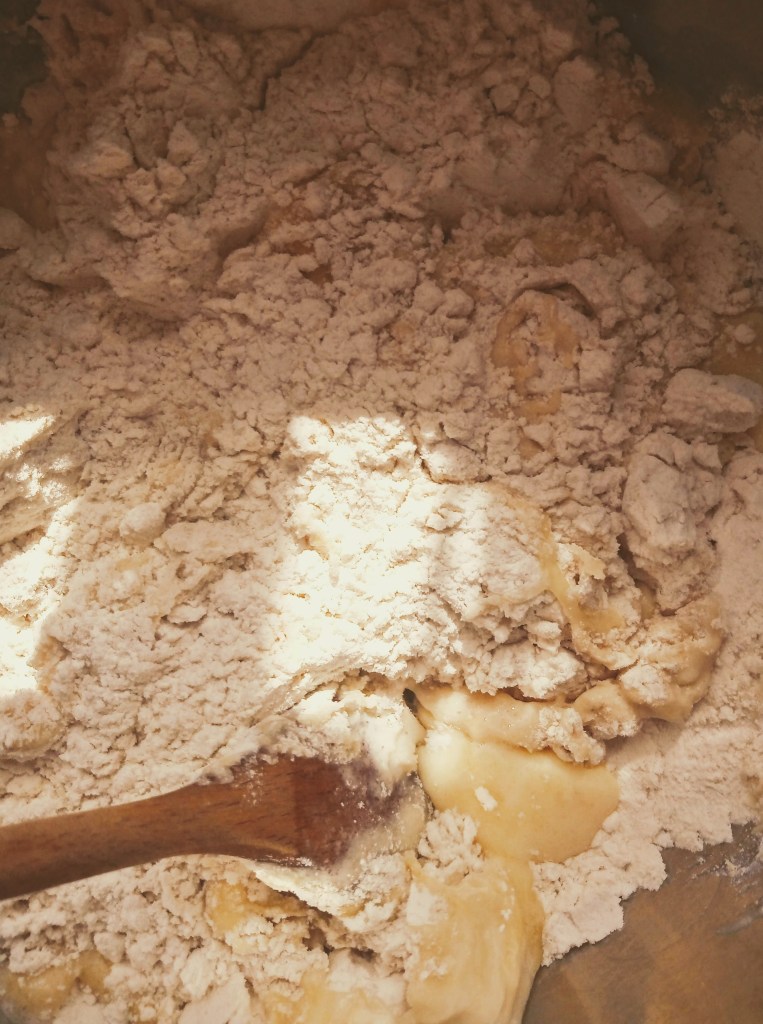
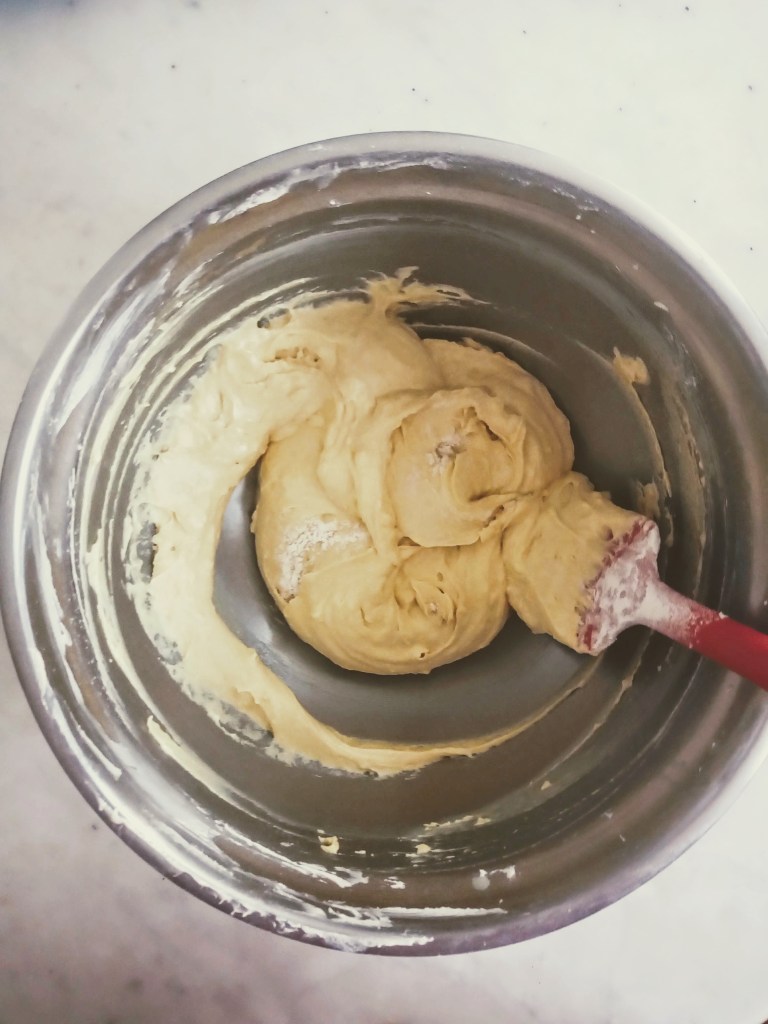
Alternating between flour and sour cream, fold in the sifted flour mixture in three goes and the sour cream mixture in two goes, starting and ending with the flour mixture. Don’t over mix this, just until everything is combined. Once all flour and sour cream is combined the batter will be an amazing yellow and ready to pour into your cake tin.
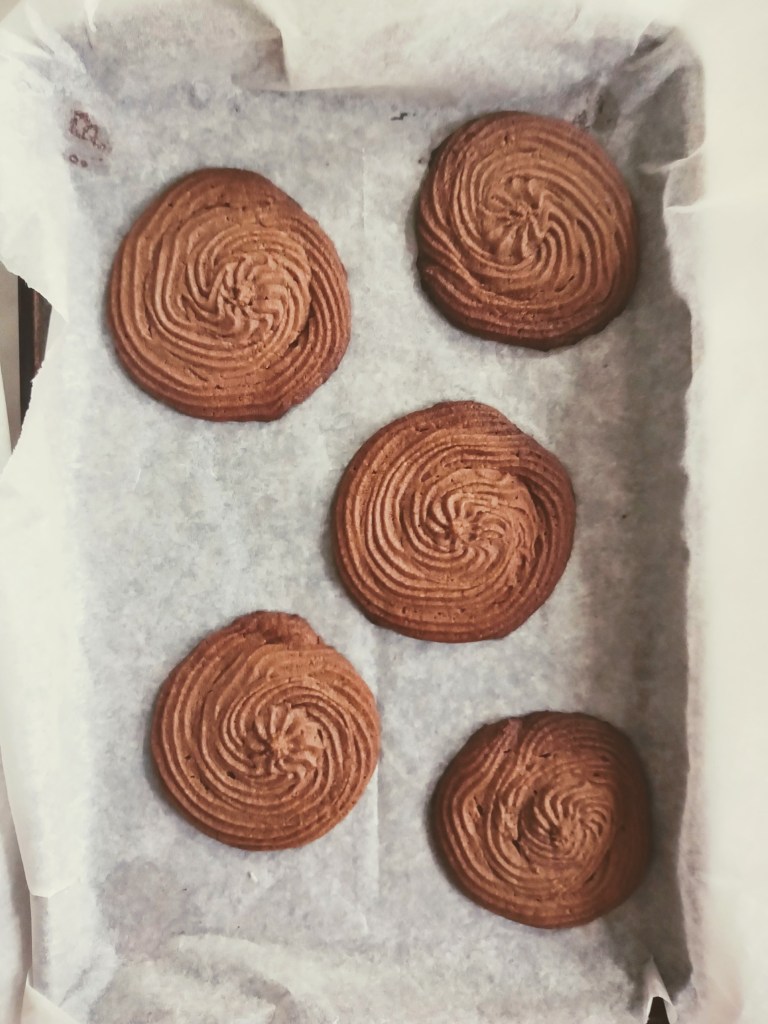
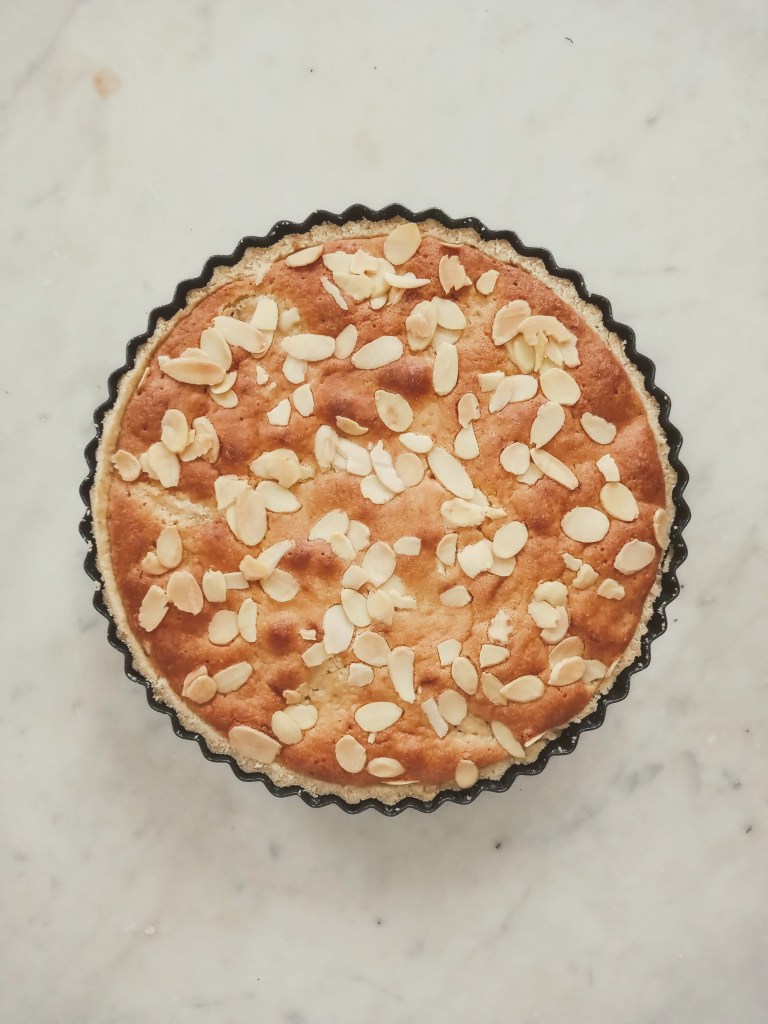
Bake for 40-45 mins or until a skewer inserted into the cake comes out clean and the cake springs back when gently pressed with a finger. Cool the cake in the tin for 10 mins before turning out.

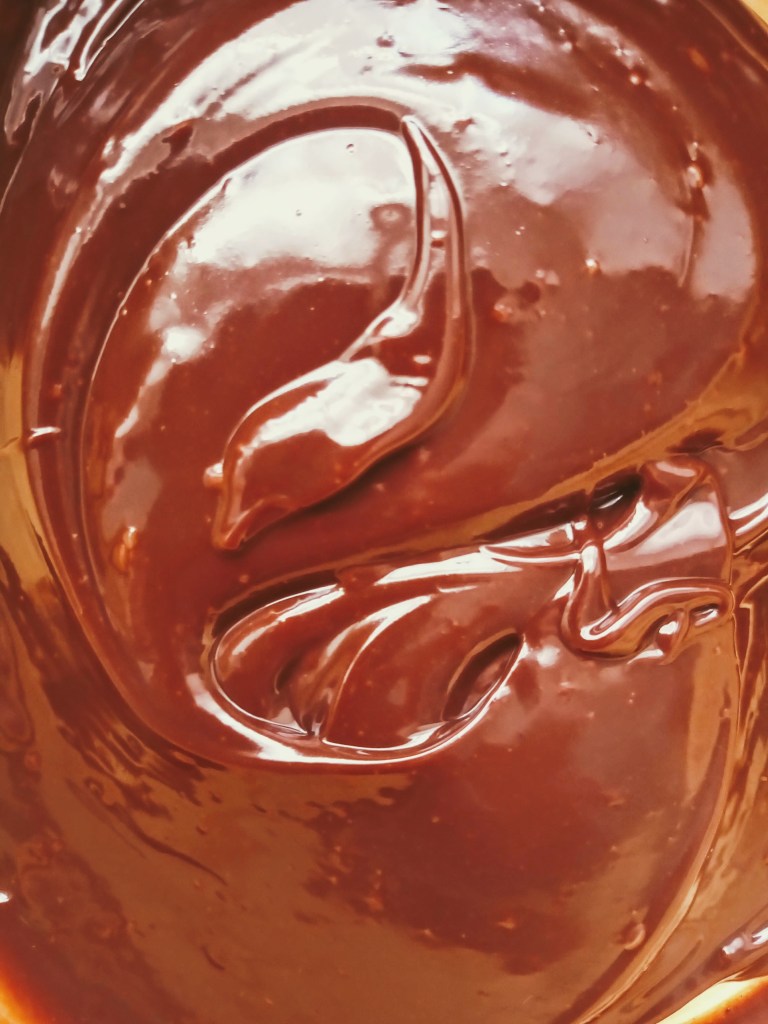
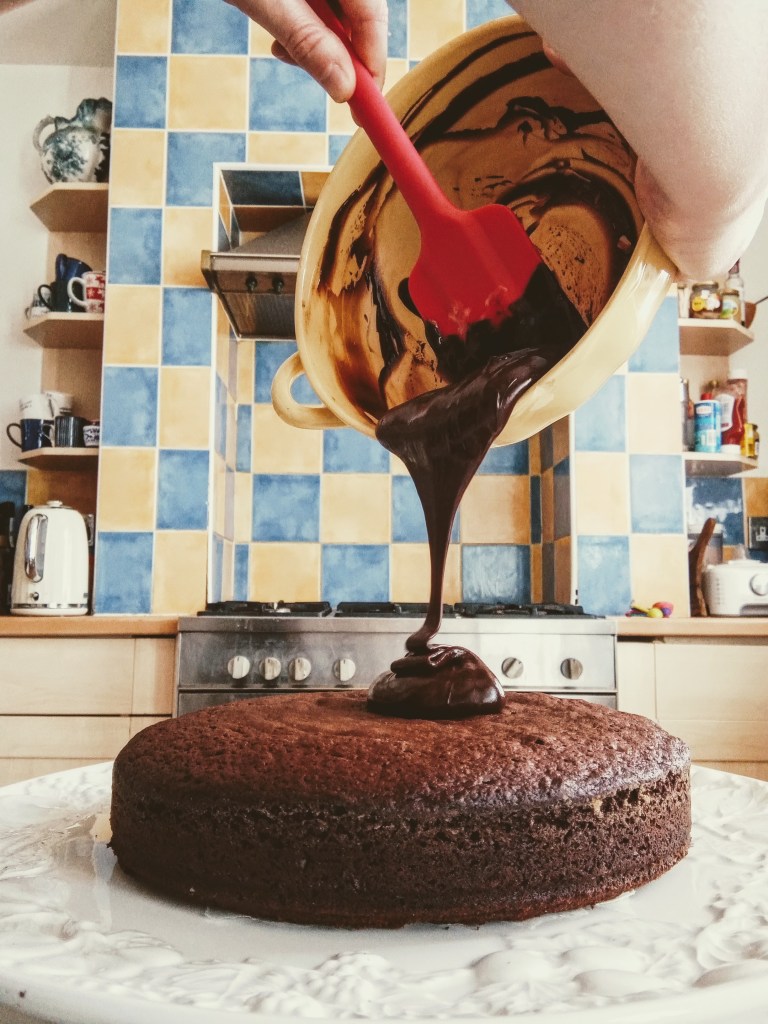
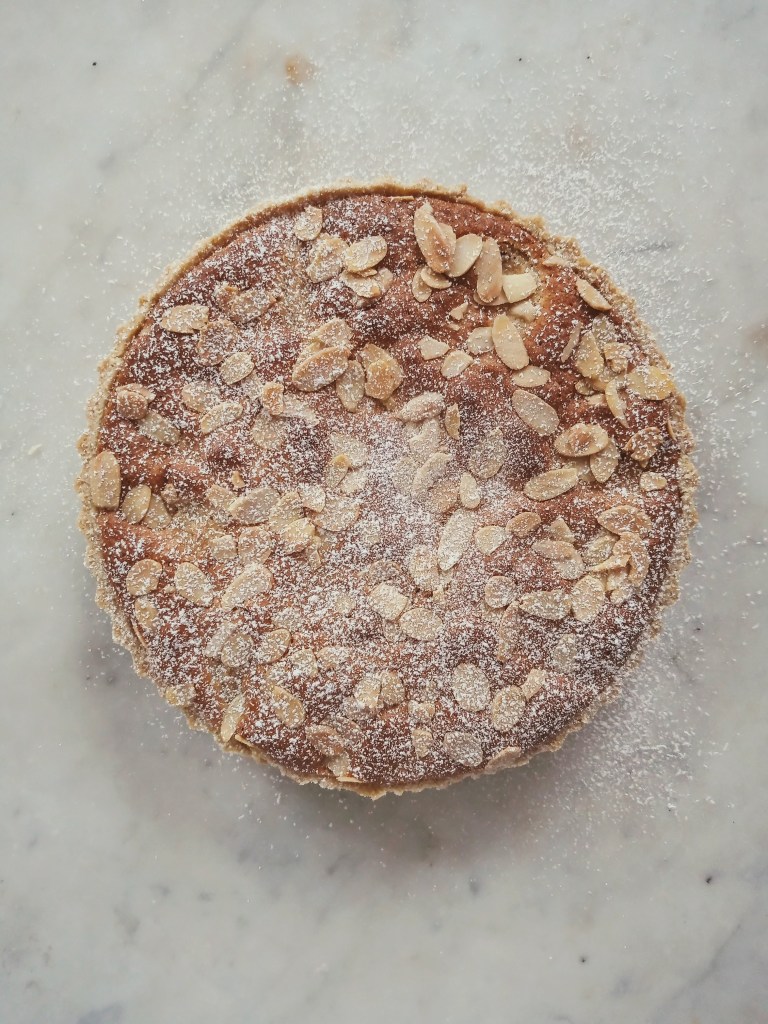
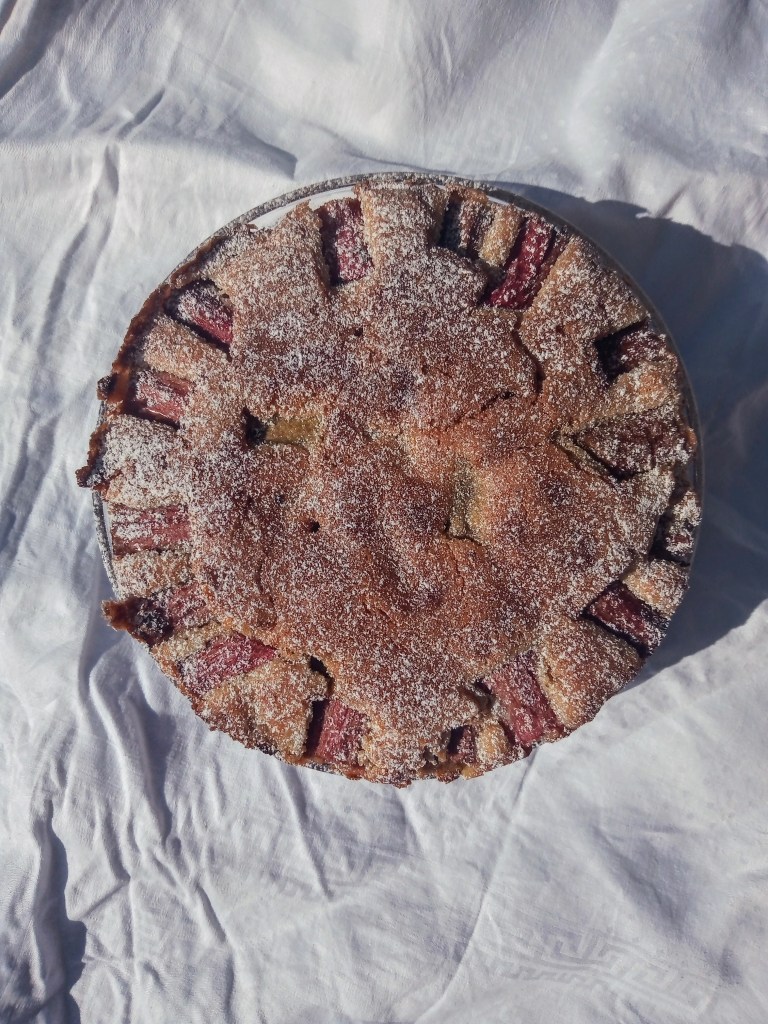
To make the glaze mix together the sifted icing sugar, honey and boiling water. Spoon this all over the cake while it is still warm.
Have a good yellow cake day!!!
Love Caitlin xxx