Daily Wholemeal Bread

Buns and Breads

Hey Joe,

Its pretty funny that you’ve given up bread this month. Thought I’d use it as an opportunity to launch Breaduary! I’m posting one new bread for each week of Feb. These breads, with a bit of adapting deepening on what’s in your cupboard or fridge, are the only breads you’ll ever need. Baking with yeast is addictive – really – it’s magic and has been made to sound a lot harder than it is. All bread follows the same basic steps; mix, kneed, prove (rest), shape, prove, bake. Even if it burns, bulges, or deflates, it’ll still taste like bread. You don’t need a bread machine, stand mixer or 00 triple artisan Italian flour.

hello there mate

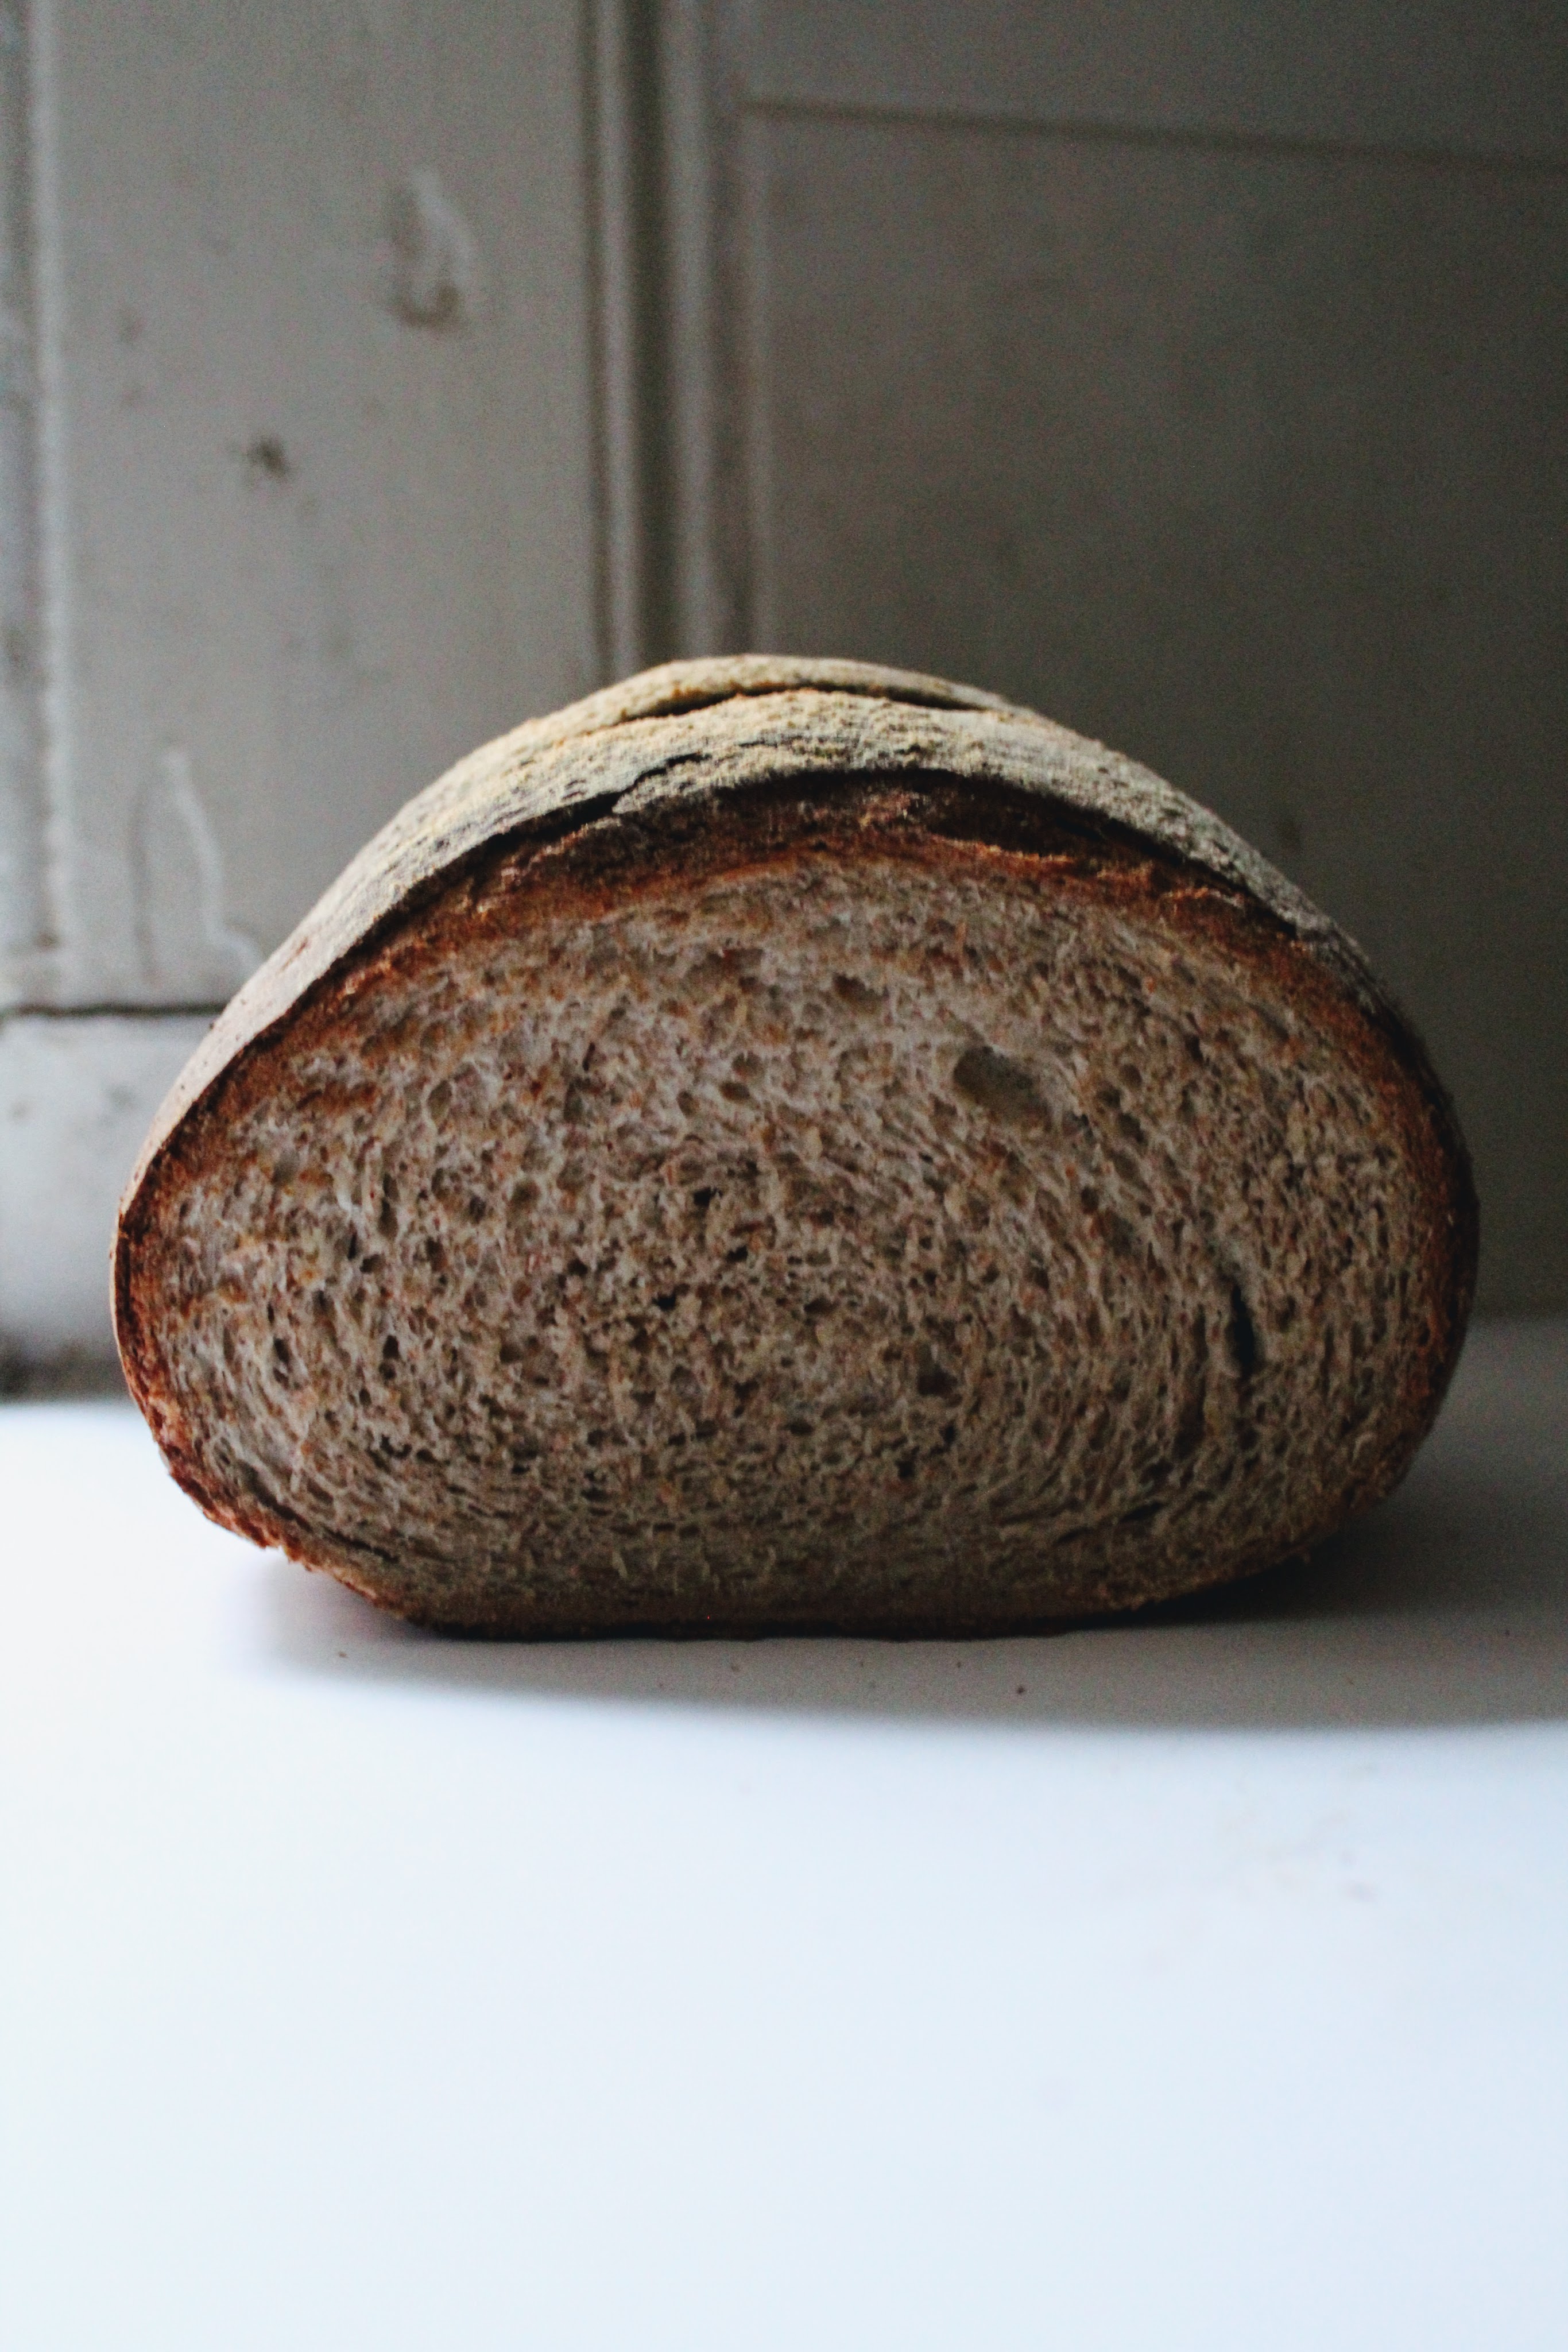
Bread number one, The Every Day One. It’s a light wholemeal loaf, sweet and nutty. It’s so soft and got the crustiest crust on it. If I had to pick one bread to have everyday it would be this. Because this doesn’t have much water in it, it’s a really easy one to knead and shape.

You can easily turn this into a white bloomer loaf by replacing the wholemeal flour with the same weight of strong white bread flour, leaving out the Vitamin C and halving the weight of sugar.

Ingredients.

  • 250g Strong white bread flour
  • 250g Wholemeal bread flour
  • 20g brown sugar, any kind
  • ½ 500mg Vitamin C tablet, crushed into a powder (Yes, really! Google ‘why put vitamin c in bread’. Mine are orange flavour because that’s all they had in the shop. You can’t taste the orange so get whatever they have.)
  • 7g (1 sachet) dried yeast
  • 1 teaspoon salt
  • 30g butter, very softened
  • 320ml warm water, you might need a drop more

Method.

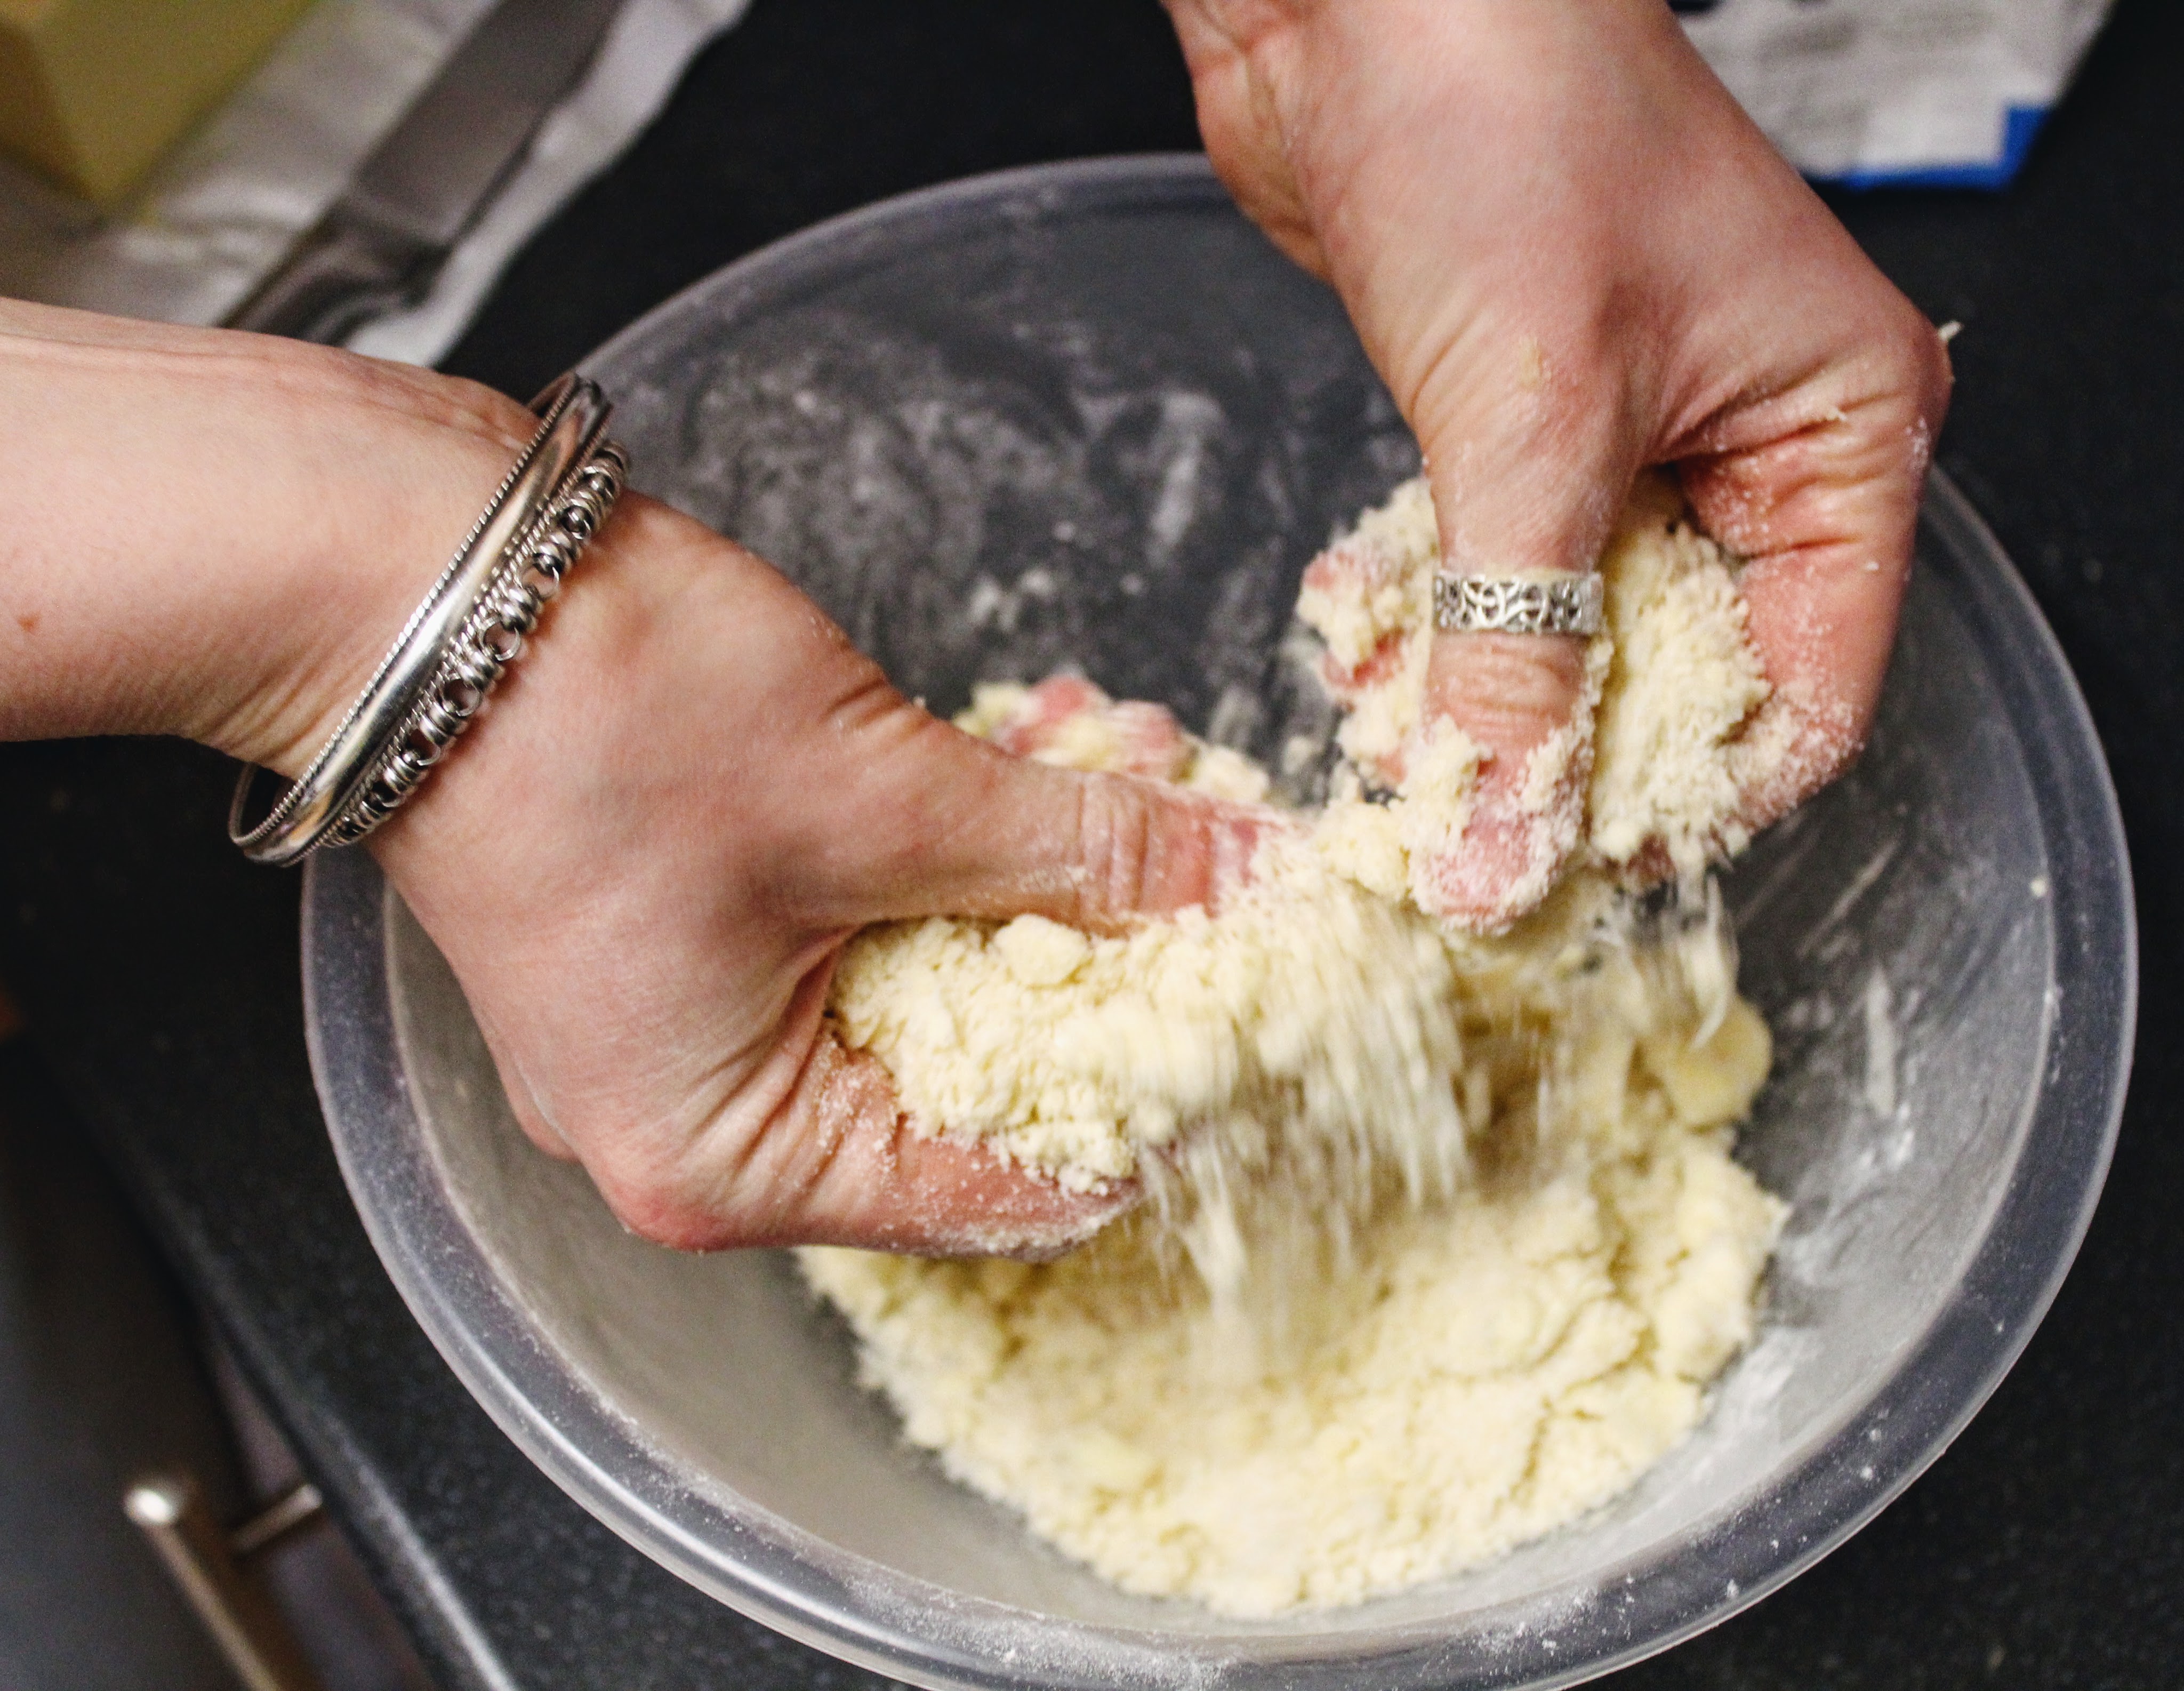
Put the flours, sugar, and vitamin c in a bowl, add the yeast on one side and salt on the other side (salt can kill yeast if in direct contact. Lol how dramatic). Mix together. Add the very soft butter, rub this into the flour until it disappears. Pour in the water and mix with a spoon until a shaggy mass of dough forms cleaning the side of the bowl. If there is still some dry flour in the bowl, add a drop (just a drop!) more water.  

Pour about half a teaspoon olive oil onto your work surface and smear it out. Tip the dough onto it and knead until the dough is smooth and elastic (10mins ish). Kneading is easy to do but hard to write. Use your hands to stretch, fold and roll the dough back on itself, if you do it quickly, you are kneading.

Put the dough into a very lightly oiled bowl and cover with cling film. Set it in a warm place – on a chair next to the radiator is great – until doubled in size (1 hour ish).

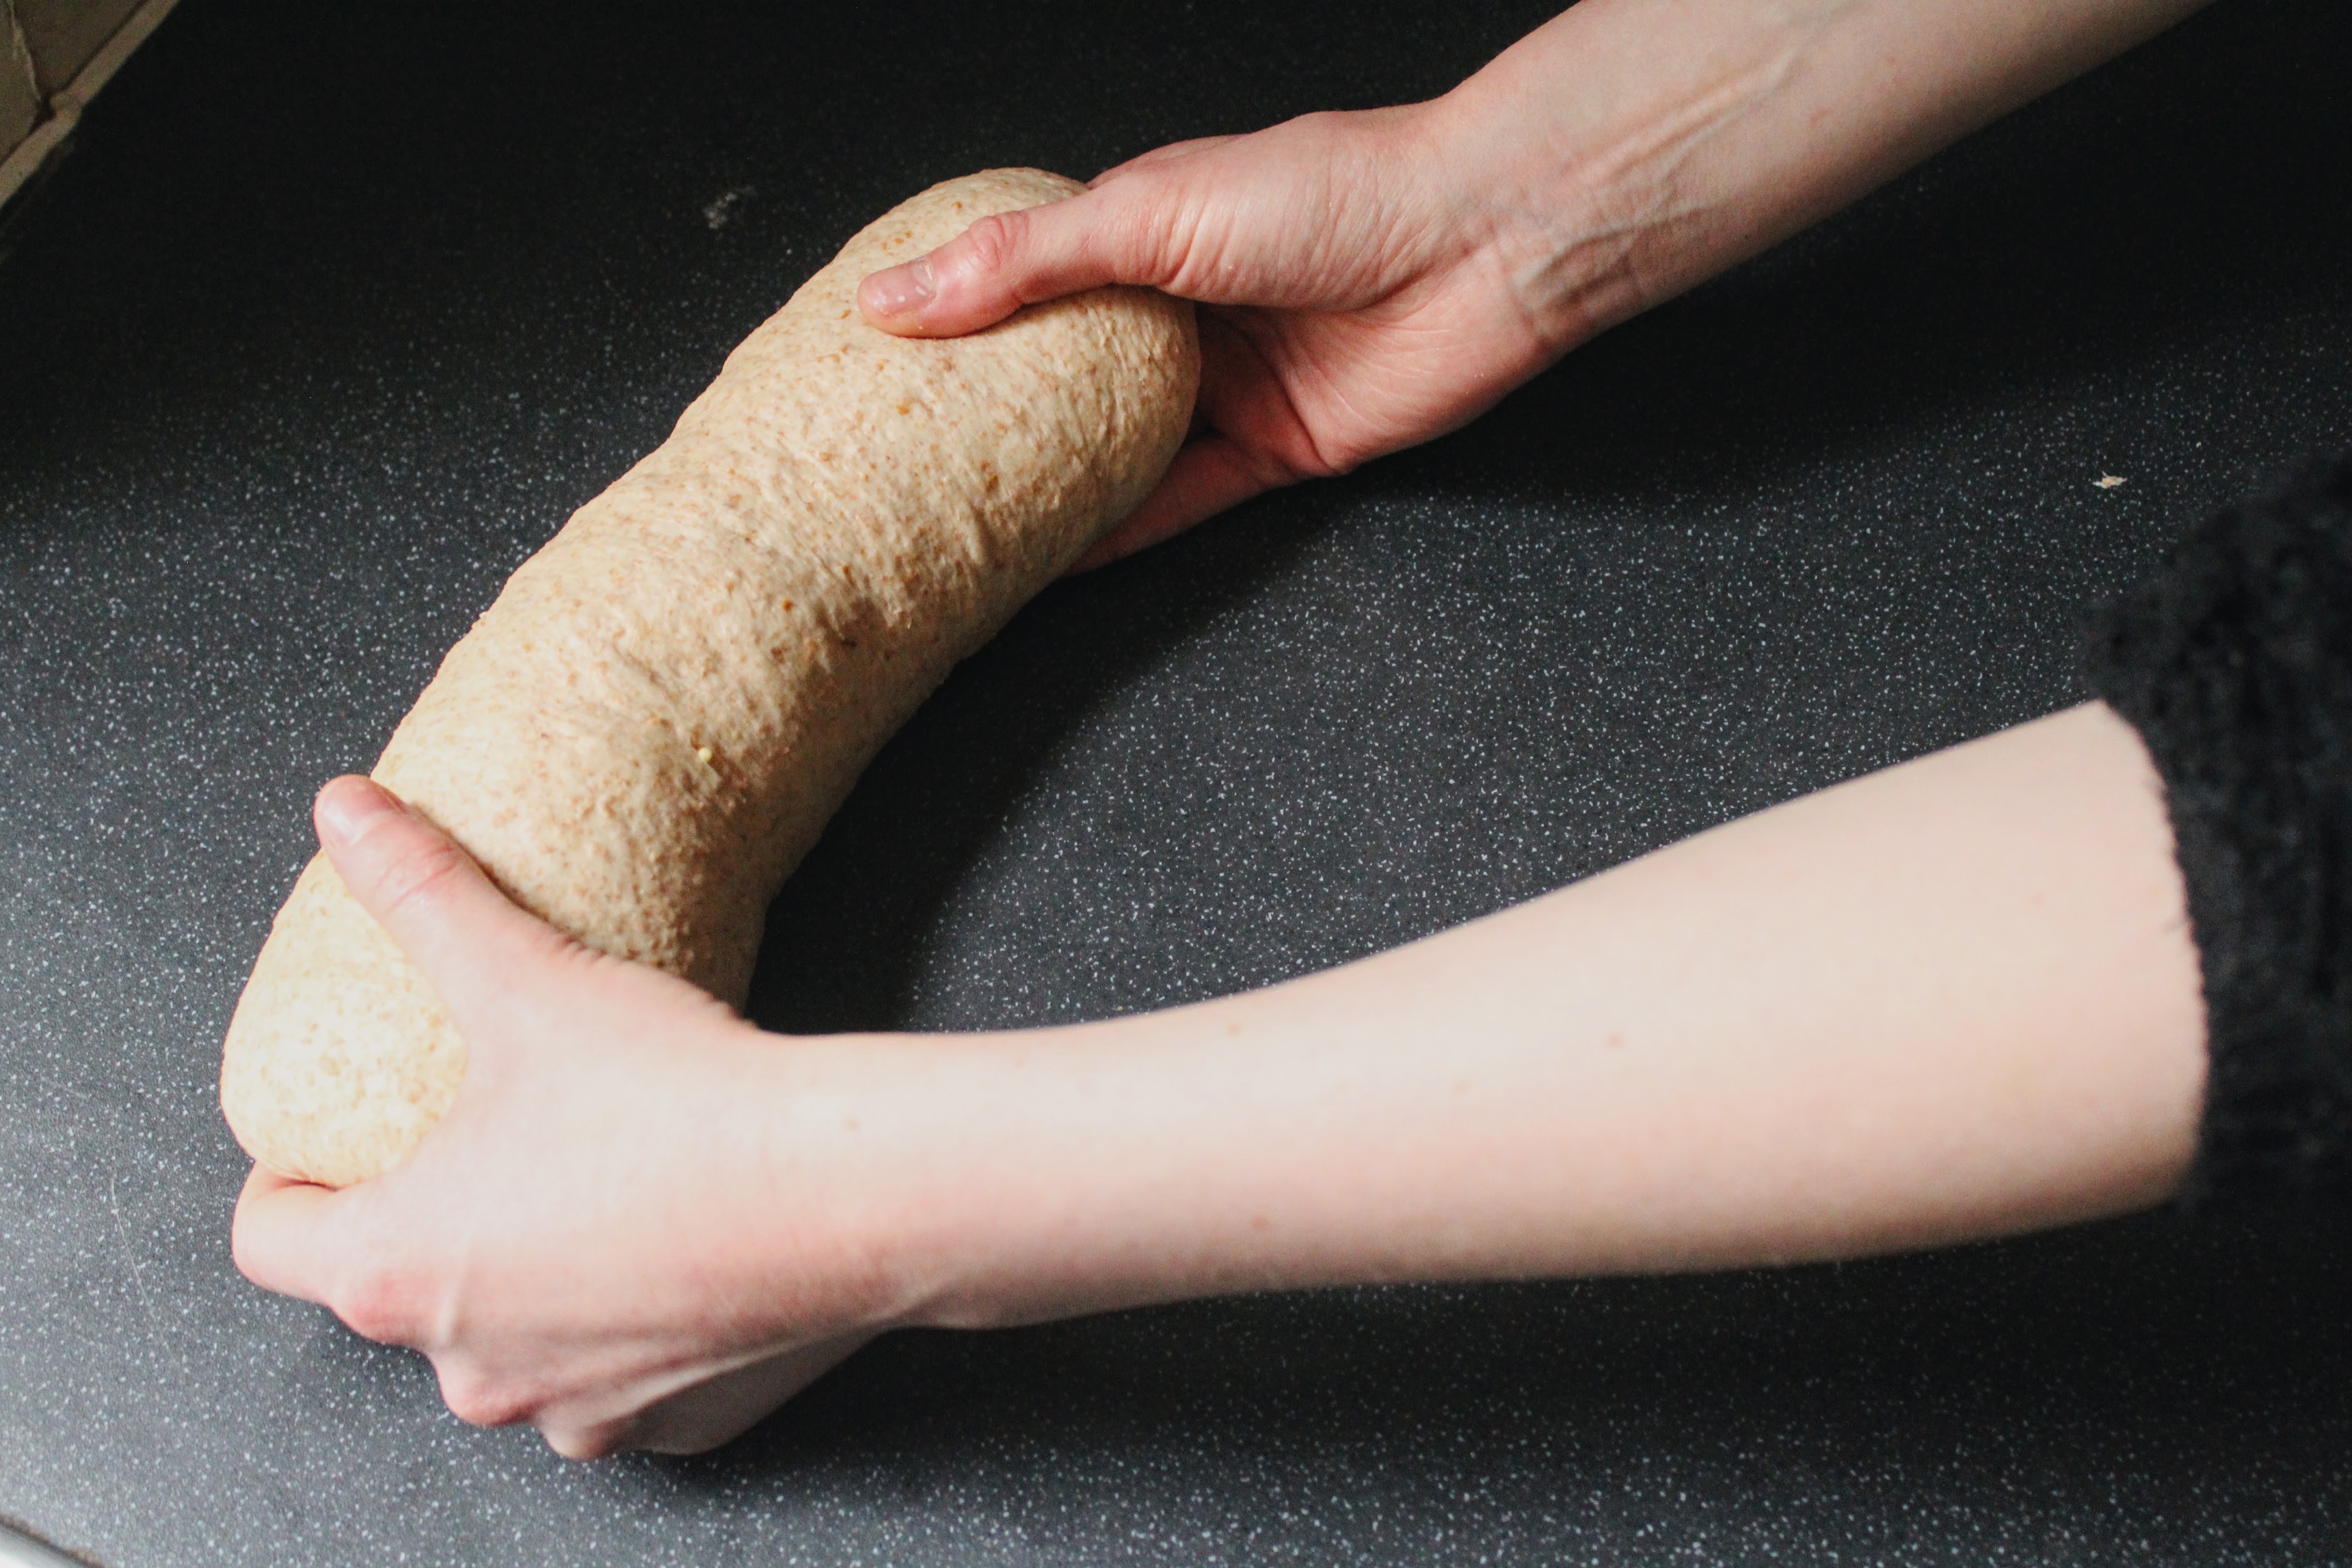
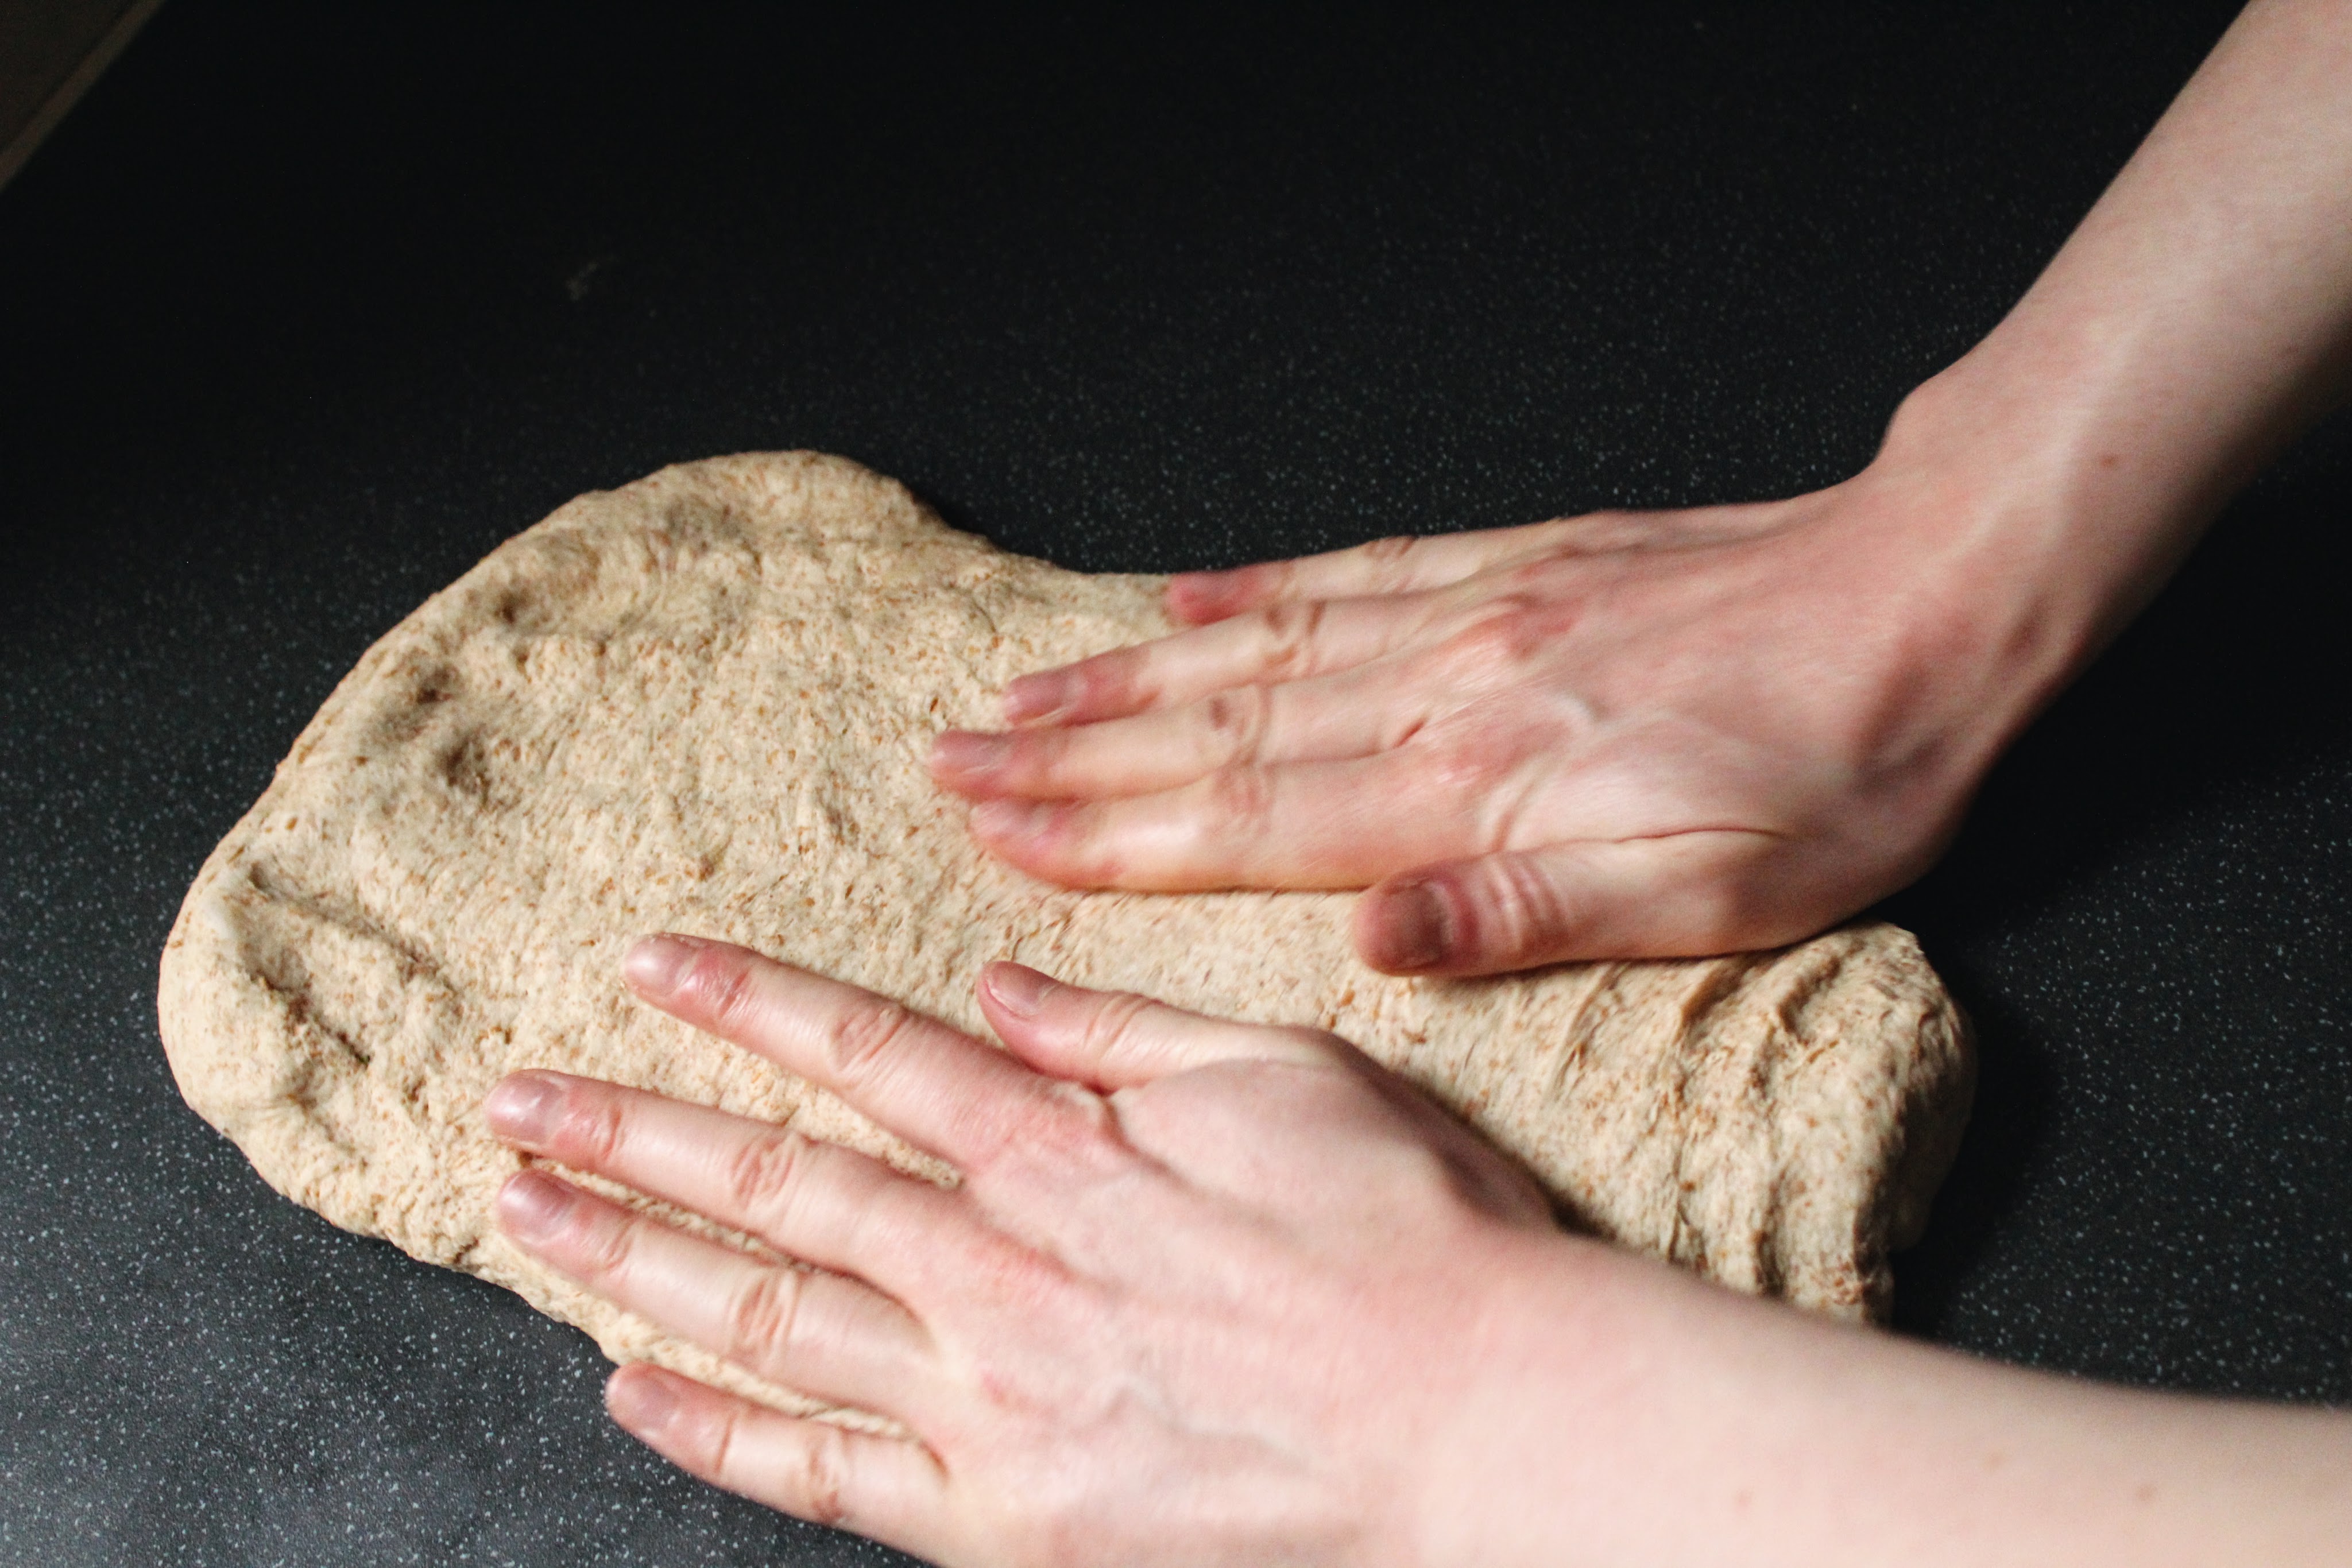
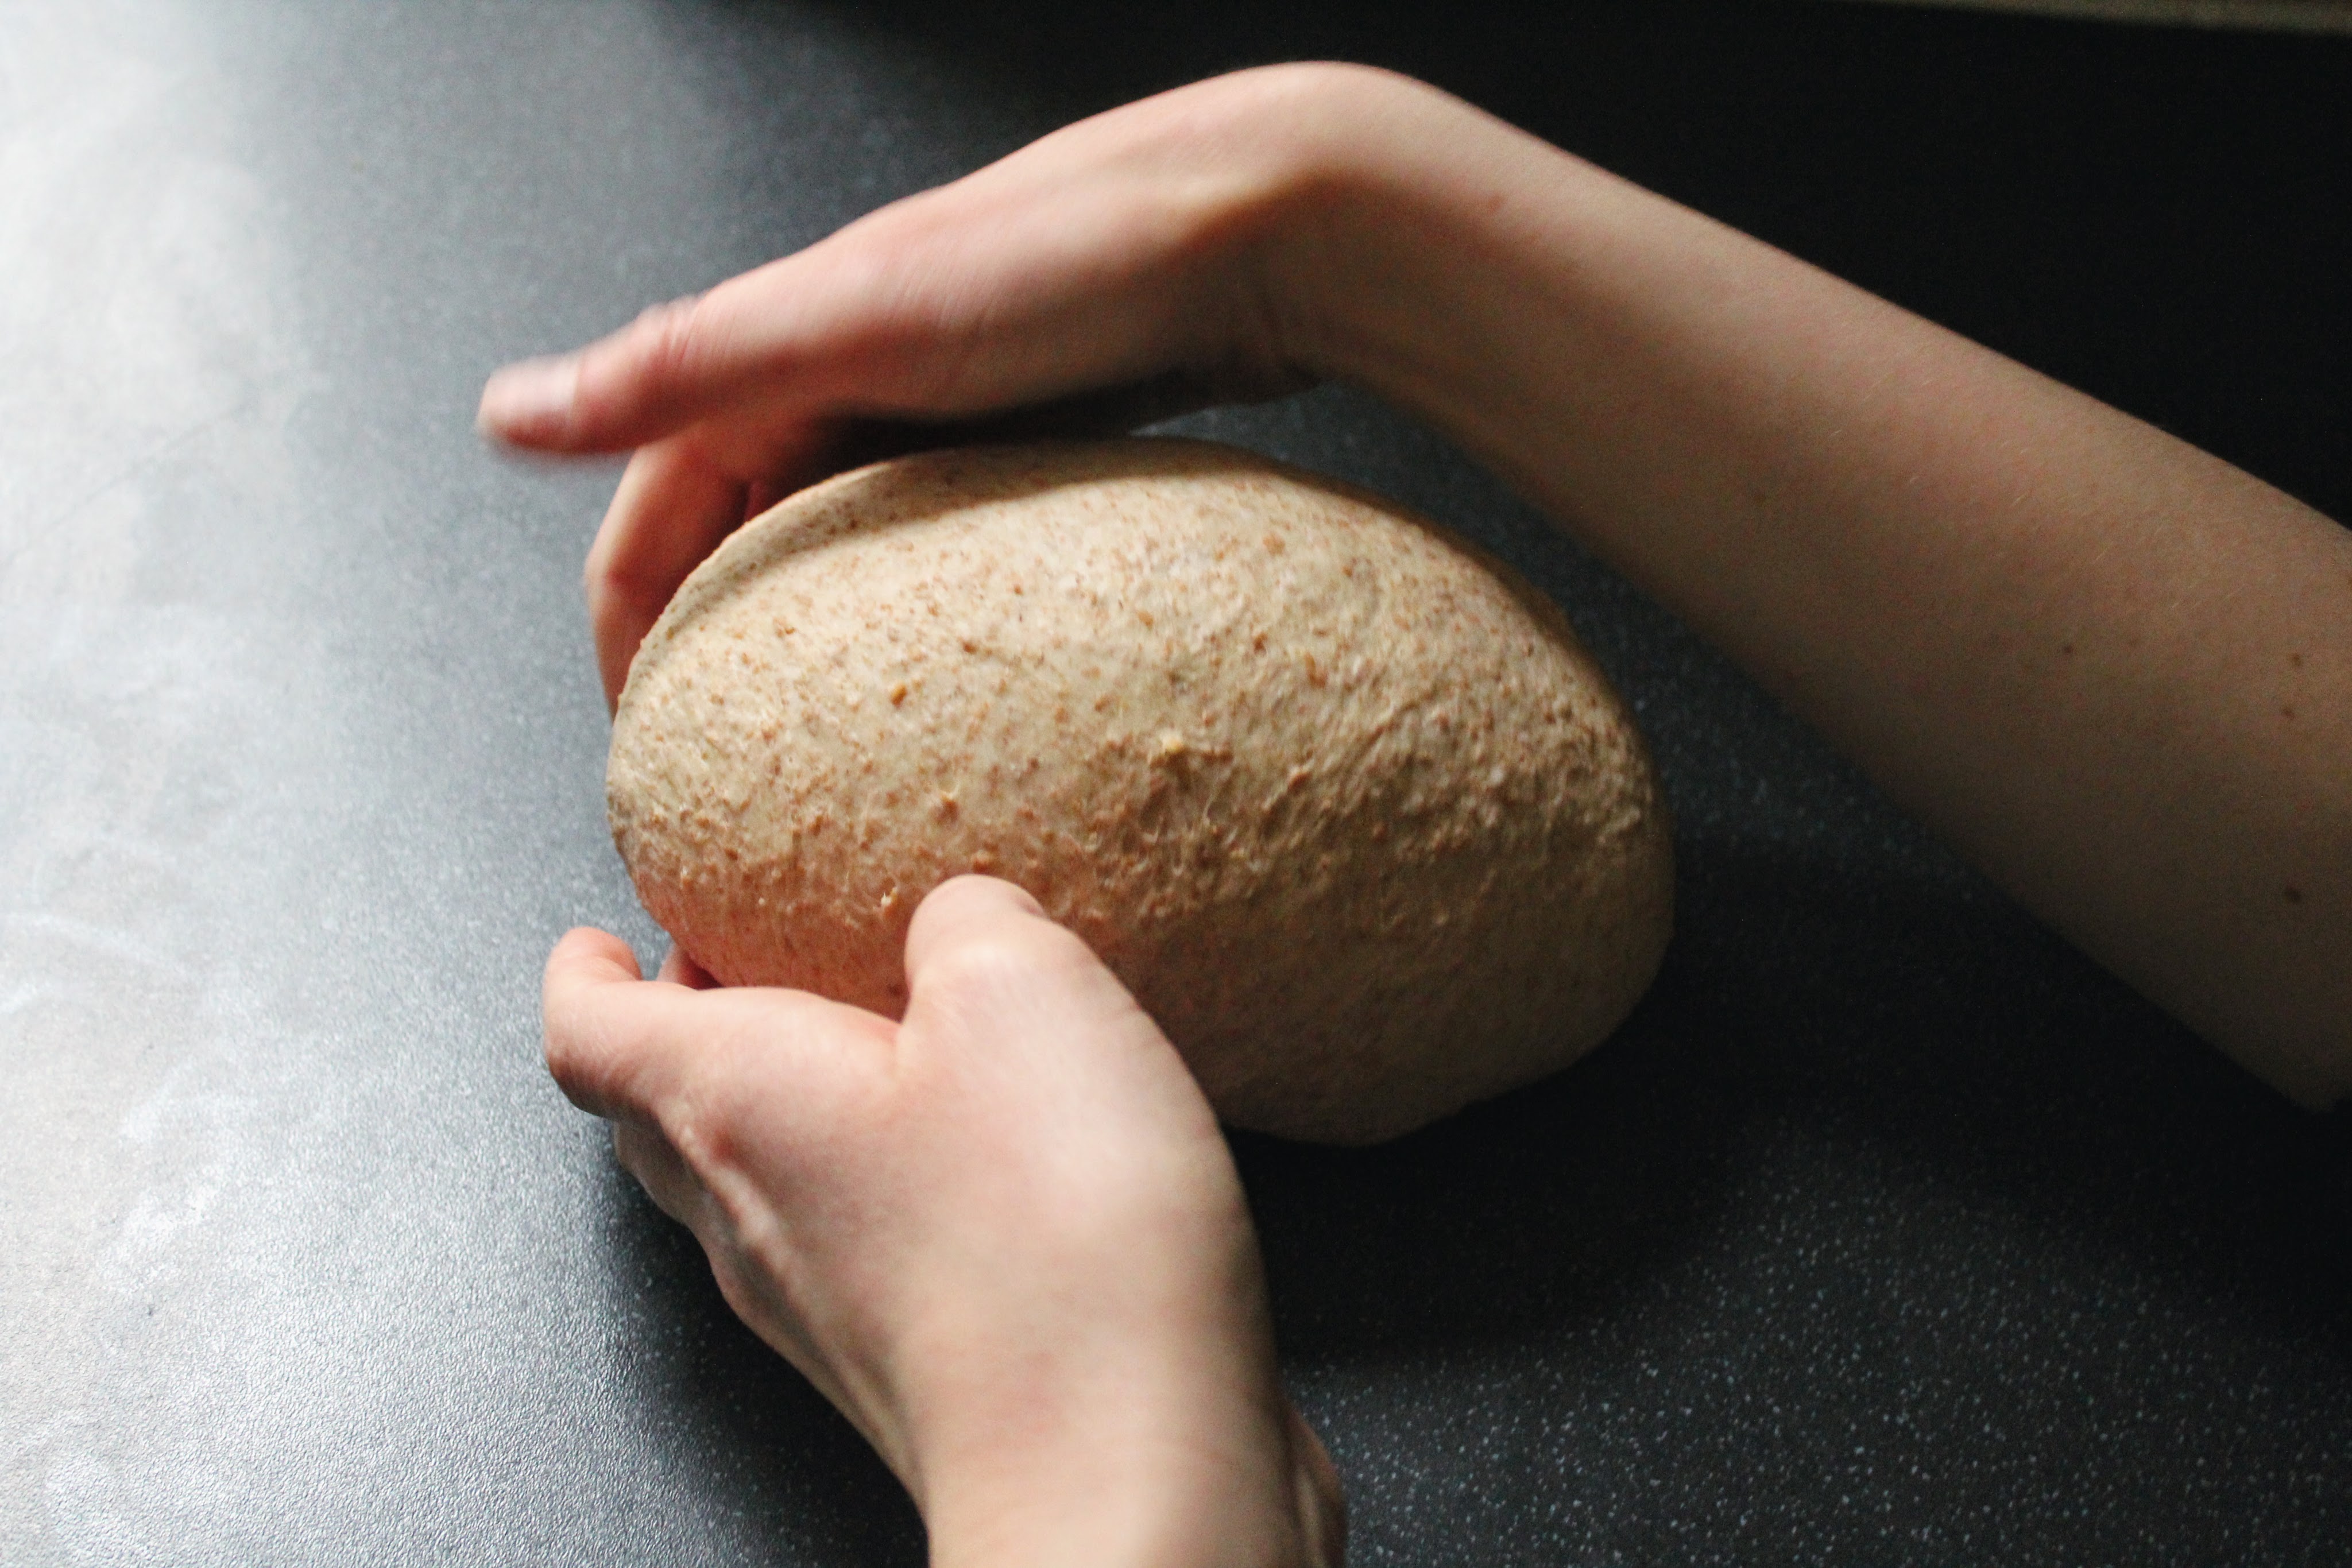
Lightly flour a baking tray. Tip the dough onto your work surface and flatten it out into a wide rectangle, then roll it up tightly. Rotate it 90 degrees and repeat the first step, flattening to a rectangle, narrower this time, and rolling up, ending with the seam of the roll on the work surface. Tuck each end of the bread under itself slightly and place on the baking tray. Cover with cling film and put back in the warm spot until doubled in size (30mins ish). Pre heat the oven to 220 ready for the bread.

Dust the top of the loaf with flour and slash with diagonal lines using a very sharp knife. You don’t have to do this; it just helps the loaf keep its shape. Bake for 15 mins, then turn down the oven to 200 and bake for a further 25 mins.

Let the bread cool for 15 mins until you cut into it, or you’ll squash your bread! I like mine with lots of butter and jam. Try it. You’ll never look back.

Caitlin X

Apple Crumble Pie

Uncategorized

Yo Joe,

I was chatting to Chloe the other day (Fwambwy, I have to call you Chloe in this post so all of our many many many readers don’t get confused). I asked her if she liked apple pie. She said yes. This is why I’m writing up this pie I made the other day, so that she might make it and use up her apples.

Kanhai pretending that he made MY pie

I can’t compete with mums apple crumble but I think my apple crumble pie is very, very good. Kanhai liked it too, I think if he could, he would eat ANY variation of apple crumble for breakfast, lunch and dinner.

Lil note on the crumble topping – I NEVER measure out ingredients for crumble. Its sugar, flour and butter, I really don’t think there’s much that can go wrong. I have written down measurements for the topping though, just so that the method wouldn’t say ‘make crumble’ as the only instruction.

Both the pastry and the crumble topping can be made in advance, you don’t have to make it all in one go.

Jess doing her job, casually picking up some pie but Sue…Sue has her own artistic vision for the shot.

Ingredients

For the flaky pastry, makes one 23cm tart shell

  • 450g plain flour
  • 300g unsalted butter, cold
  • 1 teaspoon salt
  • 150ml cold water

For the crumble topping

  • 125g plain flour
  • 75g sugar
  • 1/2 teaspoon salt
  • 125g unsalted butter, cold

For the apple filling

  • 910g apples, peeled, cored and chopped into chunky pieces
  • 2 tablespoons plain flour
  • 2 tablespoons sugar
  • 1/2 teaspoon salt
  • 2 tablespoons lemon juice
  • 1 teaspoon cinnamon
  • 1/2 teaspoon nutmeg

Method

Start by making the pastry. The aim is to mix/handle/work the pastry as little as possible. Clumps of butter visible in the dough and some loose bits of dry floury pastry at this stage this is a good thing. Don’t be tempted to work this into a smooth ball of dough.

In a bowl toss together the flour, salt and cubed butter. Once the butter cubes are coated in flour, gently squash them between fingertips. Keep doing this, picking up clumps of butter and flour and ‘squashing’ them together, until the mixture begins to form big clumps and some of the butter is still in pea sized balls. Add in the water and mix with a fork until the mixture forms a large shaggy mass. Wrap the ball of dough in cling film and put in the fridge for at least an hour (can be over night).

When the pastry has chilled, grease a 23cm tart tin or shallow cake tin (a bit smaller or bigger is all good) with butter. Roll out the pastry on a lightly floured surface, to about one cm thick. Roll the pastry onto the rolling pin, picking it up off the surface and roll out over the tart tin. Gently press the pastry to mould to the tin, any breaks, patch them up with a bit of the pastry dough that hangs over the edge of the tin. Don’t trim the pastry that hangs over the edge, do that when it’s out the oven. Put the lined tart tin in the fridge until ready to fill.

For the crumble topping. Mix the flour, sugar and salt in a bowl. Add the cold butter in cubes. Gently rub the mixture together between fingertips. Keep doing this until the mixture looks like rough breadcrumbs, with some smaller clumps. Cover with cling film and put in the fridge until you’re ready to use it (it can be kept, covered in the fridge, for up to 5 days).

This is what my hands do when they make crumble
This is what crumble looks like

Pre heat the oven to 180 before prepping the apple filling.

Mix together all the ingredients for the apple filling – the apple filling is now made! Taking the crumble and lined tart tin out the fridge, tip the apples onto the pastry base, and top with the crumble. A bit of the mound of apple crumble in the centre always looks good. Put the pie in the fridge for a final 15 mins before baking.

Put the pie on a baking tray and bake for 1 hour, or until the top is golden brown and the apple is bubbling underneath. Once cooled use a knife to trim any excess pasty that hangs over the rim of the tart/cake tin. The pie is easier to cut when it has cooled for an hour ish but you don’t have to wait…

Get the pie!

Have a good pie. (love you fwambwy) Caitlin xxx