Yo Joe
A nostalgic one this month.

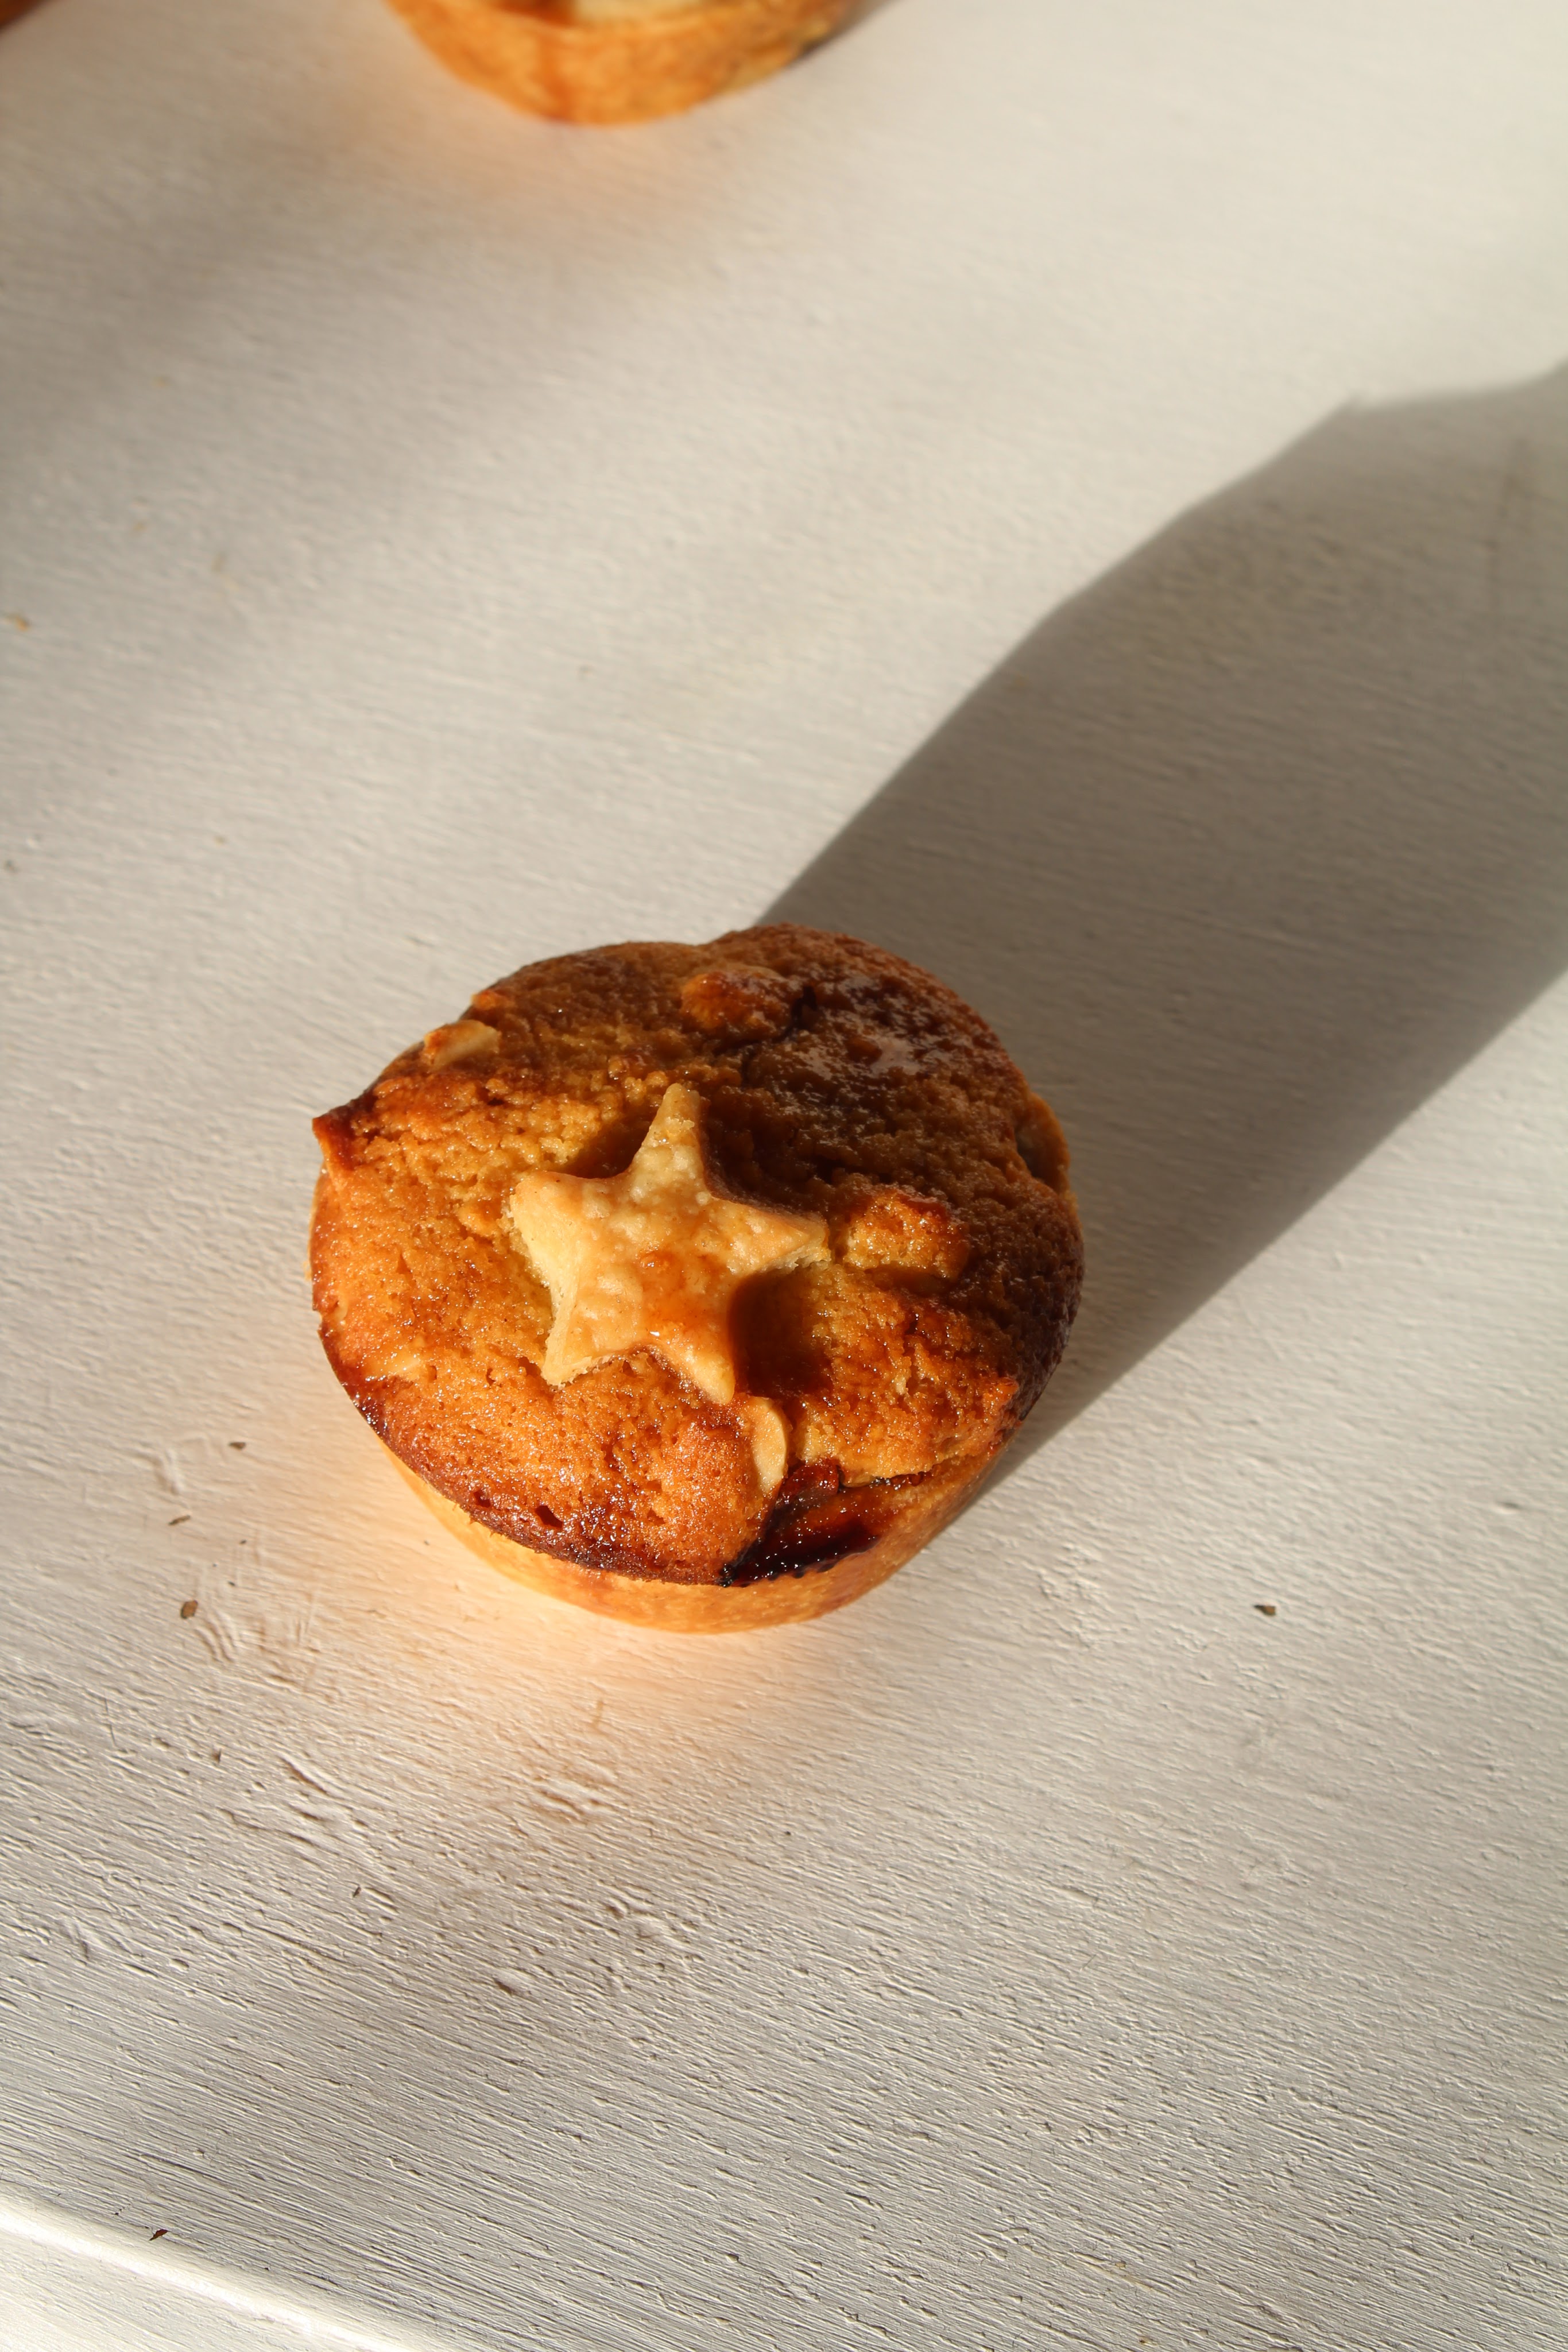
Tiger told me about a honey cake the canteen of her secondary school used to offer up. The area she went to school in had a big Jewish community, which in turn influenced the food served in the cafes and canteens about the area. Honey Cake was one of the traditional Jewish foods Tiger had particular memories about. The cake is eaten on Rosh Hashanah, Jewish New Year but it sounded like Tigers school celebrated with honey cake most days.

The way Tiger described the cake to me, it’s taste and texture was with an attention to detail particular to the way people describe food from their past. It’s a special fondness I’ve notice, food nostalgia. That food is a common topic of reminiscing, makes sense to me, the immediacy of taste, smell or touch, brings the past a bit closer to now.


Last night me and Emma had ‘Soy Glazed Things Are Different Salmon’ for dinner. Things do feel very different. Everyone around me is becoming an adult very quickly, not a bad thing, but, and I tread carefully now so as not to read like the diary of a mid-20s graduate, (which this is hahaha) bloody nora it’s all change.

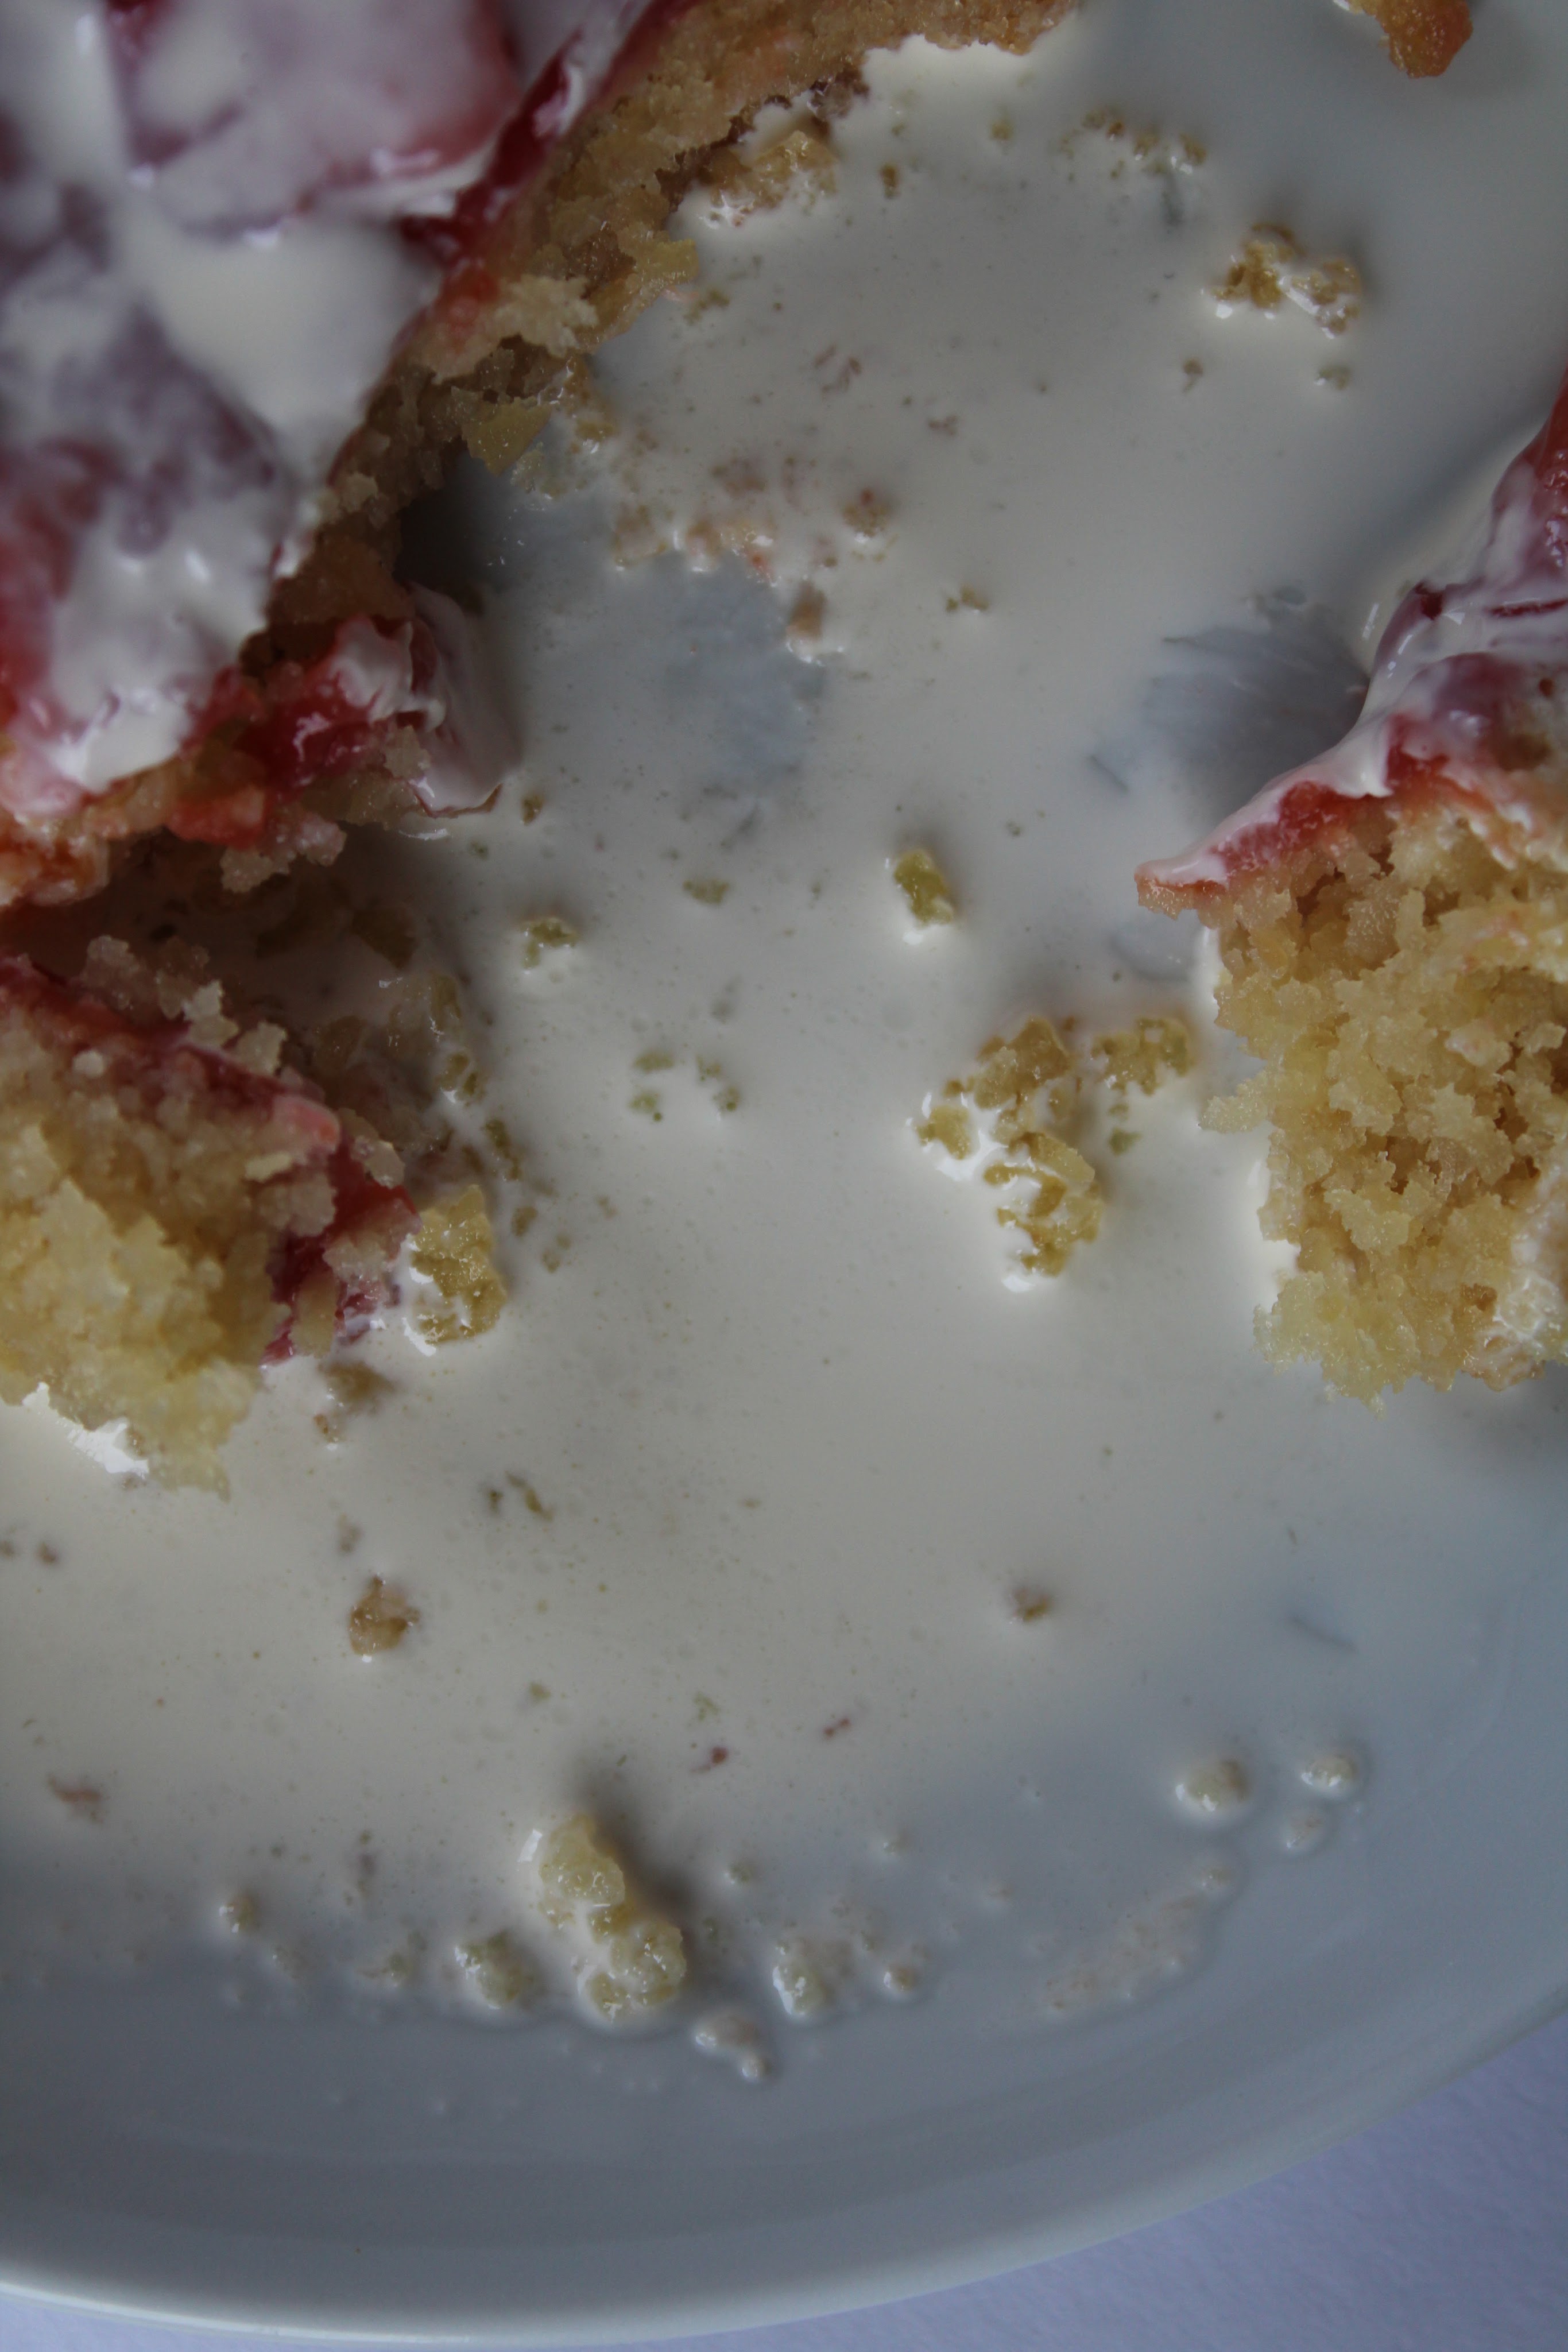
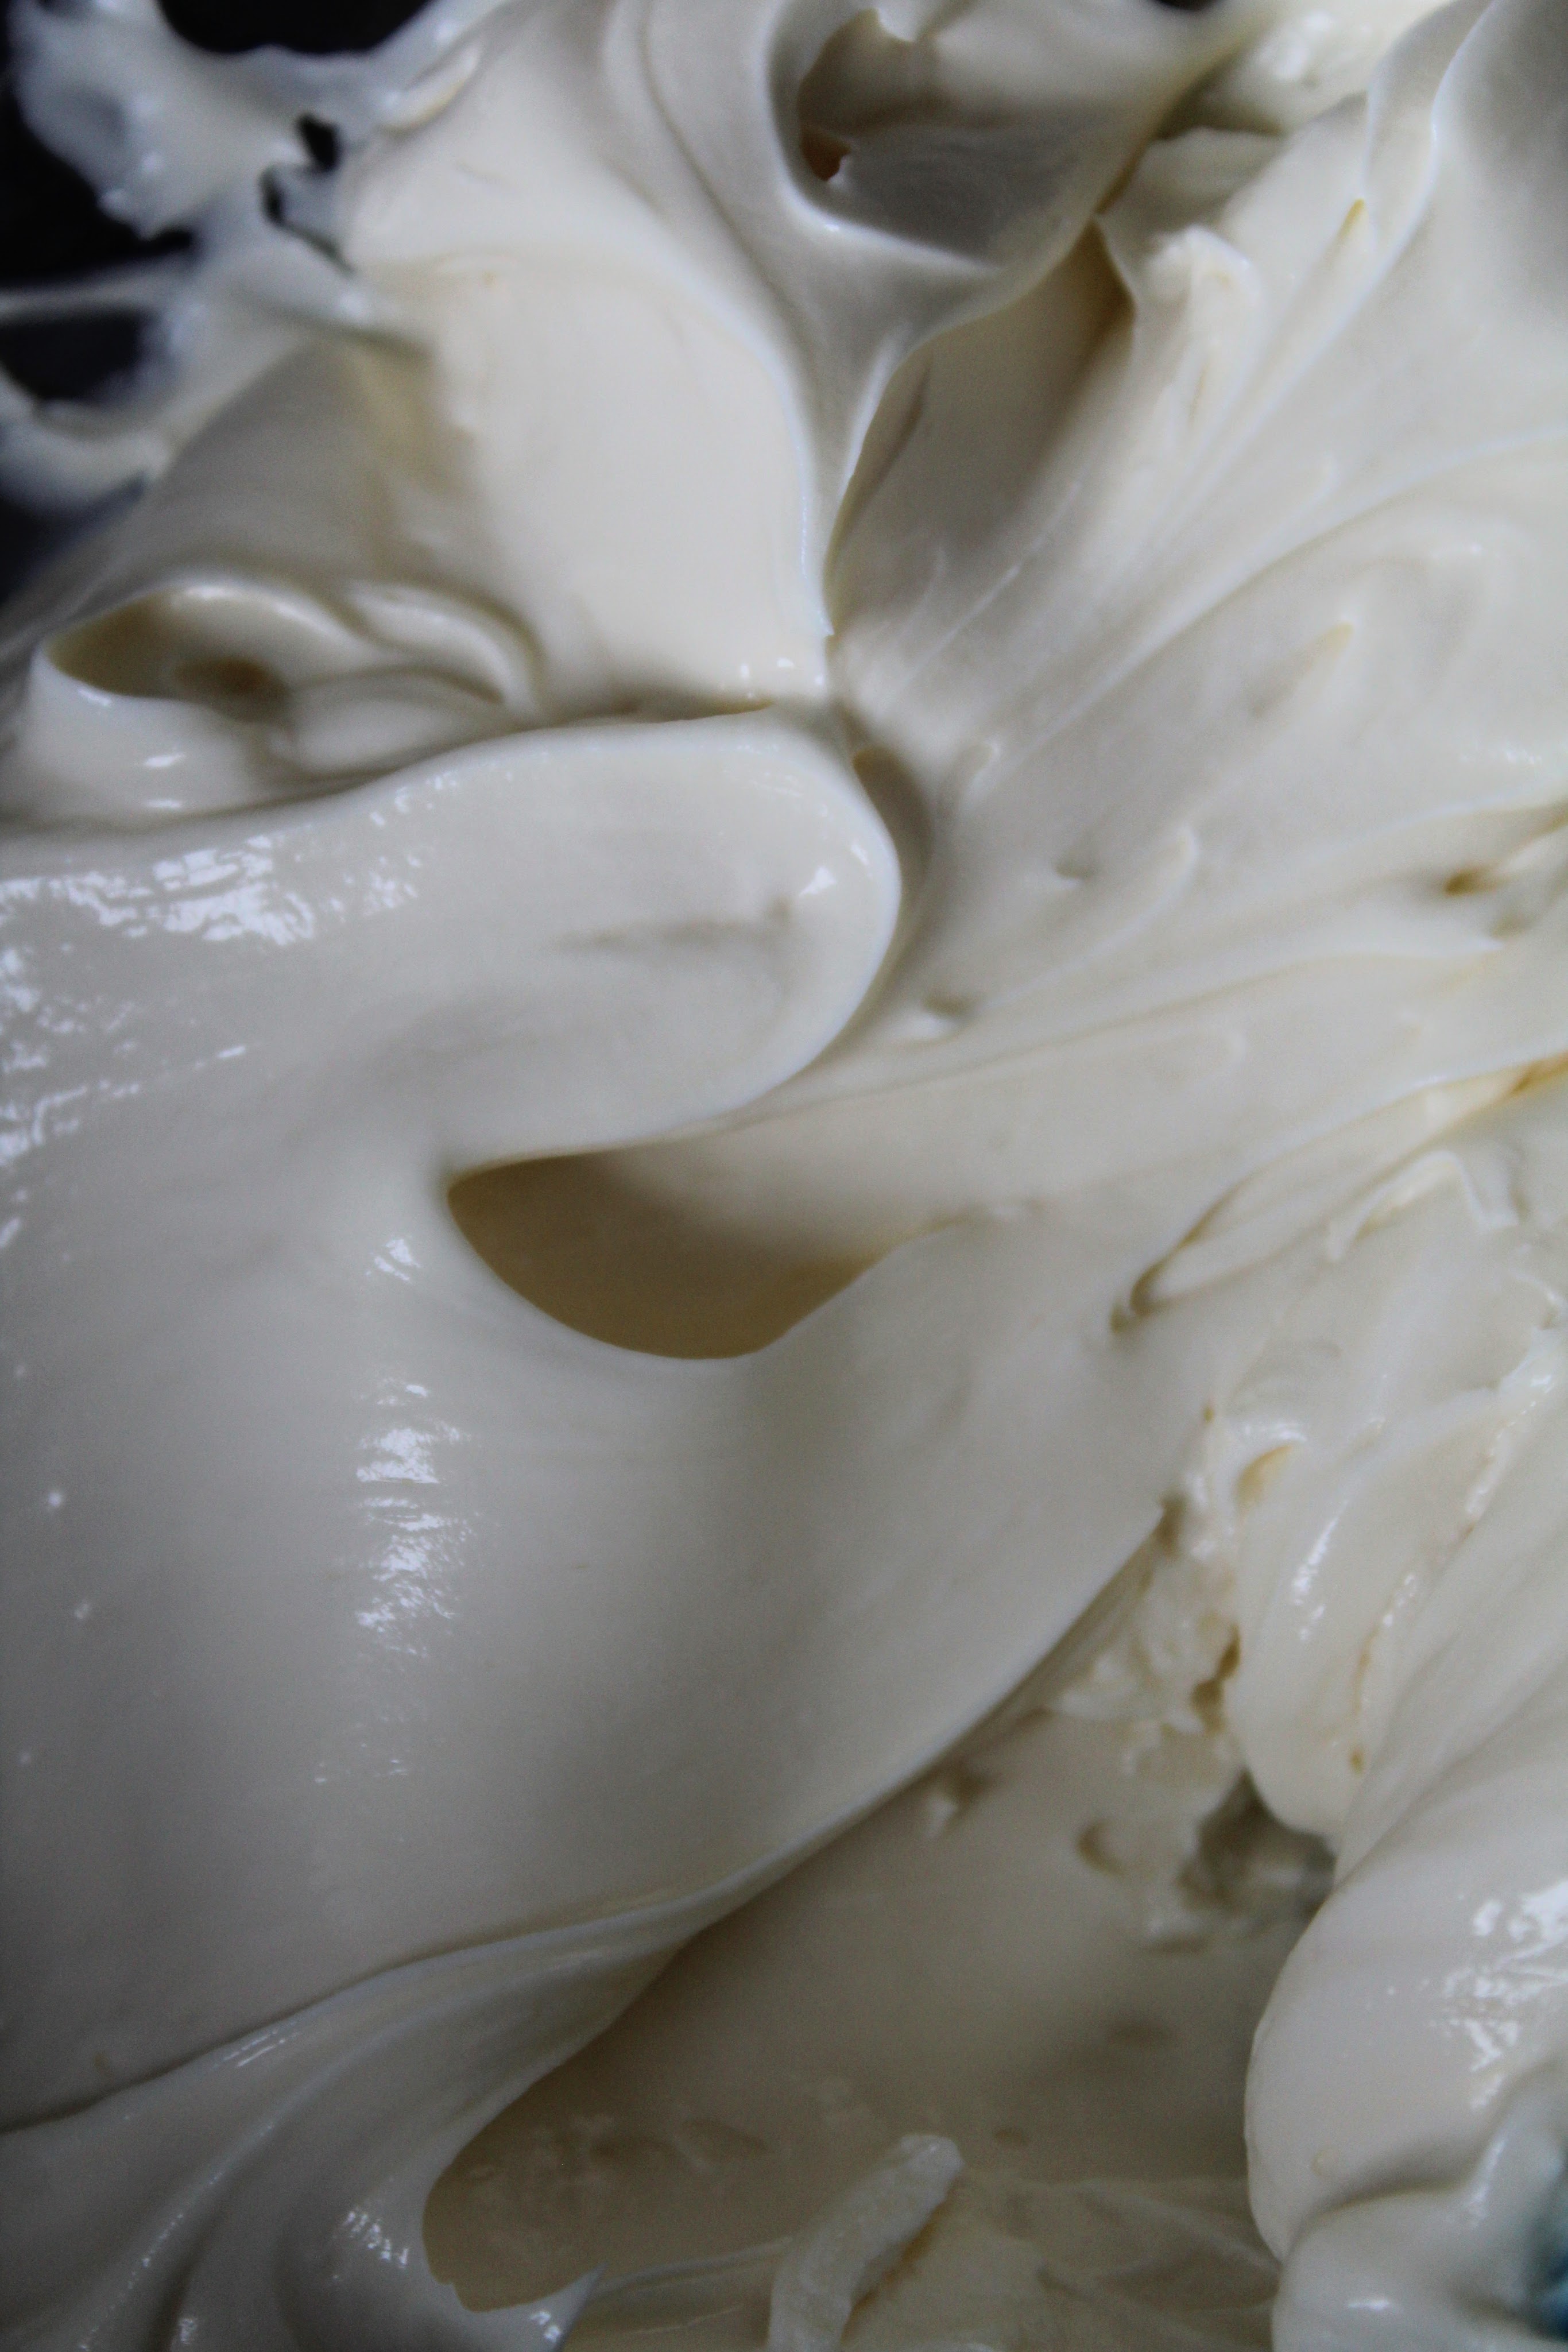
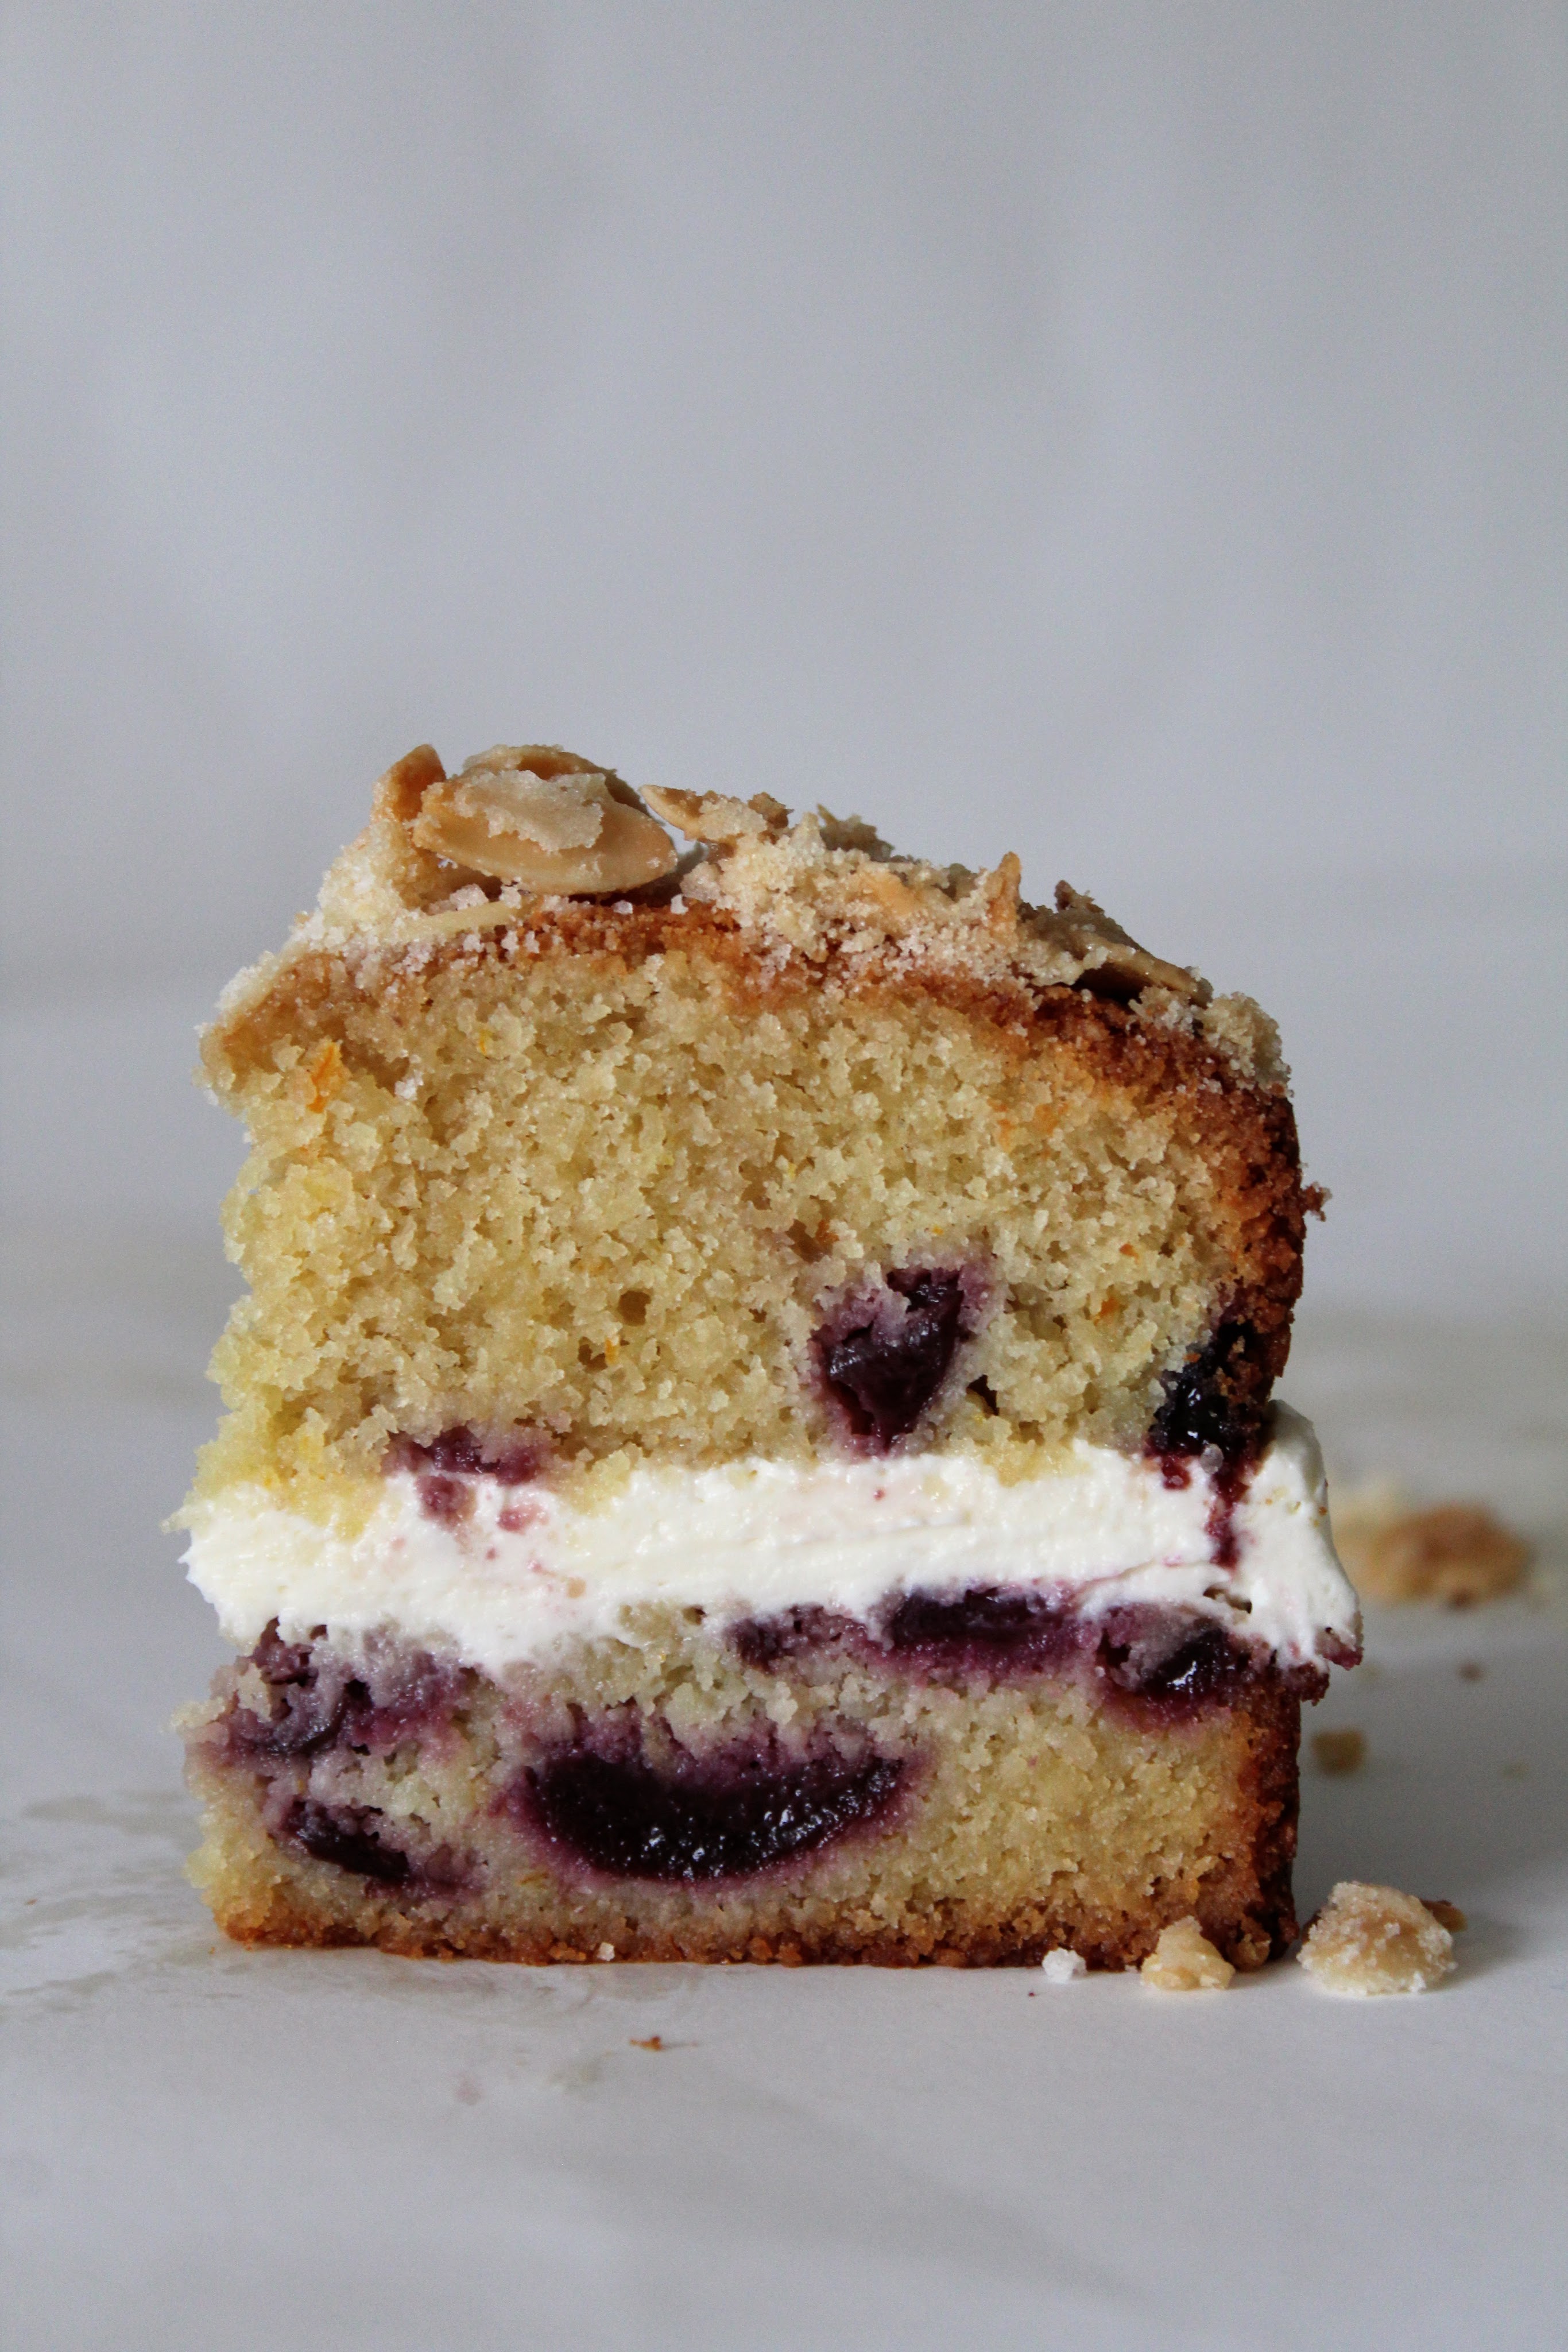
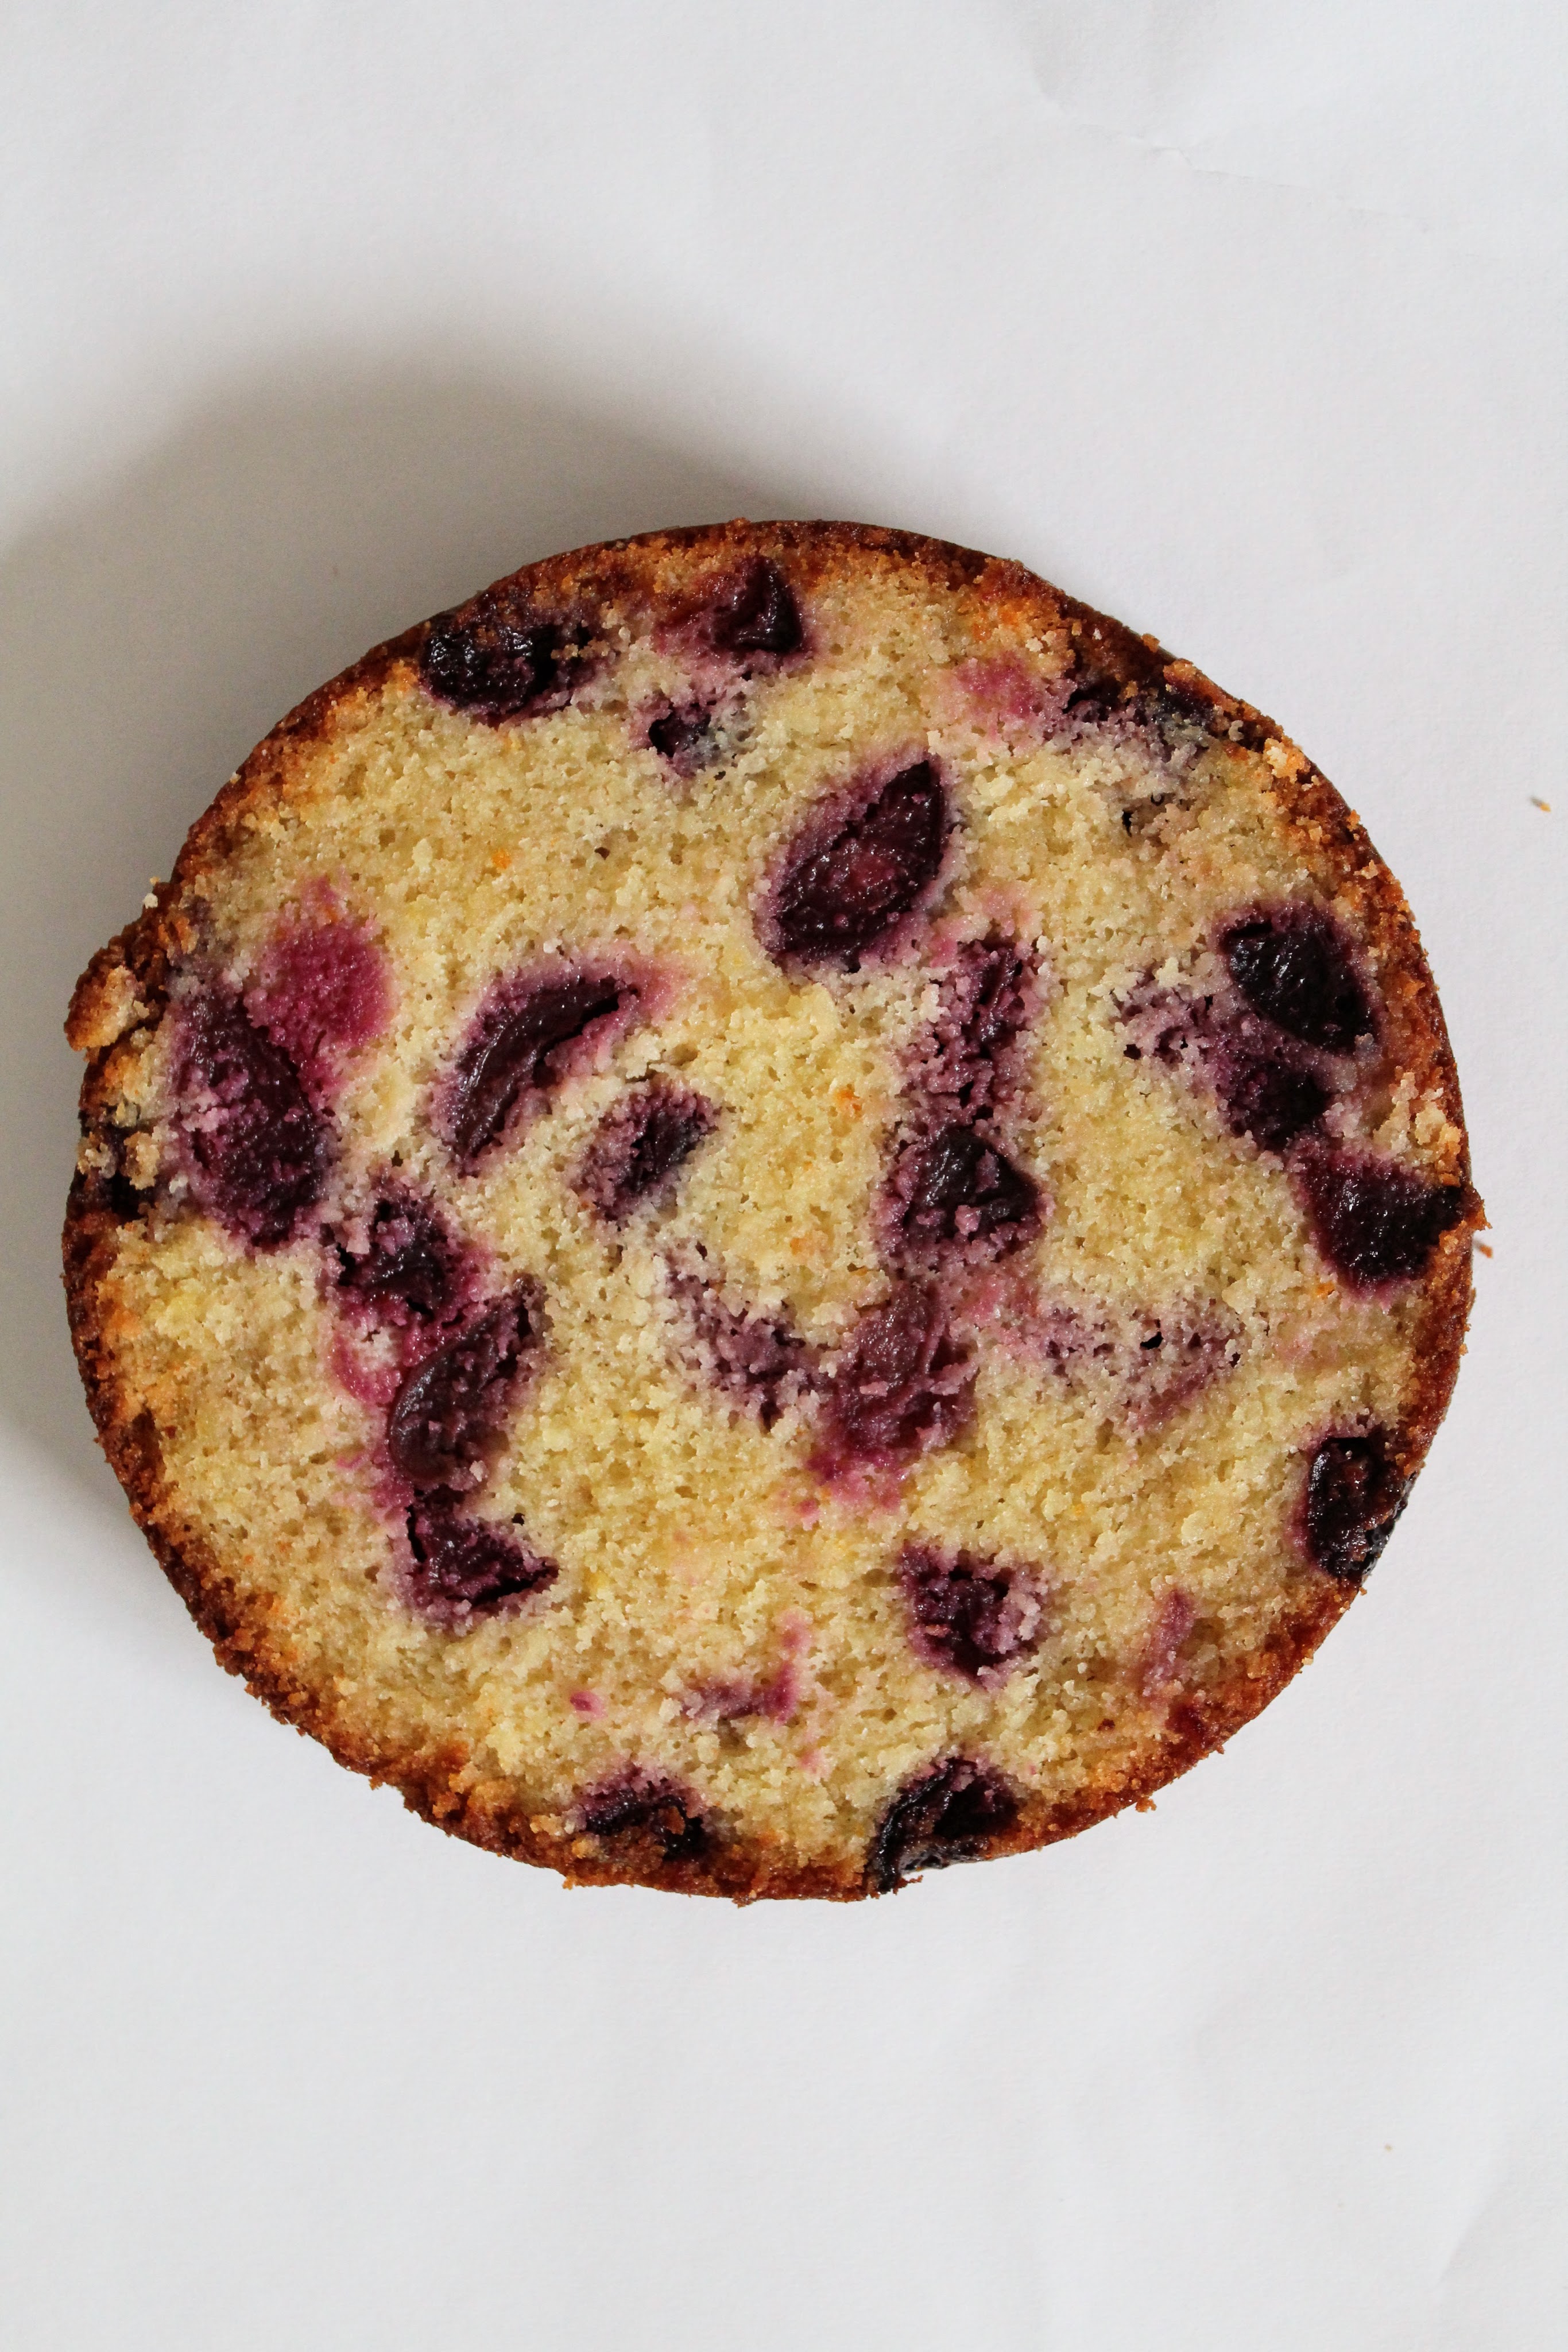
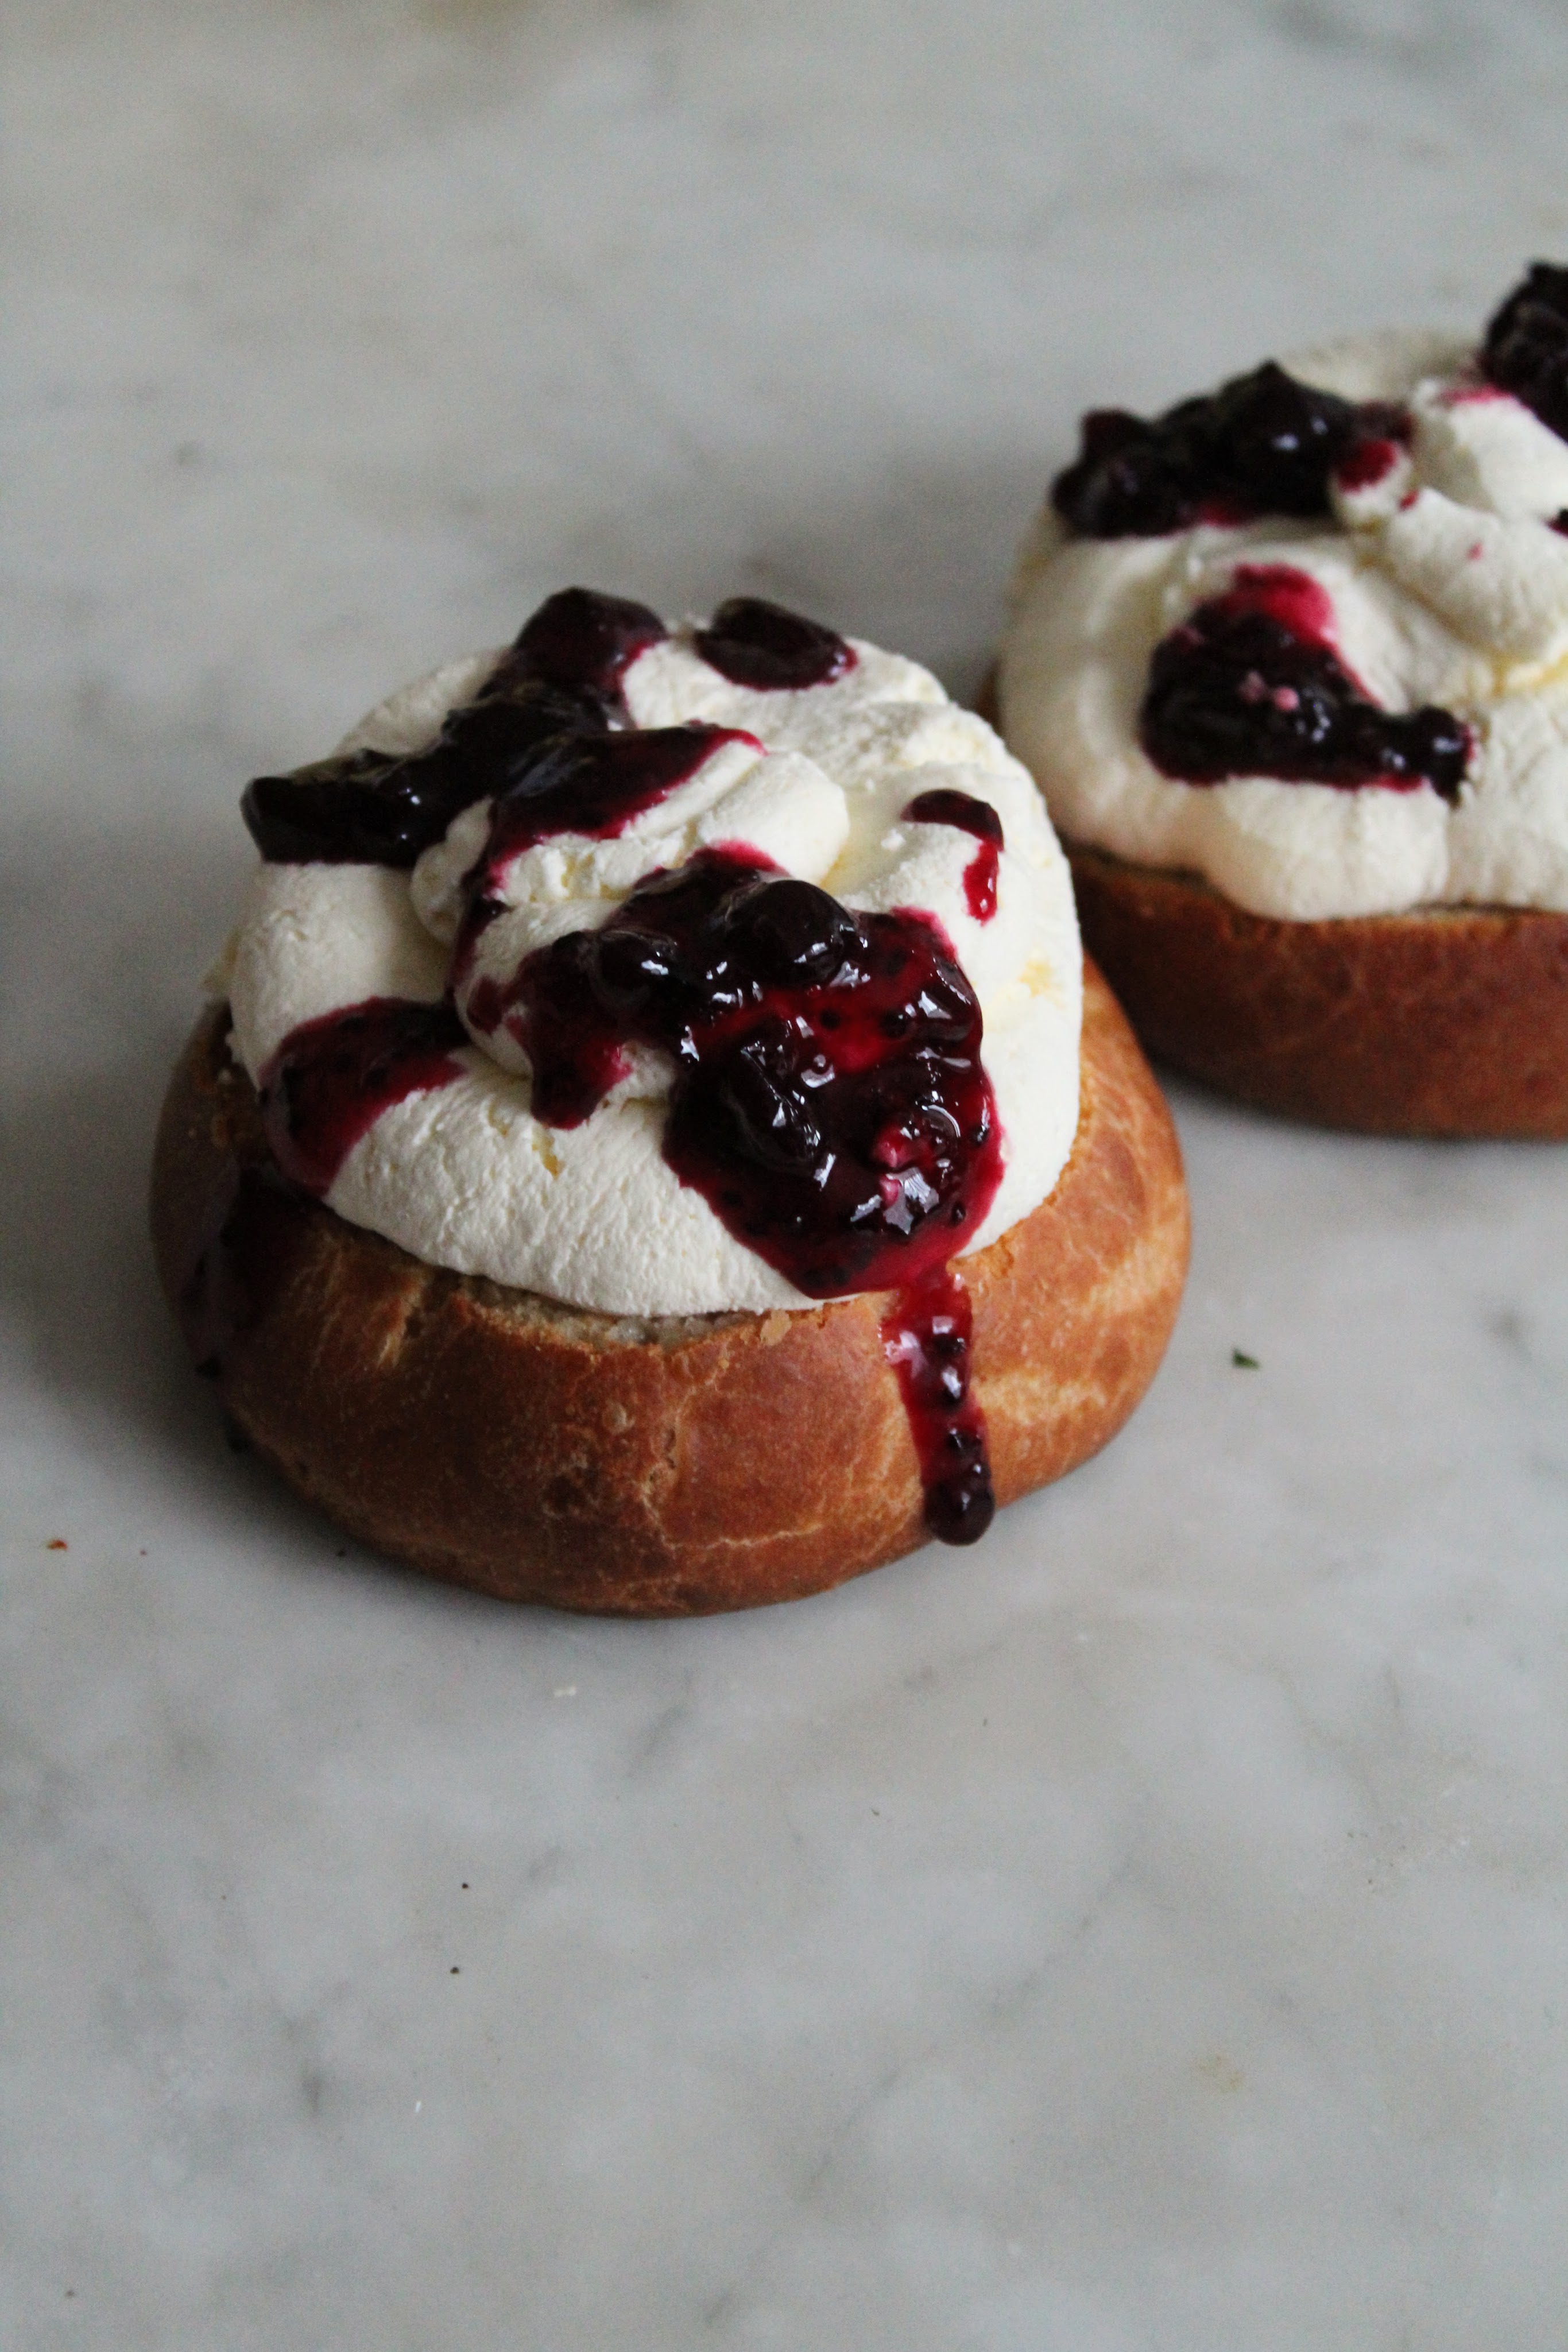
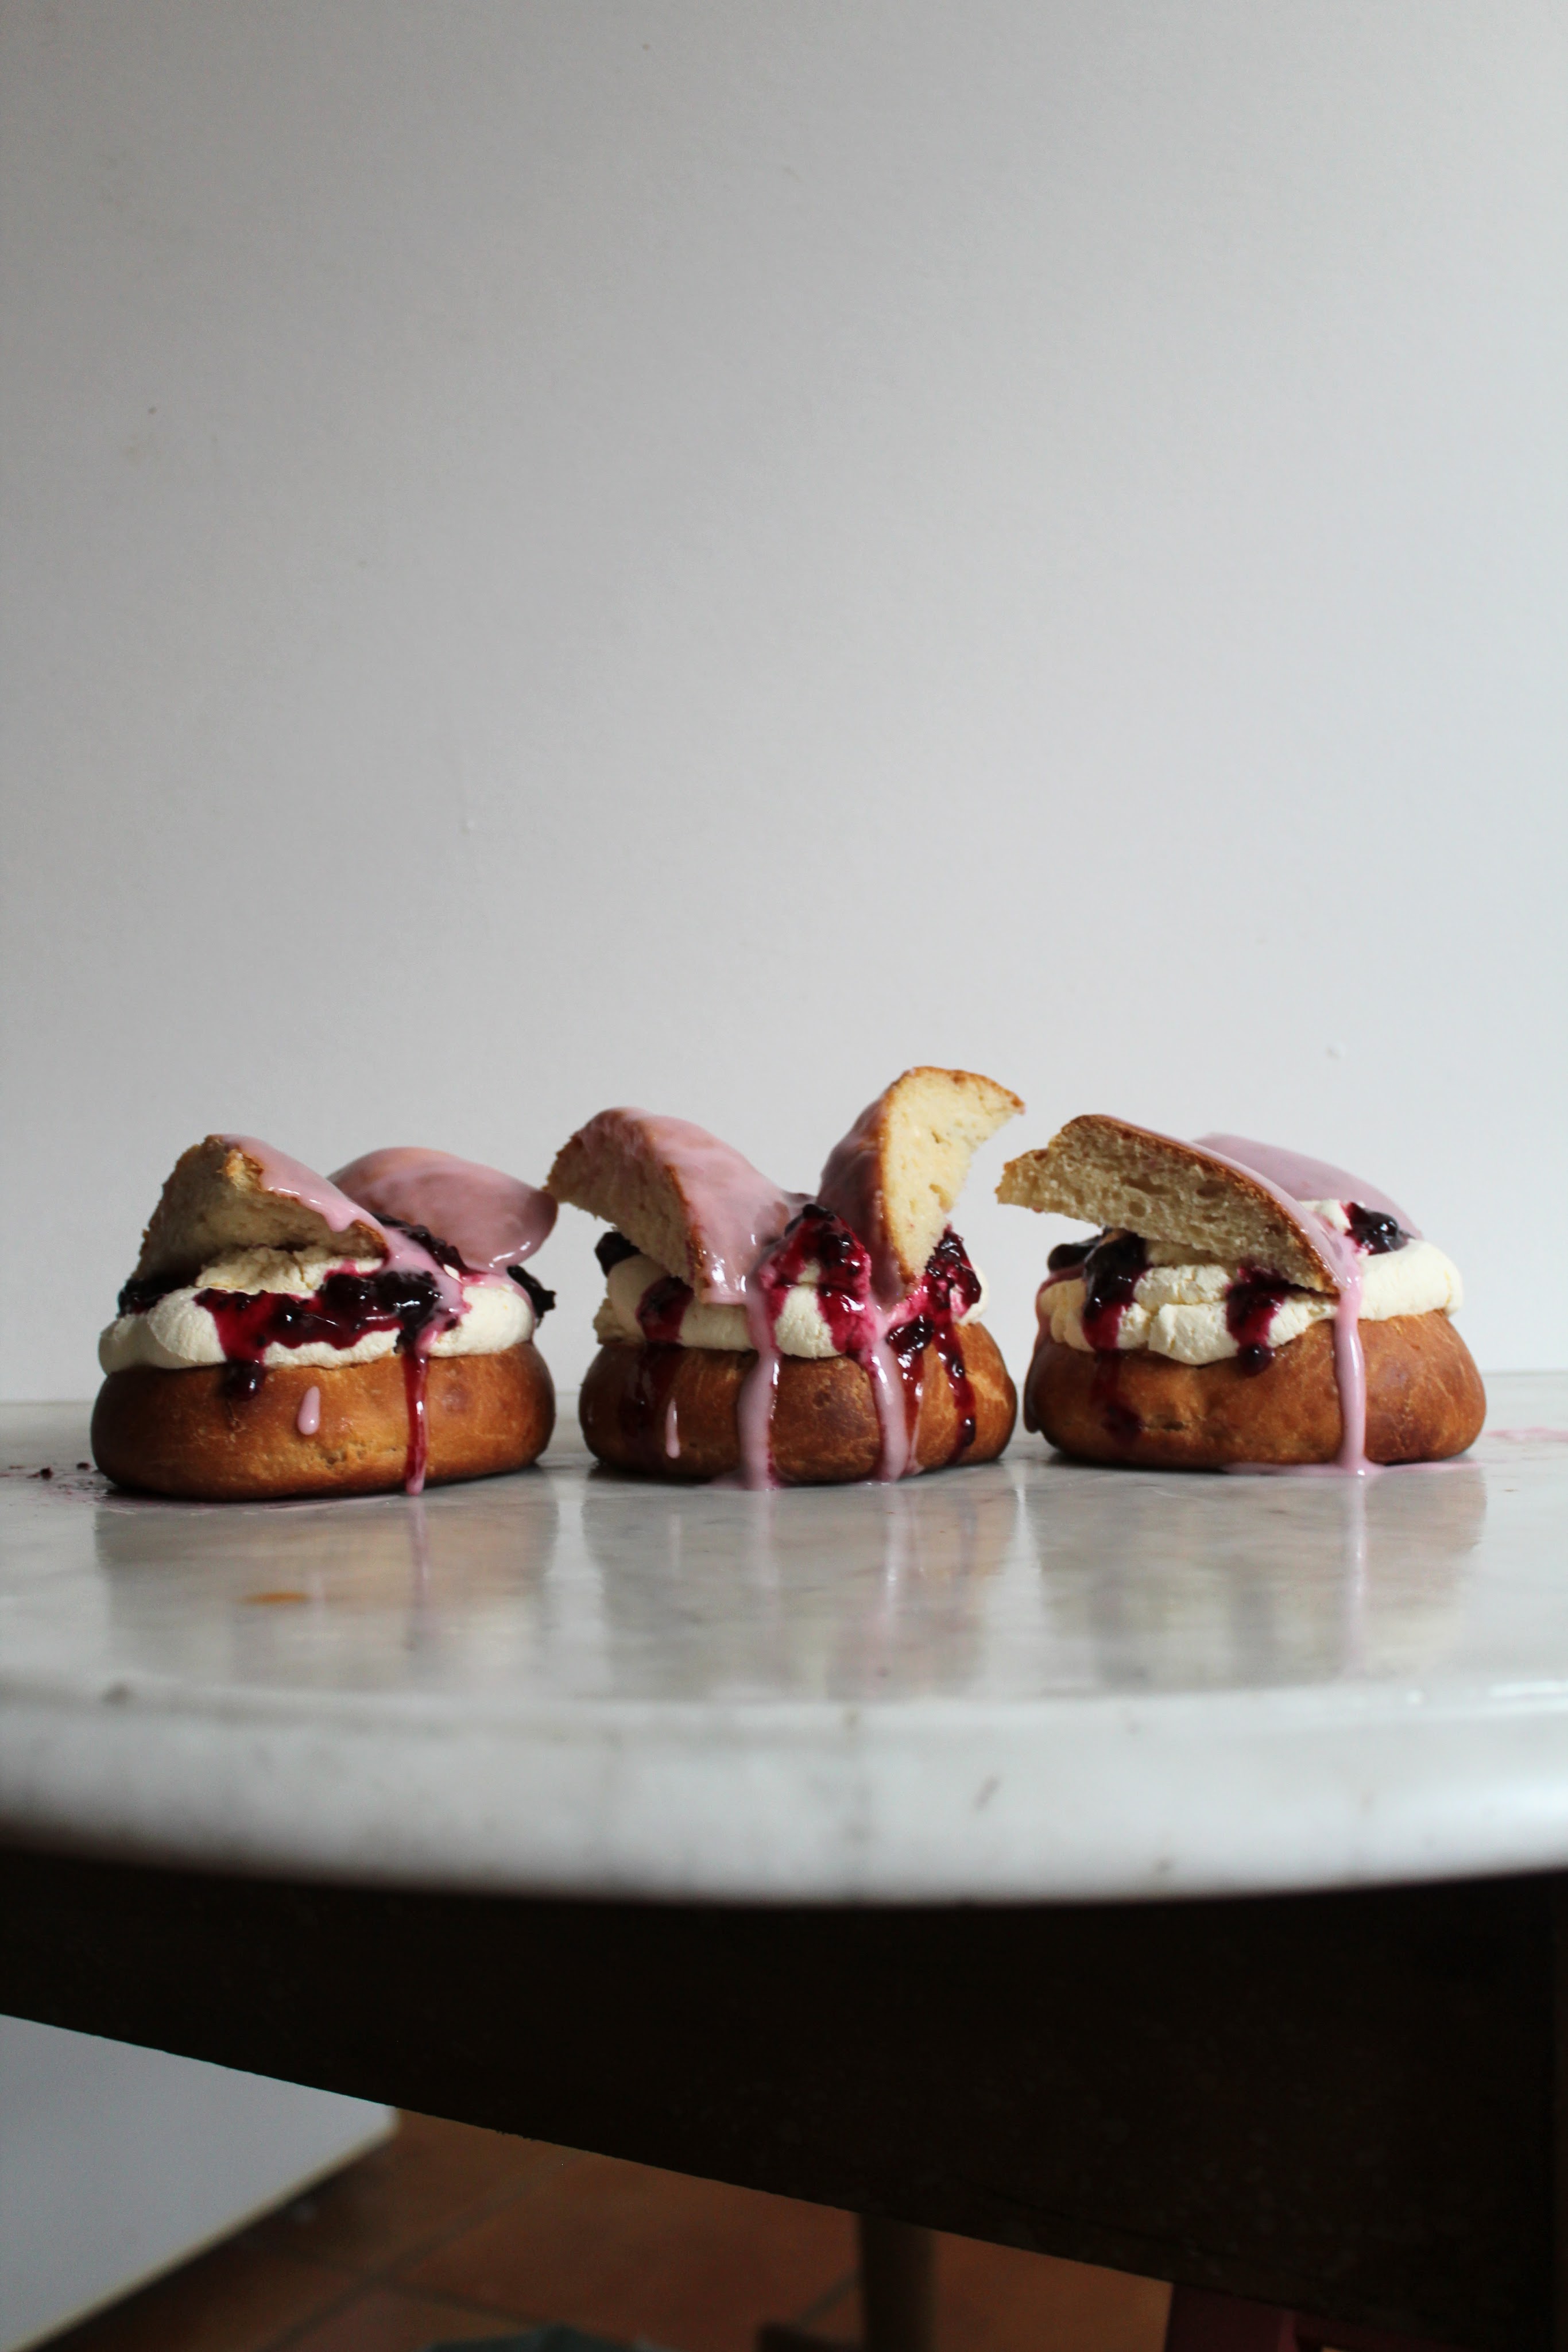
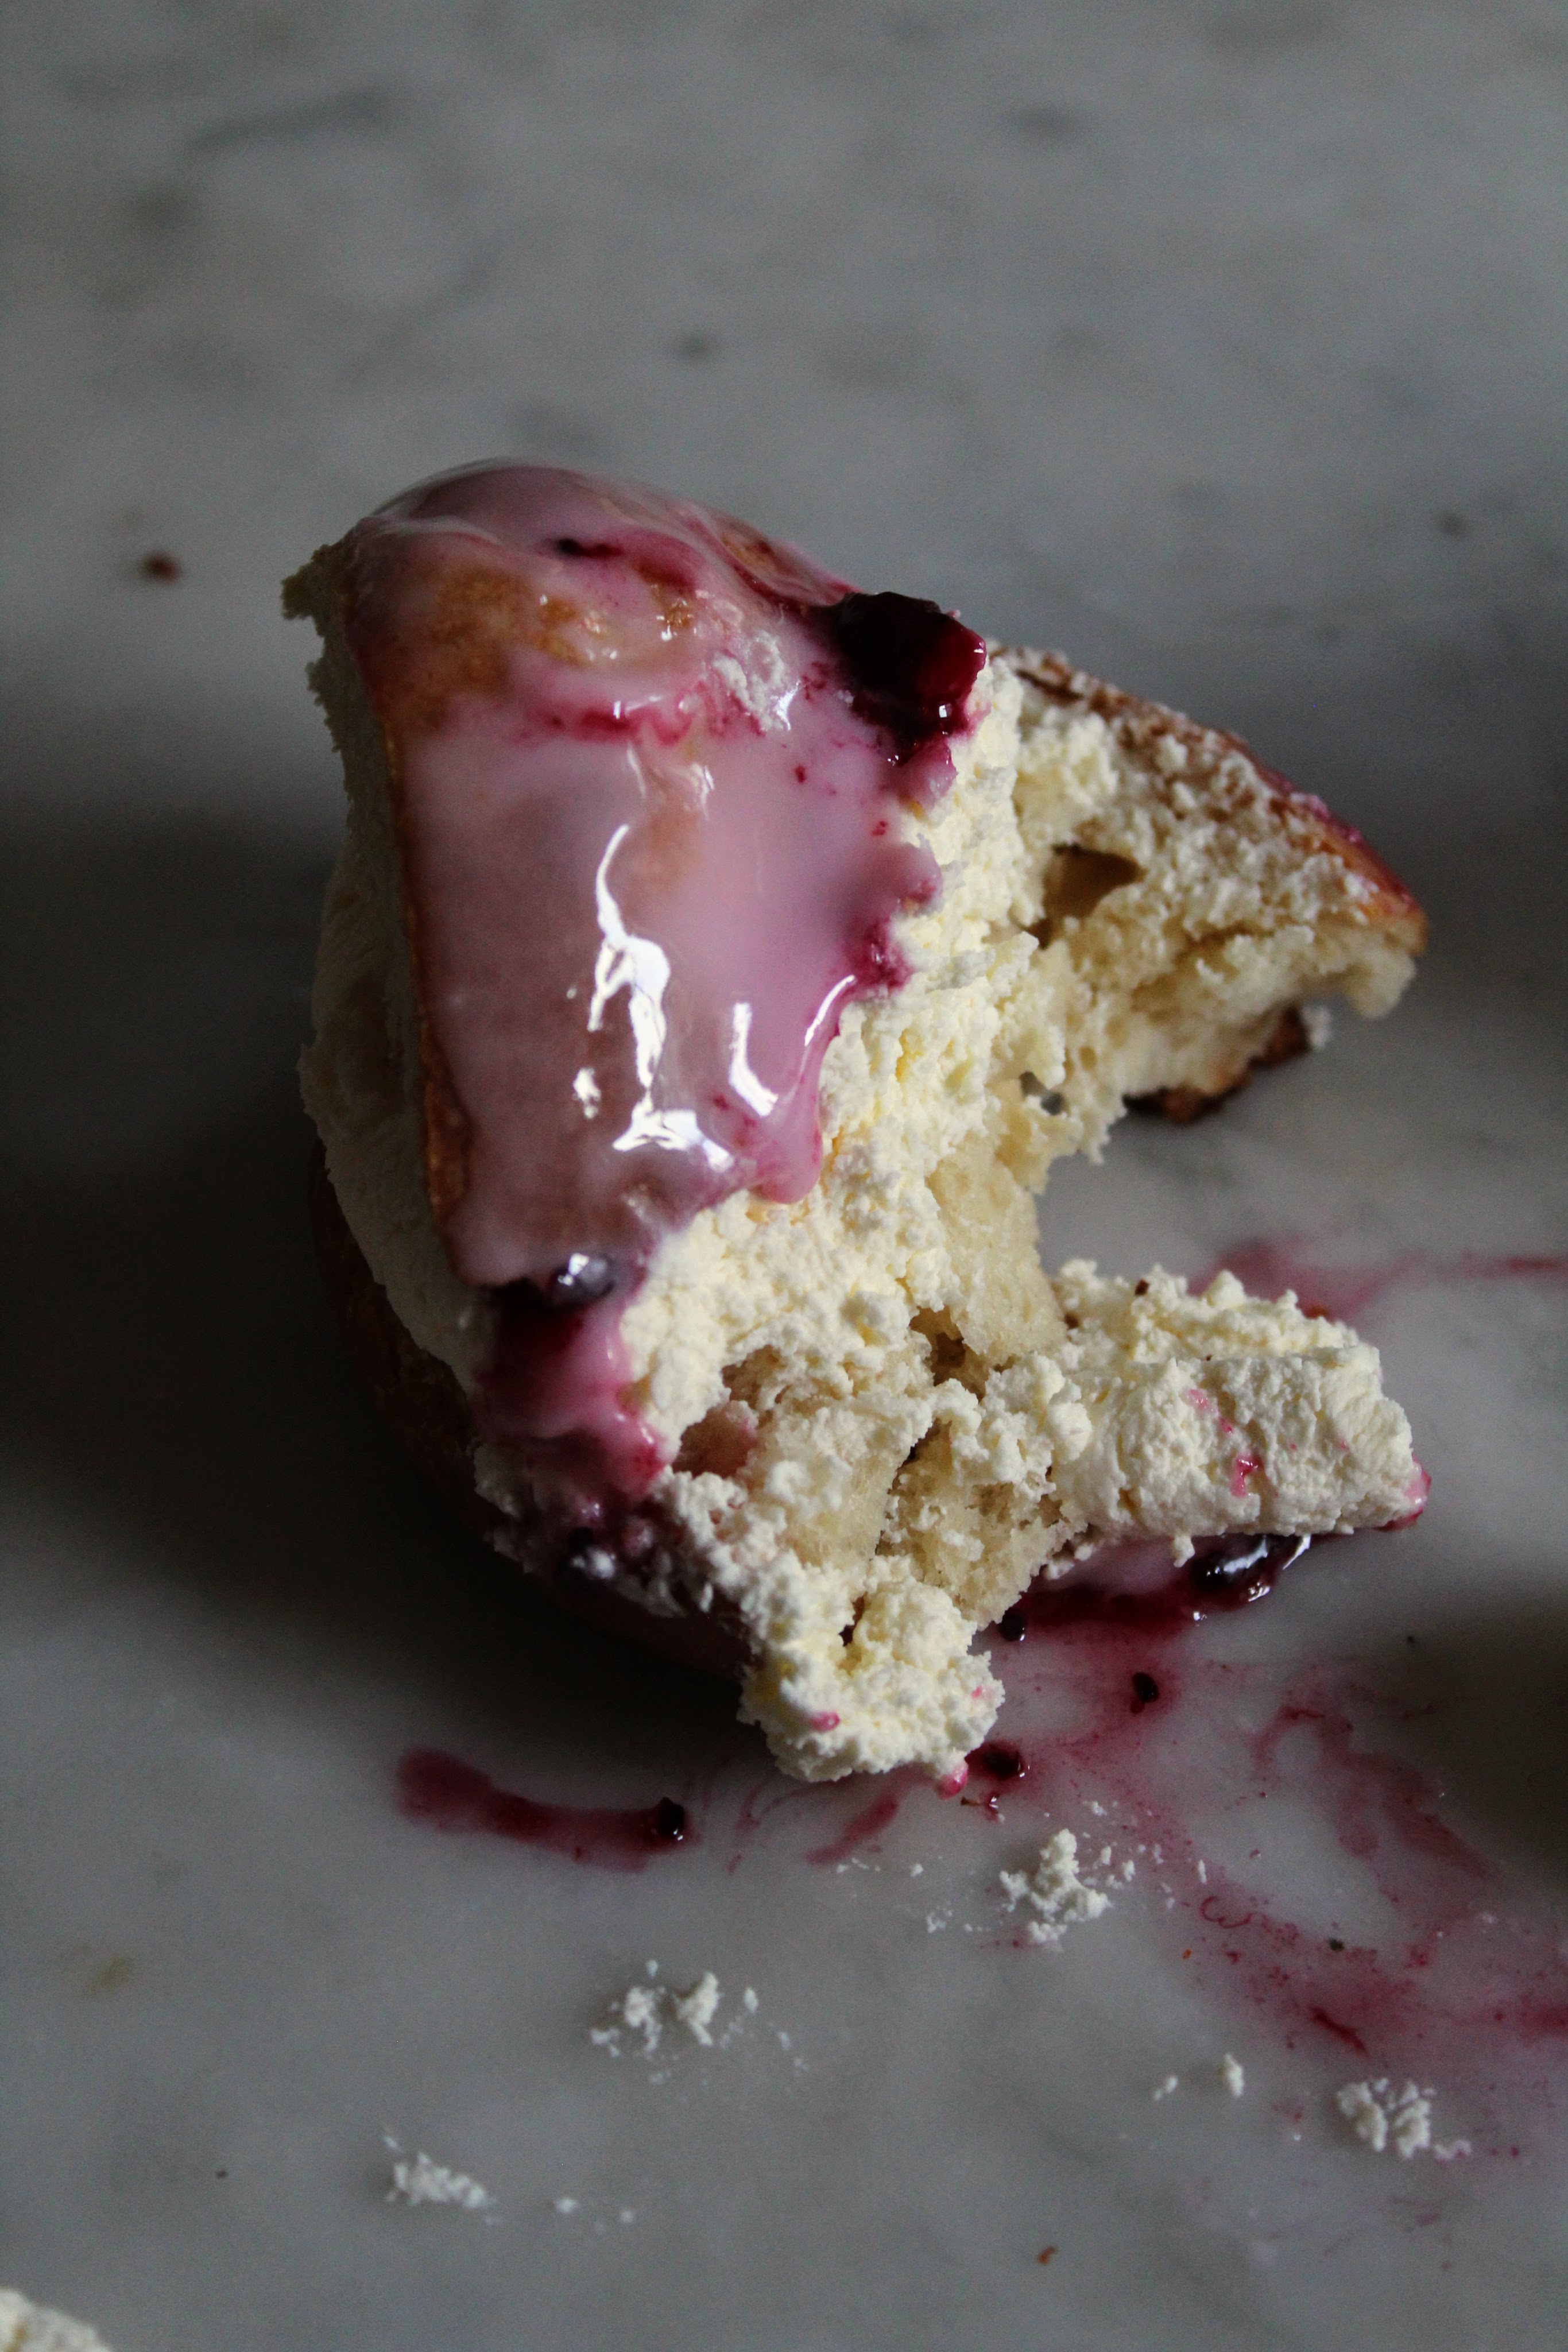
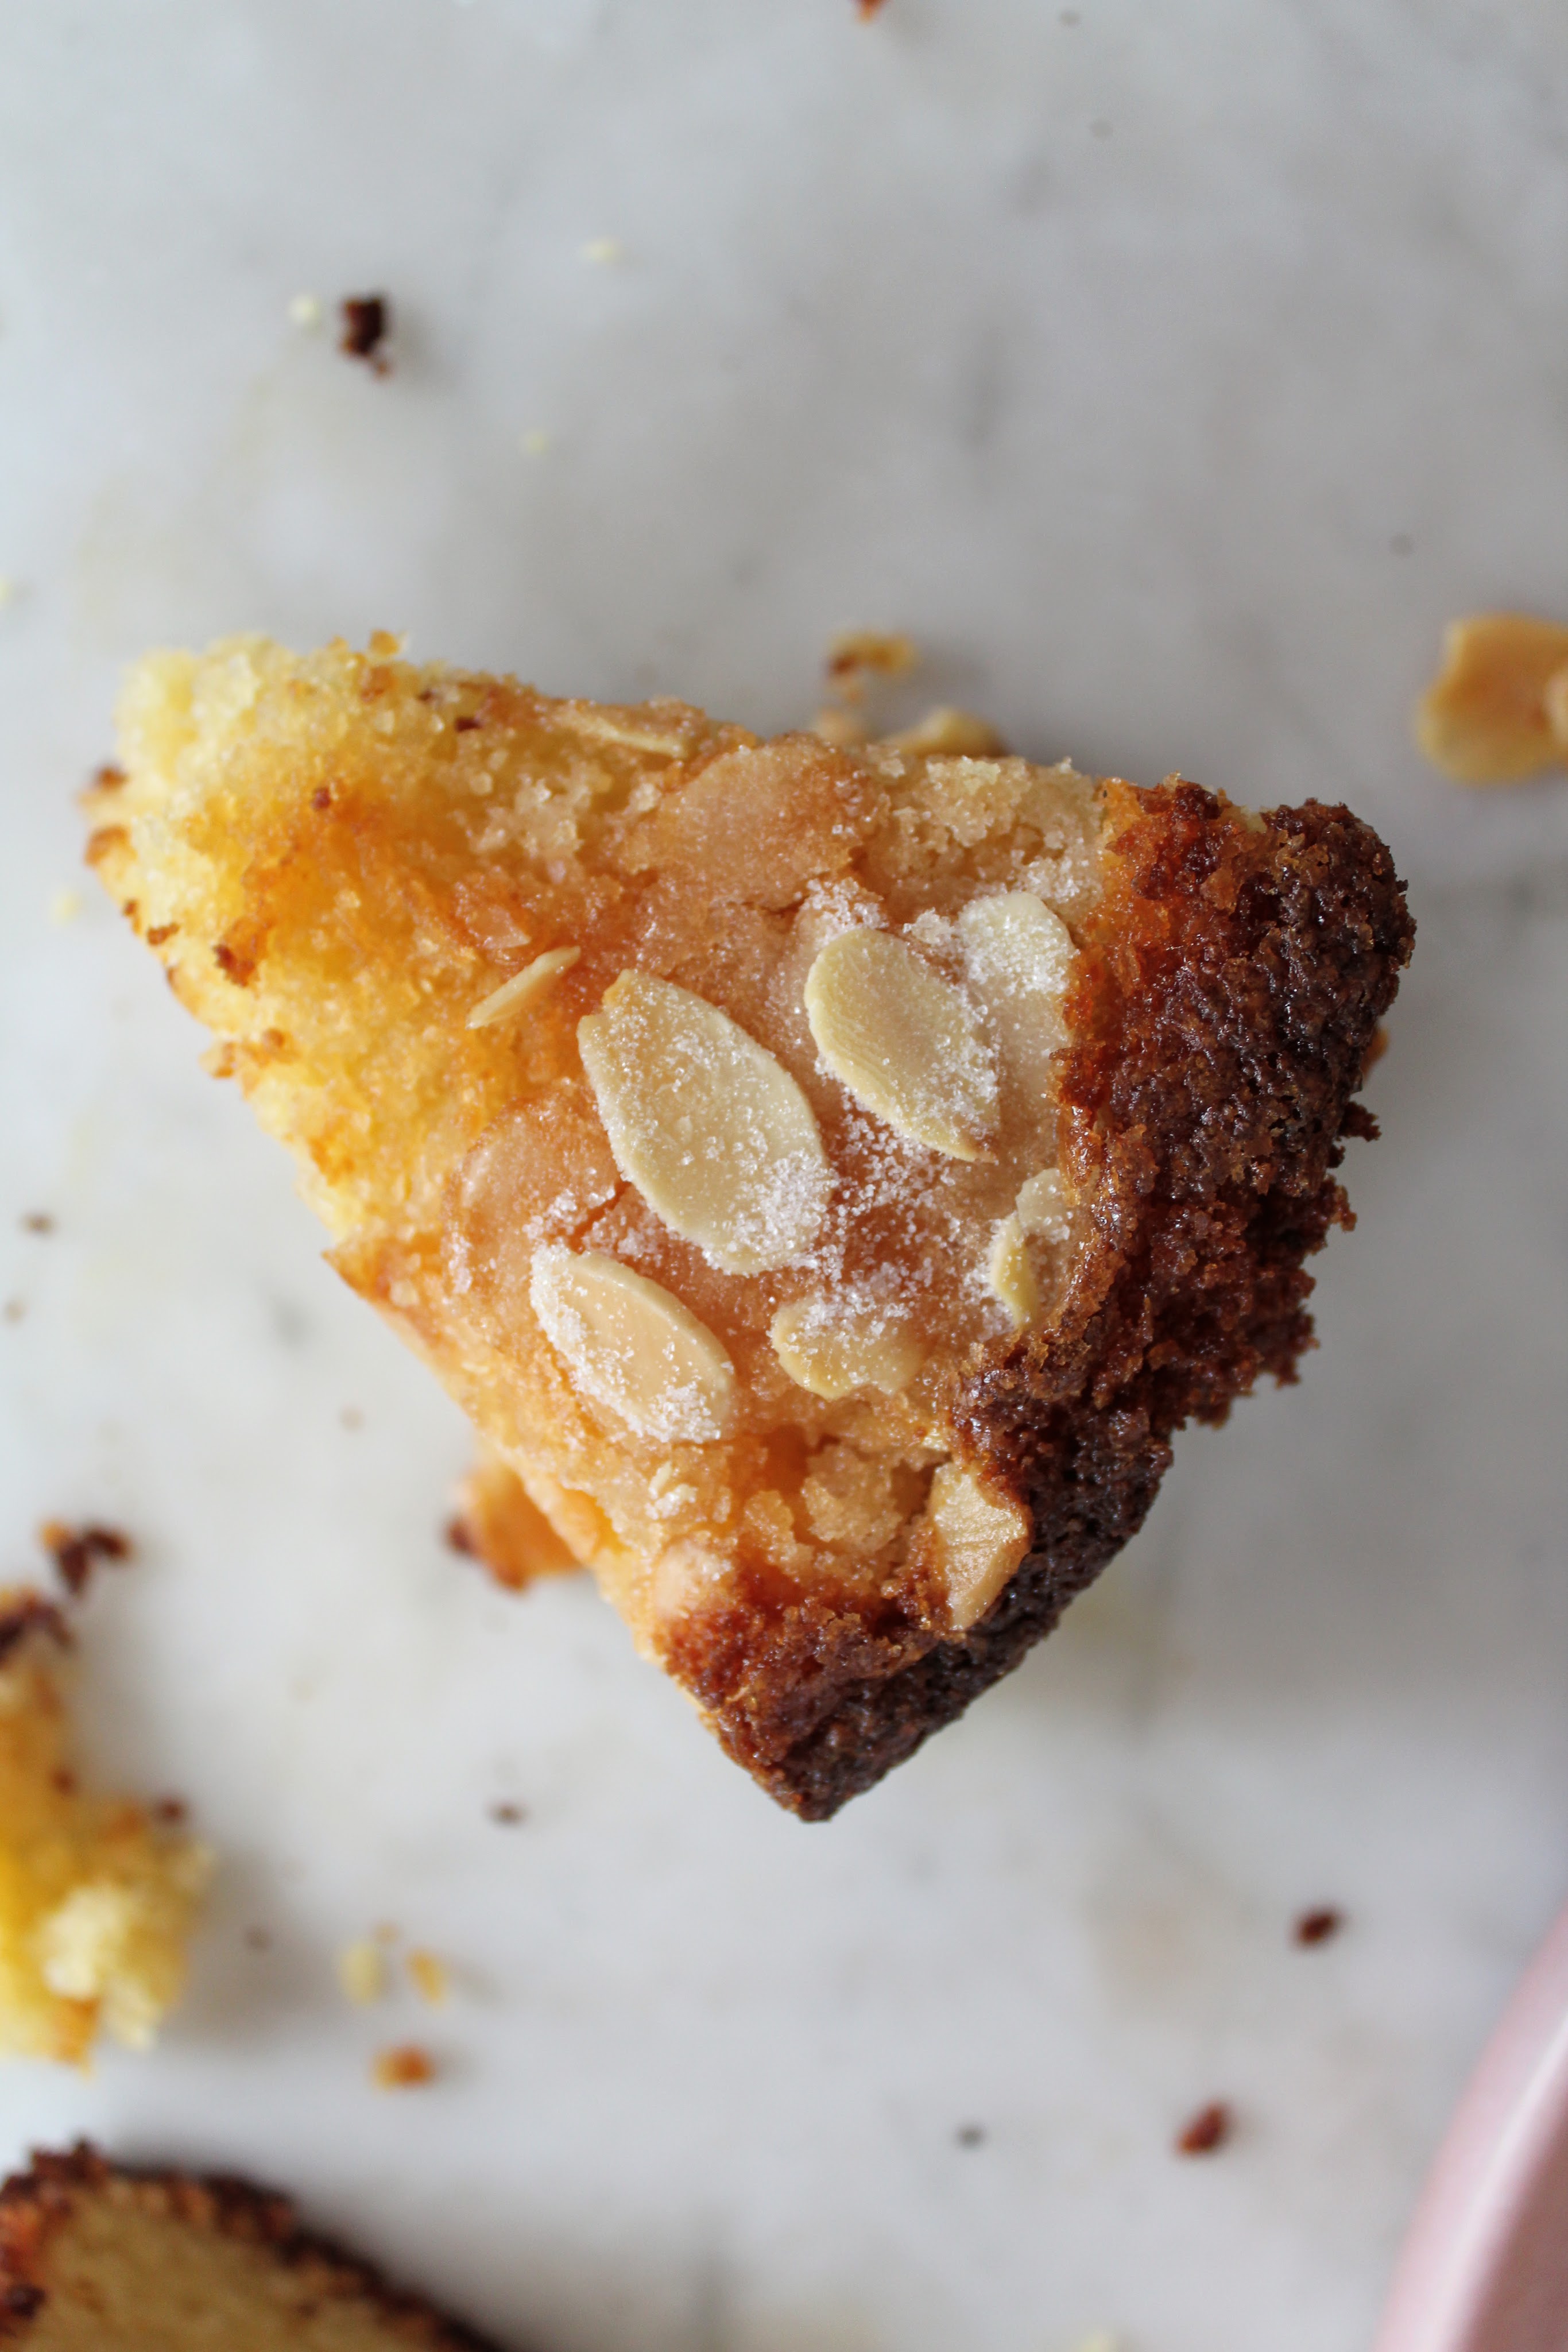
It was because of Tigers fondness towards the honey cake, probably bound up with a fondness towards her memories of pre university years, that I set about working on a recipe. He’s where I’ve ended up. A beautifully soft syrupy tasting cake paired with a custard cream, custard seeming a suitably nostalgic taste. I reckon you’d be hard pressed to find someone without a fond memory that features custard. If you find that person, please send them my way, I’ll whisk them up a custard that’ll blow their socks off haha. Honestly the cake is worth making for the cream alone, me and Emma call it ‘crack cream’. That good.
Note on Finishing The Cake – This is a sweet cake, I’ve warned you. Saying that, it’s level of sweetness is matched in lightness. Light like a cloud, this cake. If you want a bit of tang with your sweet, a bit more complexity in taste, make up the plum compote from last weeks Plum Syrup Cake Pudding, and add it on top of the custard cream between each cake layer. Make double the recipe of the compote and you’ll have enough to fill each layer of this cake.
Ingredients
For the Cake
- 150g honey
- 150g unsalted butter
- 1 1/2 teaspoon vanilla extract
- 120g water
- 3 large eggs
- 150g sugar
- 300g plain flour
- 1 1/2 teaspoon baking powder
- 1 teaspoon bicarbonate of soda
For the Custard Cream
- 250g full fat milk
- 50g soft light brown sugar
- 2 teaspoons vanilla extract
- 30g cornflour – the very fine white flour, ‘corn-starch’ in the US
- 50g egg yolks – about 3 large egg yolks
- 25g unsalted butter – softened
- 280g double cream
- Salt to taste – start with half a teaspoon
Method
Preheat the oven to 180 / 160 fan. Grease and line two 18 cm/ 7 inch round cake tins.
Melt the honey and butter together in the microwave or in a small saucepan on the hob. Set aside to cool slightly. In another small bowl or jug combine the vanilla, water and eggs, set this aside.
Add the sugar, flour, baking powder and bicarb in a large bowl, whisk to get rid of any lumps. Pour in the egg mixture followed by the melted butter and honey. Whisk everything to a smooth liquid batter, your only whisking to combine, don’t beat it, you’ll get a pancake not a cake. Divide the batter evenly between the two tins. Bake for 40 – 45 mins or until a knife inserted into the cake comes out with a few moist crumbs. Allow the cakes to cool completely before icing.
For the custard cream, you’re making a very firm set creme patissiere and then folding through whipped cream. Start with the creme pat. Add the milk, half the sugar (25g) and the vanilla extract to a small, heavy bottom saucepan, stir to combine and heat on medium heat.
While this is heating, add the remaining sugar, corn flour and egg yolks to a bowl, whisk that together. Place this bowl on top of a tea towel set on your work surface.
When the milk is just about to boil (steaming and bubbling at the sides) take it off the heat and, with one hand pour slowly into the egg yolk mixture, as you pour the hot milk whisk the yolks continuously with the other hand, this will stop the eggs from scrambling with the heat.
Once all the milk has been incorporated into the egg yolks, pour the liquid back into the saucepan. You’re now going to cook off the cornflour and thicken the cream. Set the heat on medium and whisk vigorously until it starts to thicken. This needs to be quite firm, so once the cream is very thick you want to keep whisking fast for about another minuet. Take off the heat, add the butter in small pieces into the saucepan and stir through the cream until fully incorporated. Get it into a clean bowl and covered with cling film making sure the cling film is touching the surface of the cream to prevent a skin forming, place the bowl in the fridge to cool completely.
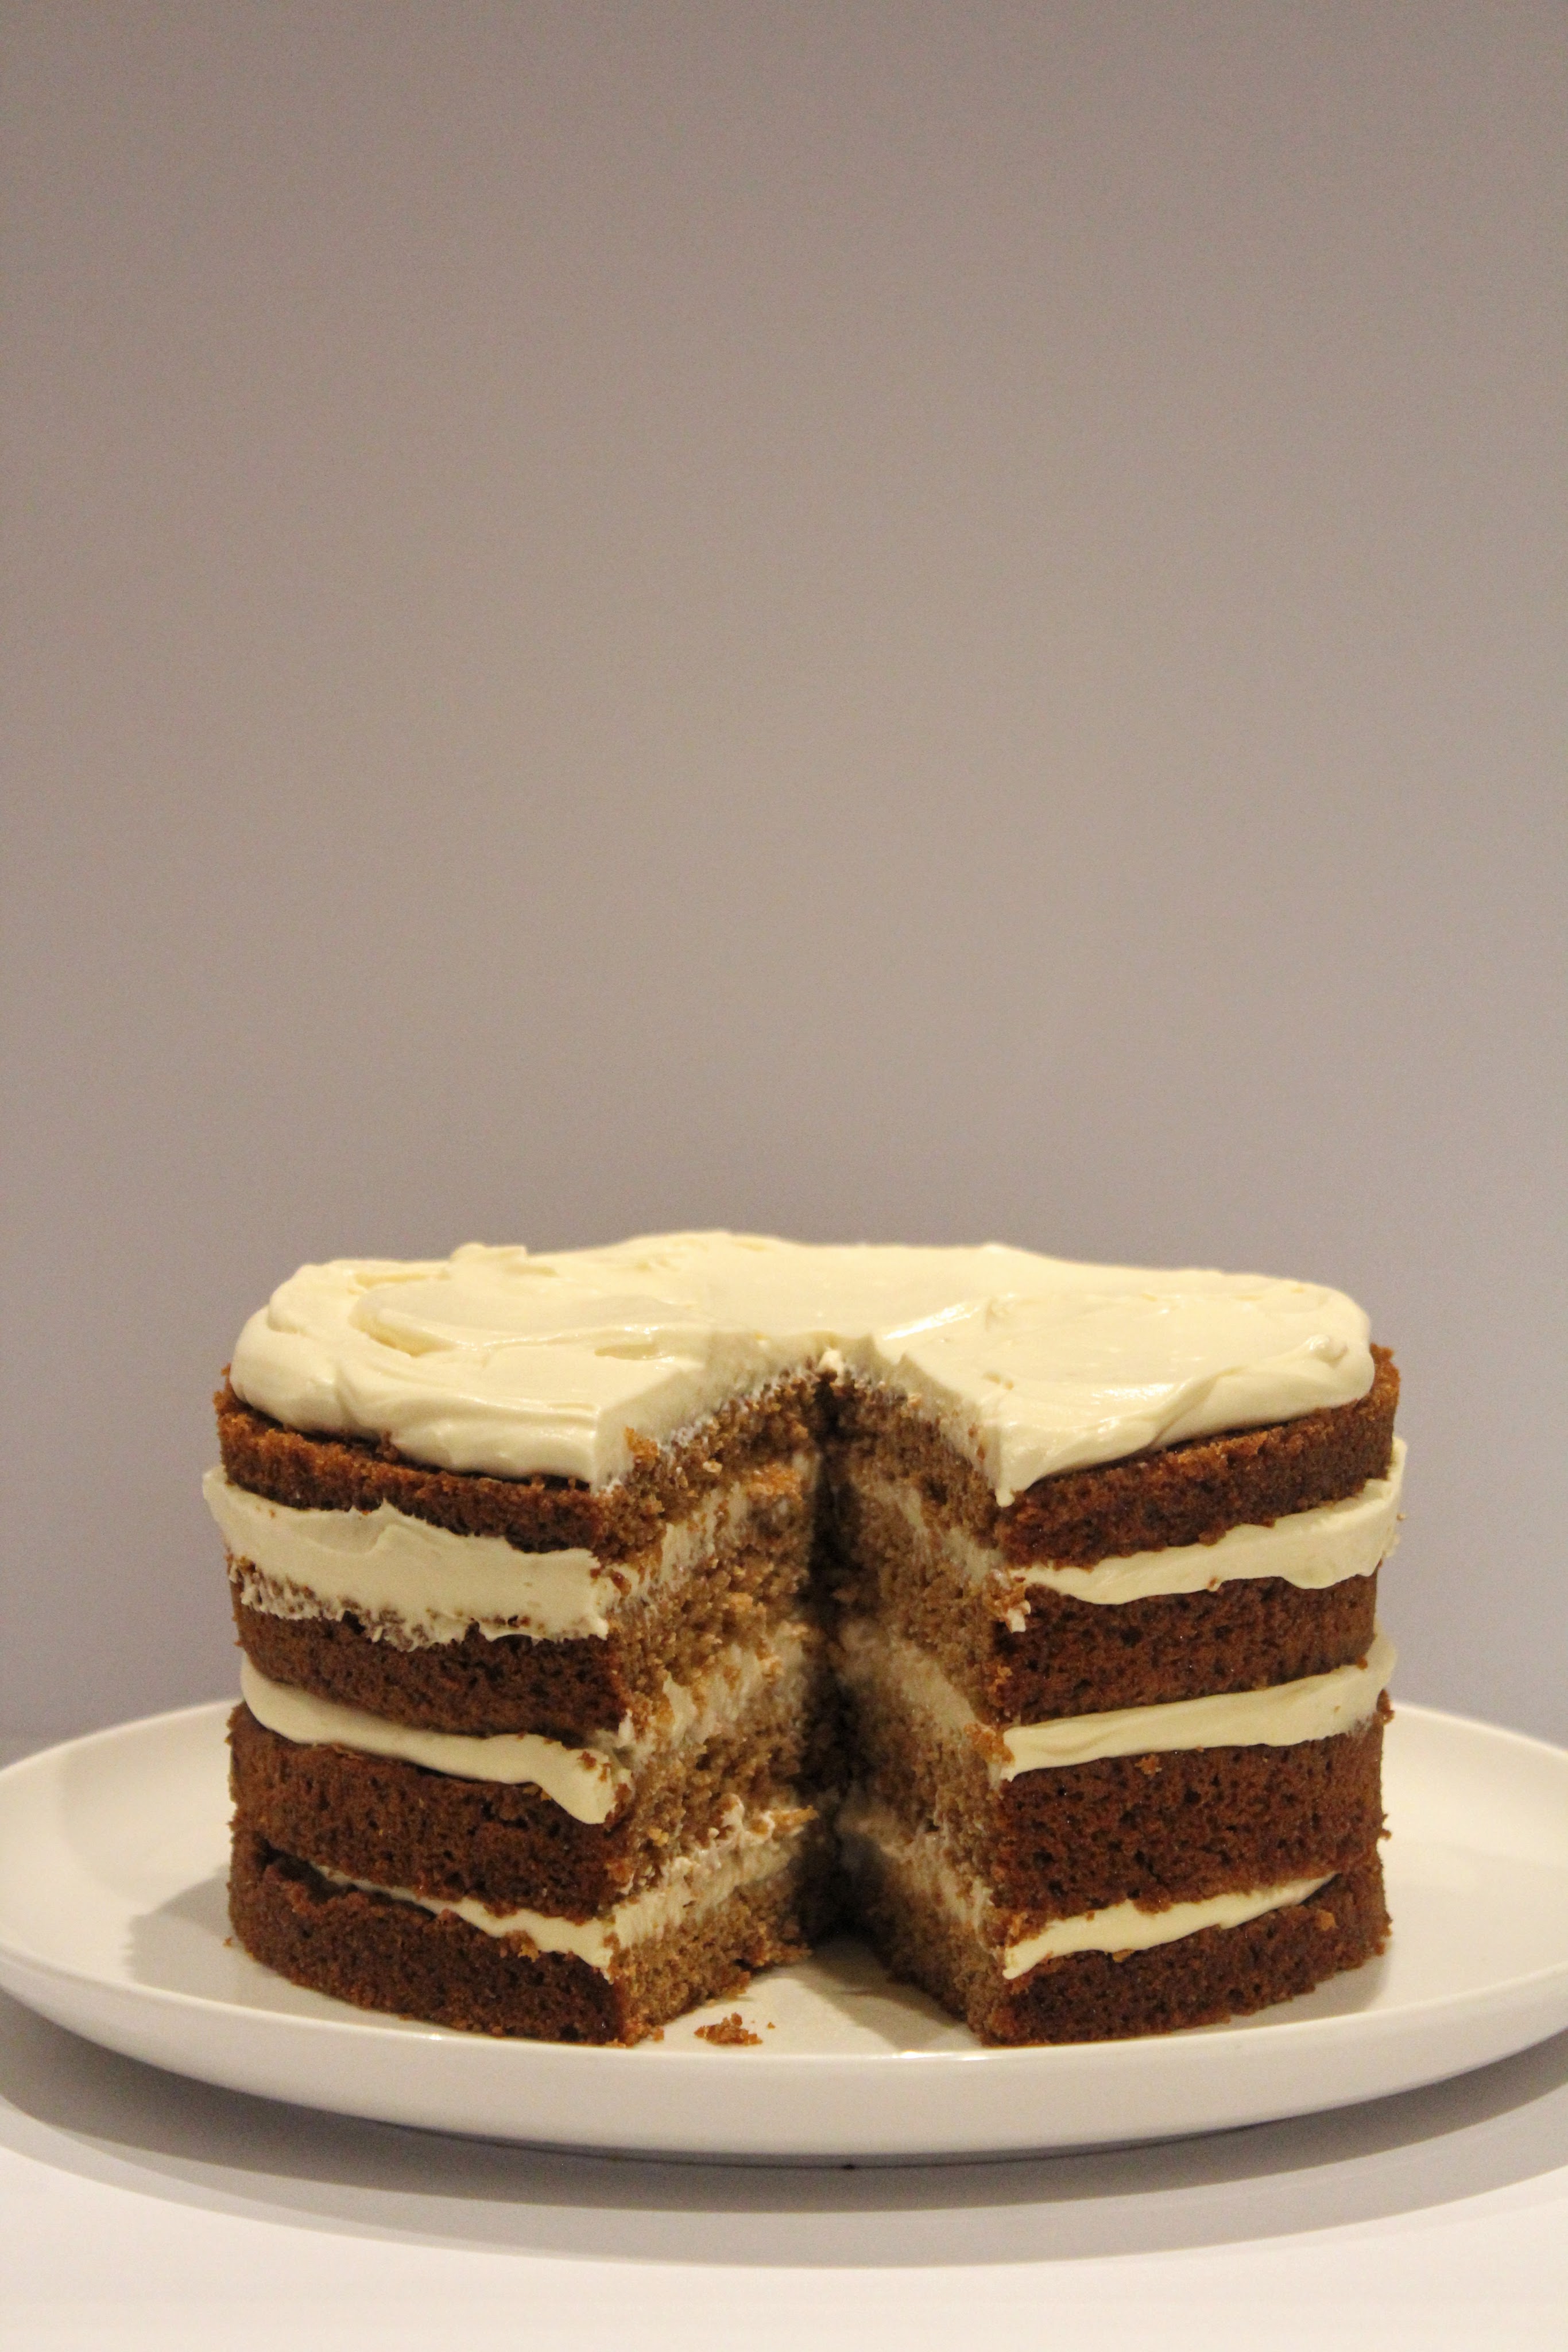
For the assembly, cut the domes off the cakes and slice each levelled cake into 2 layers. Using the back of a metal spoon or a spatula, work the creme pat back and forth to loosen it so it can be folded through the whipped cream easily. Whip the double cream to stiff peaks and fold through the creme pat, add salt to taste. Pick the two most sturdy looking layers of cake, one will be the top, the other will be the base. Put the base layer on your serving plate or cake stand and spread over an even layer of the custard cream, leaving a little rim of un-creamed cake around the outer edge, place the next layer on top. Repeat for each cake layer, finally smoothing the remaining cream on top of the cake. Allow to chill for an hour before slicing to give it all a chance to set (that’s if you care about getting a very neat slice of cake, that’s what I wanted this time, but you could equally go at it with a knife straight away).
Have a good Sunday Joe, and Happy Birthday Mum for tomorrow boiii !! We love you to space and back. Caitlin X